· Elira Thomsen · Home Appliances · 12 min read
How To Make Automatic Cooker
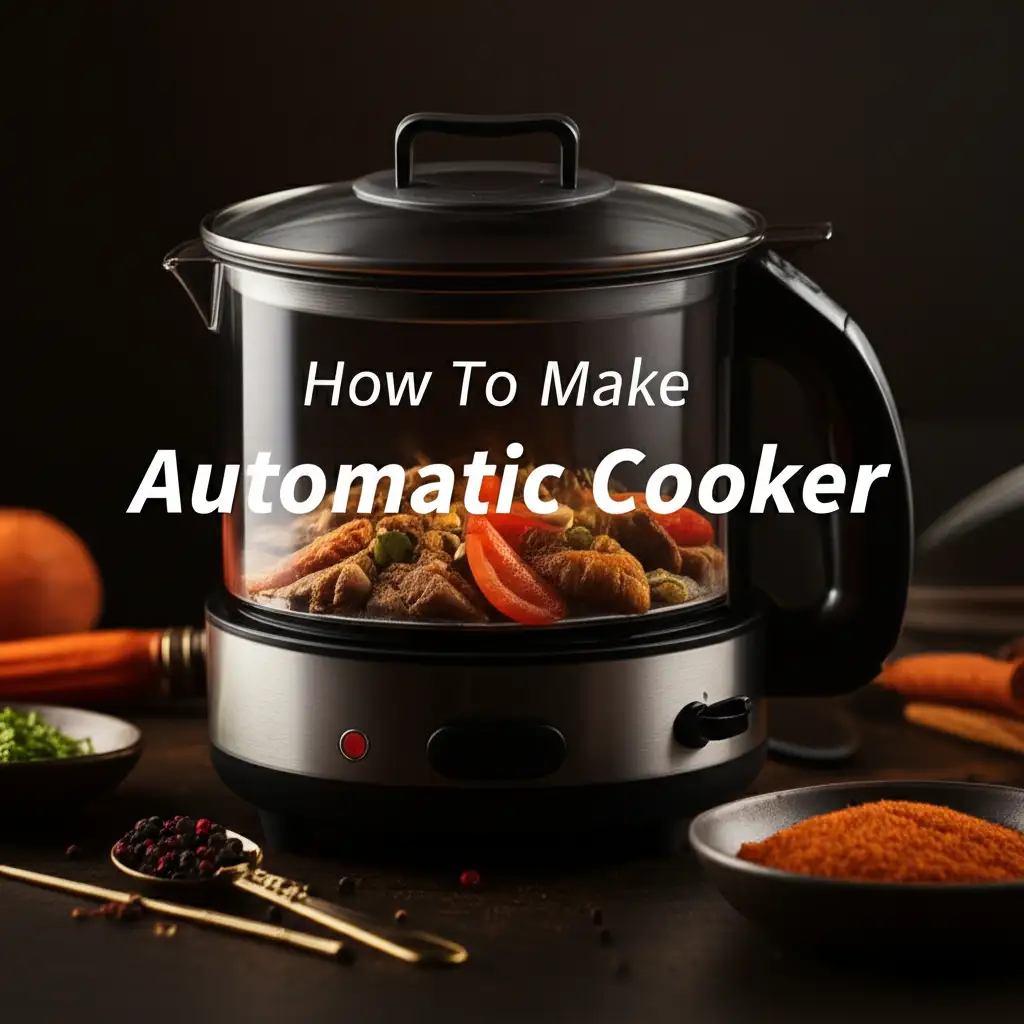
Build Your Own Automatic Cooker for Smart Meals
Imagine a world where your dinner starts cooking itself. This dream can become a reality when you learn how to make an automatic cooker. Crafting your own smart kitchen appliance allows for incredible customization and efficiency. We are diving into the process of building an automated cooking system from the ground up. This guide will walk you through the components, design, assembly, and programming steps. You will gain the knowledge to create a truly personalized cooking experience in your home. Get ready to simplify your meal preparation like never before.
Takeaway:
- Gather Components: Collect essential parts like microcontrollers, sensors, heating elements, and a housing.
- Design Your System: Plan the cooker’s structure, control flow, and safety features.
- Assemble Carefully: Put together electrical and mechanical parts with precision.
- Program Smartly: Write code to manage cooking times, temperatures, and alerts.
- Test and Refine: Ensure your automatic cooker works safely and effectively for consistent results.
How to make an automatic cooker? You can make an automatic cooker by combining a heating element, sensors, and a microcontroller within a suitable housing. The microcontroller receives input from sensors to control the cooking process, adjusting heat and time based on pre-programmed instructions. This allows the cooker to operate without constant human supervision.
Understanding the Core of Automatic Cooking
Building an automatic cooker brings modern convenience to your kitchen. An automatic cooker manages the cooking process on its own. It controls heat, time, and sometimes even stirring or ingredient addition. These devices remove the need for constant supervision during meal preparation.
They use a combination of sensors and a central control unit. Sensors monitor conditions like temperature or moisture inside the cooking pot. The control unit, often a microcontroller, then adjusts the cooking parameters based on these readings. This ensures food cooks perfectly without burning or undercooking. Think about how a smart rice cooker cooks rice automatically; your custom device will do similar tasks.
This project is not just about convenience. It also offers a chance to understand basic electronics and programming. You choose exactly what features your cooker will have. You can design it for specific dishes or general use. Making your own automatic cooking device empowers you to solve your unique kitchen challenges. It makes daily routines simpler and more efficient.
Essential Components for Your DIY Automatic Cooker
To make an automatic cooker, you need specific parts. Each component plays a vital role in its function. Choosing the right parts is the first step toward a successful build. Start by understanding what each piece does.
First, you need a heating element. This part generates the heat for cooking. An electric heating coil or a ceramic heater can work well. Ensure its power rating matches your cooking needs.
Next, a cooking vessel is important. This is where the food will go. A stainless steel pot or a cast-iron Dutch oven makes a good choice. The vessel must withstand the chosen heating method.
You also need a microcontroller. This small computer board acts as the brain of your cooker. Arduino or Raspberry Pi boards are popular options for DIY projects. They process information and send commands to other components.
Sensors are crucial for automation. A temperature sensor, like a thermistor or a thermocouple, monitors the food’s heat. A liquid level sensor might be useful for dishes needing specific water amounts. These sensors provide data to the microcontroller.
Finally, consider the power supply and safety features. A power supply unit converts wall current into usable power for your components. Include a fuse and a circuit breaker for safety. These parts protect against electrical overloads. Building your own appliance means you must prioritize safety.
Designing the Control System for Automation
The control system is the brain of your automatic cooker. It determines how your appliance operates. A well-designed system ensures safety and efficiency. This step involves planning the logic and connections for all components.
Start with the microcontroller. This is where your code will live. It receives input from sensors and sends commands to the heating element. You need to decide which pins on the microcontroller connect to which sensors and output devices. Create a simple wiring diagram. This helps visualize all connections before you start building.
Consider the user interface next. Will your cooker have buttons, a display screen, or connect to an app? Simple buttons for start, stop, and mode selection are common. A small LCD screen can show cooking status and time. If you want smart features, plan for Wi-Fi or Bluetooth modules. These allow remote control and monitoring. This is where your automatic cooker truly becomes smart.
Safety logic is very important. Program the system to shut off the heating element if temperatures get too high. Include fail-safes. For example, if a sensor fails, the cooker should stop operating. You can also add a timer to prevent accidental continuous heating. Always design for safety first.
Think about different cooking modes. Your automatic cooker can have settings for rice, stew, or slow cooking. Each mode will have specific temperature and time profiles. For example, a slow cooker operates at lower temperatures for longer periods. This differs from a rice cooker, which heats quickly to a boil then switches to warm. Your control system needs to handle these different modes smoothly. Does a slow cooker cook rice? This question explores how different cooking methods work, and your control system will need to manage these distinctions for various dishes.
Assembling Your Automatic Cooking Machine
Assembling your automatic cooking machine involves putting all the physical parts together. This step brings your design to life. Work carefully and methodically to ensure everything fits and connects correctly.
Start with the housing or enclosure. This protects the internal components and holds everything in place. You can use a metal enclosure, a sturdy wooden box, or even modify an existing appliance shell. Make sure the material can handle the heat generated by the cooking process. Create openings for controls, displays, and power cords.
Next, mount the heating element securely. It should be positioned to transfer heat efficiently to the cooking vessel. Ensure it does not directly touch any flammable materials. Use heat-resistant insulation if necessary. A secure mounting prevents movement during operation.
Now, integrate the cooking vessel. This might involve creating a cradle or a dedicated spot for the pot. Ensure easy access for placing and removing food. The vessel must sit stably during cooking.
Connect the electrical components. This includes wiring the power supply to the heating element, microcontroller, and sensors. Use appropriate gauge wires for power connections to handle the current. Solder connections where possible for reliability. Use heat shrink tubing or electrical tape to insulate all exposed wires. A well-organized wiring setup prevents short circuits and makes troubleshooting easier.
Finally, install the control panel elements. Mount buttons, switches, and the display screen on the housing. Connect them to the microcontroller according to your wiring diagram. Double-check all connections. A properly assembled automatic cooker will be safe and function as intended.
Programming Your Smart Cooking Appliance
Programming is what makes your cooker automatic. It tells the microcontroller exactly what to do. This step transforms a collection of parts into a smart cooking appliance. You will write code to control heat, time, and safety features.
First, choose your programming language and environment. Arduino boards typically use a simplified C++ language within the Arduino IDE. Raspberry Pi uses Python. Both are user-friendly for beginners. Download the necessary software onto your computer.
The core of your program involves reading sensor data. Your code will continuously check the temperature sensor. Based on the temperature, it will decide whether to turn the heating element on or off. This creates a feedback loop to maintain the desired cooking temperature. For example, if the temperature drops below a set point, the heater turns on. If it rises above, the heater turns off.
Implement timers for cooking duration. Your program should allow users to set a specific cooking time. Once the timer expires, the heating element should turn off automatically. You can also add a ‘keep warm’ function. This keeps food at a safe temperature after cooking finishes.
Add logic for different cooking modes. Each mode will have its own temperature and time settings. For instance, a “rice mode” might involve rapid heating to boil, then a sustained simmer, followed by a warm cycle. A “stew mode” would maintain a lower, steady temperature for several hours. This allows your automatic cooker to handle a variety of dishes. Similarly, customizing other appliances like a chicken grill machine also relies on precise programming.
Finally, include safety checks in your code. Program an automatic shutdown if a sensor reads abnormally high temperatures. Add error messages to the display if something goes wrong. Clear, concise code makes troubleshooting easier later on. Testing your code frequently helps catch bugs early.
Testing and Calibrating Your Automatic Cooker
Testing and calibration are essential steps for your automatic cooker. These processes ensure your device works correctly and safely. Do not skip this crucial phase. It helps you verify the accuracy of your system.
Start with basic power-on tests. Plug in the cooker and check if the display lights up. Ensure any indicator lights function properly. Listen for any unusual sounds. This initial check confirms power flow.
Next, test the heating element. Turn it on for a short period and measure the temperature. Use a separate, trusted thermometer to compare readings with your cooker’s internal sensor. This helps you calibrate the temperature sensor. If there is a difference, adjust your code to compensate. Accurate temperature control is vital for proper cooking. You can adjust your device’s settings. For example, some appliances like a Galanz microwave can be modified for quieter operation, indicating how small adjustments can improve user experience.
Run timed tests. Set the cooker for specific durations and check if it shuts off on time. Test all programmed cooking modes. Use water or a simple food item for these initial tests. Observe how the temperature changes over time in each mode. This helps confirm the cooking profiles are correct.
Test all safety features. Manually trigger over-temperature conditions if possible. Confirm the automatic shutdown engages. Simulate sensor failures to ensure the cooker enters a safe state. These tests verify your safety programming works as intended.
Make small adjustments to your code based on test results. Refine temperature thresholds or timing parameters. Repeat tests after each adjustment. This iterative process ensures your automatic cooker is both precise and reliable. Consistent performance is key for any automated kitchen appliance.
Safety Measures and Maintenance for Automated Cooking
Building an automatic cooker requires a strong focus on safety. Your device handles electricity and heat. Proper safety measures protect you and your home. Always prioritize safety during construction and use.
First, ensure proper electrical insulation. All wires must be insulated. Exposed wires can cause short circuits or electric shocks. Use heat-shrink tubing or electrical tape on all connections. Double-check your wiring diagram.
Incorporate safety components into your circuit. A fuse is a must-have. It breaks the circuit if current exceeds a safe limit. A circuit breaker provides additional protection. These components prevent overheating and fire hazards.
Consider physical stability. The cooker housing must be sturdy and stable. It should not tip over easily. The cooking vessel must sit securely inside. This prevents spills and burns.
Regular maintenance is also important. Keep the cooker clean. Food spills can attract pests or cause electrical issues over time. Follow safe practices for cleaning cooking pots. For example, knowing if you can put a rice cooker pot in the dishwasher ensures proper cleaning without damage.
Inspect electrical connections periodically. Loose connections can lead to intermittent operation or arcing. Check the power cord for damage. If you notice any fraying or cuts, replace it immediately.
Finally, always supervise your automatic cooker during its first few uses. Even after thorough testing, human oversight is important. Familiarize yourself with its normal operation. This helps you spot any unusual behavior early. Your automatic cooker can simplify meals, but responsible use ensures safety.
FAQ Section
What is the most important component for an automatic cooker?
The microcontroller is the most important component. It acts as the brain, processing sensor data and controlling the heating element. Without it, the cooker cannot automate cooking tasks. It executes the programming that defines the cooker’s behavior.
Can a DIY automatic cooker handle different types of food?
Yes, a DIY automatic cooker can handle various food types. This depends on your programming. You can program different cooking modes for rice, stew, or even baking. Each mode will have specific temperature and time profiles, making it versatile.
Is building an automatic cooker safe for beginners?
Building an automatic cooker can be safe for beginners if they follow strict safety guidelines. It involves working with electricity and heat. Beginners should research thoroughly, understand electrical basics, and include safety features like fuses. Always seek expert advice if unsure.
How do I ensure precise temperature control in my automatic cooker?
To ensure precise temperature control, use a high-quality temperature sensor. Calibrate it accurately against a known thermometer. Your program should use a feedback loop. This means it constantly reads temperature and adjusts the heating element power. PID control algorithms can provide even better accuracy.
What materials are best for the cooker’s housing?
Metal enclosures like steel or aluminum are best for the cooker’s housing. They are durable and heat-resistant. Sturdy plastics designed for high temperatures can also work. The material must withstand the heat generated during cooking and provide structural integrity.
How long does it take to build an automatic cooker?
The time to build an automatic cooker varies greatly. It depends on your skill level and the complexity of your design. A basic model might take a few weekends. More advanced designs with complex programming and features could take several weeks or months to complete.
Conclusion
You now have a solid understanding of how to make an automatic cooker. We have explored everything from component selection to programming and safety. Building your own smart kitchen appliance offers unparalleled control and customization. It provides a unique opportunity to blend technology with daily life. Your efforts will result in a truly personalized cooking experience, simplifying meal times and reducing kitchen stress.
This project goes beyond just building a device. It empowers you with valuable skills in electronics, programming, and problem-solving. Imagine the satisfaction of enjoying a perfectly cooked meal from your own creation. Are you ready to take on this exciting challenge? Start gathering your components and embark on your journey to automate your kitchen. Your future self, enjoying effortless meals, will thank you.
- automatic cooker
- smart kitchen
- DIY smart appliance
- home automation
- programmable cooking
- kitchen technology
- automated cooking system

Elira Thomsen
Home Organization & DIY Living Expert
I'm Elira Thomsen, a lifelong enthusiast of clean, beautiful, and functional homes. With over a decade of hands-on experience in DIY home decor, smart cleaning solutions, and practical organization, I help everyday homeowners turn clutter into calm. Whether it's transforming a neglected nook into a cozy reading spot, mastering budget-friendly storage hacks, or refreshing a space with seasonal décor, I'm here to guide you every step of the way. My mission is simple — make home care easier, more inspiring, and truly rewarding.