· Mason Everett · Home Improvement · 16 min read
How To Install Baseboard For Carpet
Install Baseboard for Carpet: Your Step-by-Step Guide
Installing baseboard for carpet gives your rooms a clean, finished look. Many people enjoy the comfort and warmth of carpet flooring. However, once your carpet is down, the walls often look unfinished at the bottom. This is where baseboards come into play. They cover the gap between the wall and the new carpet, adding a polished edge to your space.
This guide will walk you through each step of installing baseboard for carpet. We will cover everything from choosing materials to making precise cuts and securing the trim. By the end, you will understand how to achieve a professional finish in your home. Get ready to enhance your room’s appearance with well-installed baseboards.
Takeaway:
- Measure carefully and cut baseboards with precision using a miter saw.
- Locate wall studs before nailing for secure attachment.
- Leave a small gap at the bottom of the baseboard to allow for carpet expansion.
- Finish with caulk and paint for a smooth, professional appearance.
Installing baseboard for carpet involves measuring, cutting, and securing trim pieces along the bottom of your walls. You will need to account for the carpet’s thickness, ensuring a small gap beneath the baseboard for a clean fit. This process provides a neat transition and protects your walls.
Understanding Baseboards with Carpet Floors
Installing baseboard for carpet is an important step in finishing a room. Baseboards hide the uneven edge of the carpet where it meets the wall. They also protect the lower part of your walls from scuffs and impacts. Proper baseboard installation ensures a polished look for your home.
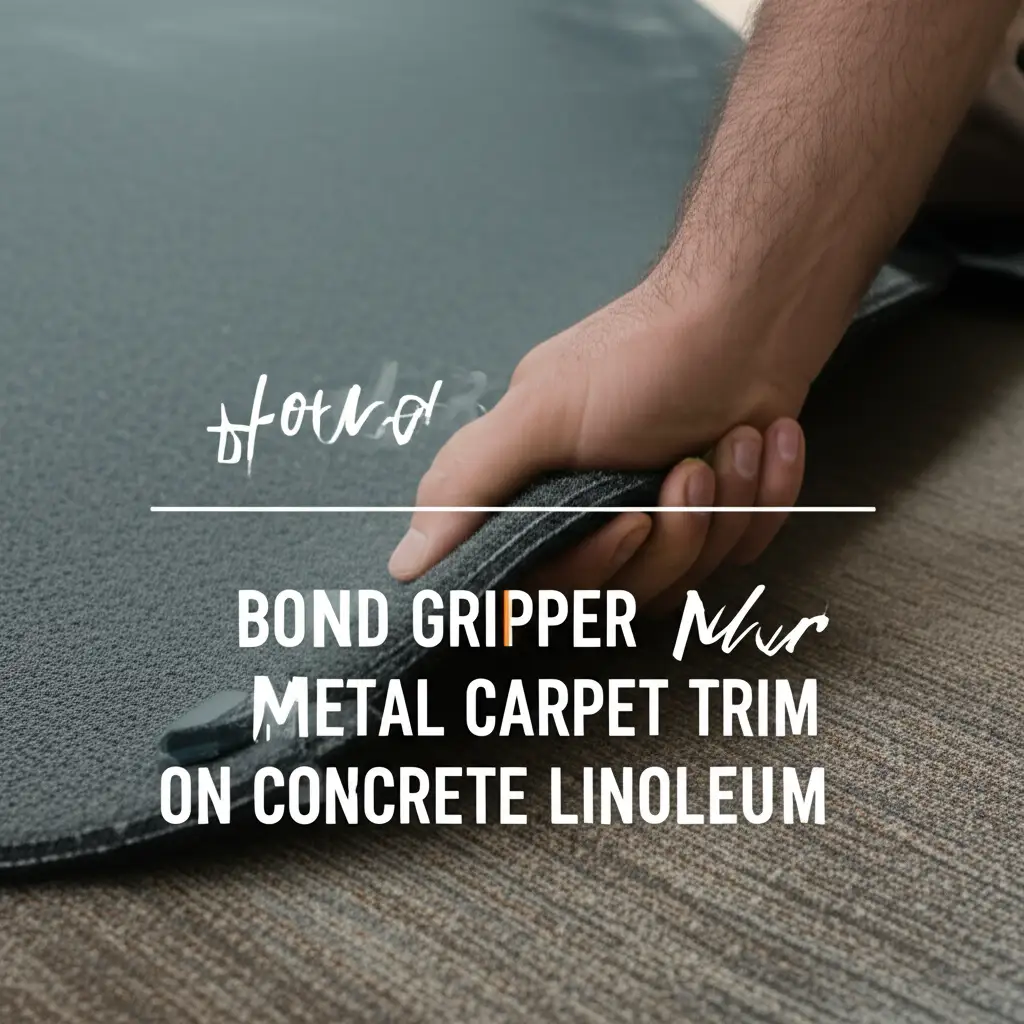
When you install carpet, installers often leave a small gap around the room’s perimeter. This gap allows the carpet to expand and contract with changes in humidity. Baseboards are designed to cover this gap perfectly. They sit just above the carpet’s surface, creating a seamless transition.
The height of your baseboard depends on your room’s style and ceiling height. Taller baseboards often suit rooms with high ceilings. Standard baseboards typically range from 3 to 5 inches tall. Choose a style that matches your home’s overall design.
Different materials are available for baseboards. Common choices include solid wood, MDF (medium-density fiberboard), and PVC. Solid wood is durable and can be stained or painted. MDF is cost-effective and easy to paint, but it can swell if exposed to water. PVC is moisture-resistant and good for bathrooms or basements. Consider your needs and budget when selecting materials.
Gathering Your Tools and Materials
Before you begin to install baseboard for carpet, gather all necessary tools and materials. Having everything ready saves time and makes the process smooth. You do not want to stop in the middle of a project to find a missing item. Prepare your workspace for efficiency.
Start by buying your chosen baseboard material. Always buy a little extra, about 10-15% more than your measurements. This accounts for mistakes and allows for future repairs. Select nails that are appropriate for your baseboard thickness and wall type.
Here is a list of essential tools and materials you will need:
- Baseboard Material: Wood, MDF, or PVC.
- Tape Measure: For accurate length measurements.
- Pencil: To mark cuts and stud locations.
- Miter Saw: Essential for precise angle cuts (inside and outside corners). A handsaw and miter box can work for small jobs.
- Stud Finder: To locate wall studs for secure nailing. You need to know where to drive your nails for proper attachment. You can learn more about how to find floor studs under carpet to prepare for this step.
- Nail Gun (Brad Nailer or Finish Nailer): Speeds up the process and provides strong holds. Hammer and finish nails also work.
- Air Compressor: If using a pneumatic nail gun.
- Safety Glasses: Protect your eyes from debris.
- Dust Mask: To avoid inhaling sawdust.
- Wood Filler: For filling nail holes.
- Caulk Gun and Paintable Caulk: To seal gaps along the top edge of the baseboard.
- Putty Knife: For applying wood filler.
- Sanding Block or Sandpaper: To smooth filler and rough edges.
- Paint and Primer (if applicable): To finish your baseboards.
- Utility Knife: For scoring old caulk or carpet edges.
Having these items ready before you start ensures a productive and safe installation. Each tool has a specific purpose that contributes to a professional finish. This preparation makes the entire process much easier for you.
Measuring and Calculating Baseboard Needs
Accurate measurement is critical when you install baseboard for carpet. Mistakes in measuring can lead to wasted material and extra trips to the store. Take your time and measure precisely to avoid these issues. This step ensures you buy enough baseboard and make correct cuts.
First, measure the total perimeter of each room where you plan to install baseboards. Use a tape measure to get the length of each wall section. Write down these measurements clearly. Do not forget to measure around doorways or other openings where baseboard will be needed.
For each wall, measure from corner to corner. If a wall has a door, measure the wall sections on either side of the door. Add all these individual wall measurements together. This sum gives you the total linear footage of baseboard required for the room.
It is always a good idea to add a buffer to your total measurement. A common rule is to add 10-15% extra to account for cutting errors, miscalculations, or future repairs. This small overage prevents shortages later in the project. For example, if you need 100 feet, buy 110 to 115 feet.
When purchasing baseboards, they come in various lengths, typically 8, 12, or 16 feet. Try to buy longer pieces where possible. Longer pieces mean fewer seams, which results in a cleaner, more professional look. Plan your cuts to maximize material use and minimize waste.
Consider the layout of your room when planning. Think about where seams will be less noticeable. Placing seams in inconspicuous spots, like behind furniture, can improve the overall appearance. Careful planning now saves work and improves the final product.
Preparing the Walls for Baseboard Installation
Proper wall preparation is key when you install baseboard for carpet. Clean, smooth walls make baseboard installation much easier and ensure a better fit. Taking time for this step prevents problems later. It helps your baseboards sit flush and look professional.
Start by removing any old baseboards if they are present. Use a pry bar carefully to avoid damaging the drywall. Once the old trim is off, clean the wall surface. Dust, dirt, and debris can prevent the baseboard from sitting tightly against the wall. A simple wipe-down with a damp cloth is often enough.
Next, inspect the walls for any damage. Fill any large holes or cracks in the drywall with patching compound. Allow the compound to dry completely, then sand it smooth. Uneven wall surfaces can create gaps between the wall and the new baseboard. A flat surface ensures a snug fit.
Finding wall studs is a crucial part of preparation. Baseboards need to be nailed into studs for a secure hold. Use a stud finder to locate the vertical wooden or metal supports behind your drywall. Mark the center of each stud lightly with a pencil. Studs are typically spaced 16 or 24 inches apart on center. Knowing stud locations helps you avoid nailing into empty drywall, which does not provide a strong anchor.
If your walls have existing carpet, ensure it is properly installed and trimmed. The baseboard should sit just above the carpet’s surface, not directly on it. This small gap allows the carpet to breathe and prevents it from being squashed. If you are installing new carpet, it often helps to have the carpet laid before the baseboard. This allows you to position the baseboard correctly. For new carpet installation, you might find tips in guides on how to install carpet start to finish.
Ensure the floor where the baseboard will sit is clean and level. Any debris or unevenness can affect the baseboard’s alignment. Good preparation sets the foundation for a successful and lasting baseboard installation.
Cutting Baseboard for Inside and Outside Corners
Making precise cuts is essential when you install baseboard for carpet. Corners require special attention to create a seamless, professional look. Miter cuts are used for both inside and outside corners. This ensures the pieces fit together snugly.
For inside corners, you will use a coping joint or two mitered pieces. A cope joint offers a cleaner look that handles slight wall imperfections better. To cope an inside corner, cut one piece of baseboard straight into the corner. Then, cut the adjoining piece with a 45-degree miter angle. Use a coping saw to carefully cut along the profile of the mitered edge. This creates a shape that fits perfectly against the first straight piece. The cope joint hides any gaps that might appear as wood expands or contracts.
If coping seems too difficult, you can use two 45-degree miter cuts for inside corners. Cut one piece with the miter angle facing left, and the other with the angle facing right. When joined, they should form a 90-degree corner. However, walls are rarely perfectly square, so this method can sometimes leave small gaps.
Outside corners require two pieces of baseboard cut at opposing 45-degree angles. When joined, these form a crisp 90-degree outside corner. Place the baseboard firmly against the miter saw fence. Set the blade to 45 degrees. For one piece, the blade will cut “away” from the longer edge; for the other, it will cut “towards” it. Test the fit before nailing. A tight fit is crucial for a polished appearance.
Always test your cuts on scrap pieces first. This practice helps you get the angles right and saves valuable baseboard material. When making cuts, hold the baseboard firmly against the saw fence. Slow, steady cuts yield the best results. Make sure your saw blade is sharp for clean edges.
Remember that baseboards also help to keep a carpet down by securing its edges. Good cuts contribute to this function.
Securing Baseboards to the Wall
Securing baseboards to the wall is the next crucial step after cutting. Proper nailing ensures your baseboards stay firmly in place for years. You want a strong hold that resists movement and looks good. This step truly brings your baseboard installation to life.
Before you begin nailing, recheck your stud markings. Nailing into studs provides the strongest anchor. If you miss a stud, the nail will only hold to the drywall, which is not strong enough for long-term stability. A stud finder helps immensely with this. You can find more information about how to locate wall studs under flooring for optimal baseboard attachment. How to find floor studs under carpet can be a useful resource.
Start by placing the first baseboard piece against the wall. Ensure it is level and sits just above the carpet. Use a small shim or spacer if needed to maintain a consistent gap between the bottom of the baseboard and the carpet. This gap allows the carpet to be tucked under, and also allows for minor carpet movement.
Use a nail gun (brad nailer or finish nailer) for quick and efficient work. For typical baseboard, 1.5 to 2-inch finish nails are often appropriate. Drive nails into the wall studs. Aim for at least two nails per stud, one near the top edge of the baseboard and one near the bottom. This prevents the baseboard from bowing or pulling away from the wall over time.
If you are using a hammer and finish nails, pre-drill pilot holes to prevent the wood from splitting. Then, use a nail set to sink the nail heads slightly below the surface of the wood. This creates a small indentation that you can later fill.
When joining two pieces of baseboard on a long wall, use a scarf joint. This is a diagonal cut (usually 45 degrees) that overlaps the ends of two pieces. A scarf joint is stronger and less noticeable than a straight butt joint. Glue the joint with wood glue before nailing for extra strength.
Work your way around the room, installing one piece at a time. Pay attention to corners, ensuring they fit tightly. Secure each piece thoroughly before moving to the next. This careful approach makes your baseboards stable and professional looking.
Finishing Touches: Caulking, Filling, and Painting
After you install baseboard for carpet, the final touches make all the difference. Caulking, filling nail holes, and painting transform rough installations into polished, professional finishes. These steps hide imperfections and blend the baseboards seamlessly with your walls and trim. Take your time with these details for the best results.
First, address any visible nail holes. Use wood filler or spackle to fill these small depressions. Apply a small amount of filler with a putty knife, pressing it firmly into the hole. Scrape away any excess, making sure the surface is smooth and flush with the baseboard. Allow the filler to dry completely according to the product instructions. Once dry, lightly sand the filled areas until they are perfectly smooth. This prepares the surface for painting.
Next, caulk any gaps. Run a bead of paintable caulk along the top edge of the baseboard where it meets the wall. This fills any small spaces and creates a clean, continuous line. Use a caulk gun for precise application. After applying the caulk, smooth it with a wet finger or a damp cloth for a neat finish. Caulk also hides minor imperfections in the wall or baseboard alignment. Let the caulk dry fully before painting.
Finally, it is time for painting. If your baseboards are pre-primed, you can often go straight to painting. If they are raw wood or MDF, apply a coat of primer first. Primer helps the paint adhere better and provides a uniform base. Once the primer is dry, apply two thin coats of your chosen paint. Use painter’s tape along the top of the baseboard and the carpet if you are worried about drips. Cut in carefully with a brush along the top edge. Use a small roller for the flat surfaces of the baseboard for a smooth, even coat.
Consider the finish of your paint. Semi-gloss or satin finishes are popular for baseboards. These finishes are durable and easy to clean, which is practical for an area that might see scuffs. These finishing steps ensure your baseboards not only look good but also stand up to daily life.
Common Mistakes to Avoid When Installing Baseboard
When you install baseboard for carpet, certain mistakes can hurt the final look. Being aware of these common pitfalls helps you achieve a professional result. Avoiding these errors saves you time and effort. It ensures your baseboards look great and last long.
One frequent mistake is not measuring accurately. Rushing measurements leads to cuts that are too short or too long. This creates gaps or wasted material. Always double-check your measurements before making any cuts. Measure twice, cut once is a good rule to follow.
Another error is failing to locate wall studs. Nailing baseboards only into drywall will not provide a strong, lasting hold. The baseboards will eventually loosen or pull away from the wall. Always use a stud finder and mark stud locations clearly. Drive nails directly into these studs for maximum stability.
Incorrect miter cuts are a common problem, especially for corners. If your 45-degree angles are not precise, your corners will have noticeable gaps. Practice on scrap pieces until your cuts are perfect. Adjust your miter saw settings carefully. For inside corners, consider using a coping saw for a tighter fit.
Not leaving a carpet gap is another common mistake. Baseboards should sit just slightly above the carpet, not directly on it. This small gap allows the carpet to expand and breathe. It also makes it easier to tuck the carpet edge neatly under the baseboard. Use a small shim or a piece of scrap baseboard as a spacer when installing.
Poor preparation of the walls can also cause issues. Walls that are dirty, uneven, or have holes will prevent the baseboard from sitting flush. Take the time to clean, patch, and sand your walls before installation. This ensures a smooth surface for your baseboards.
Finally, skipping the finishing steps like caulking and filling nail holes leaves your baseboards looking unfinished. These steps hide imperfections and create a polished appearance. Do not rush through them; they are crucial for a professional look. Attention to detail truly elevates your project.
By avoiding these common errors, your baseboard installation will be successful. You will have beautiful, secure baseboards that enhance your home.
FAQ Section
How high should baseboard be above carpet?
Baseboards should sit about 1/8 to 1/4 inch above the finished carpet. This small gap allows the carpet to “float” slightly and expand or contract with temperature changes. It also provides space for the carpet edge to be tucked neatly underneath the baseboard. This height creates a clean, professional transition.
Do you install baseboard before or after carpet?
It is generally better to install carpet first, then baseboard. This allows the carpet to be fully installed and trimmed. The baseboard can then be precisely positioned just above the carpet. If baseboards are installed first, the carpet installer may have difficulty fitting the carpet snugly without gaps or bulges.
What is the gap between baseboard and floor called?
The gap between the baseboard and the floor is often called an expansion gap or a carpet tuck gap. For carpet, it specifically refers to the small space left for the carpet edge to be tucked under the baseboard and for the carpet to move slightly with temperature and humidity changes.
What kind of nails do you use for baseboard?
For baseboard installation, you typically use finish nails or brad nails. These nails have small heads that are easy to conceal. Common sizes are 1.5-inch to 2-inch for thin baseboard or thicker trim. A pneumatic brad nailer or finish nailer is recommended for efficient and strong attachment to wall studs.
Do you caulk the bottom of baseboards?
No, you do not typically caulk the bottom of baseboards where they meet the carpet. Caulking the top edge where the baseboard meets the wall is common to seal gaps and create a smooth line. However, the bottom edge is usually left uncaulked to allow for carpet movement and easy removal if the carpet needs replacement.
Can I install baseboard without a nail gun?
Yes, you can install baseboard without a nail gun. You can use a hammer and finish nails. It is advisable to pre-drill small pilot holes to prevent the wood from splitting, especially with hardwood baseboards. After nailing, use a nail set to sink the nail heads below the surface for a clean finish.
Conclusion
Installing baseboard for carpet is a rewarding project that greatly improves your home’s appearance. By following the steps in this guide, you can achieve a professional finish. We covered everything from gathering your tools to making precise cuts and applying the final touches. Remember to measure accurately, locate your wall studs, and pay attention to detail in your cuts.
The small gap you leave between the baseboard and the carpet is important for the carpet’s longevity and appearance. With careful planning and execution, your rooms will look complete and polished. You now have the knowledge to confidently install baseboard for carpet yourself. Your home will benefit from this upgrade. If you are ready to enhance your living space, start your baseboard project today.
- Baseboard installation
- Carpet flooring
- DIY home projects
- Interior trim

Mason Everett
Senior Writer
With a deep-rooted love for hands-on projects and over a decade in DIY home solutions, I focus on making home improvement accessible for everyone. At Cosy Home Creation, I share tried-and-true tips for enhancing your space—whether you're remodeling a room, upgrading your storage, or just making things a little more functional. My goal is simple, help you build a home that feels good to live in, one practical project at a time.