· Elira Thomsen · Home Improvement · 18 min read
How To Get Old Carpet Out Of A Room
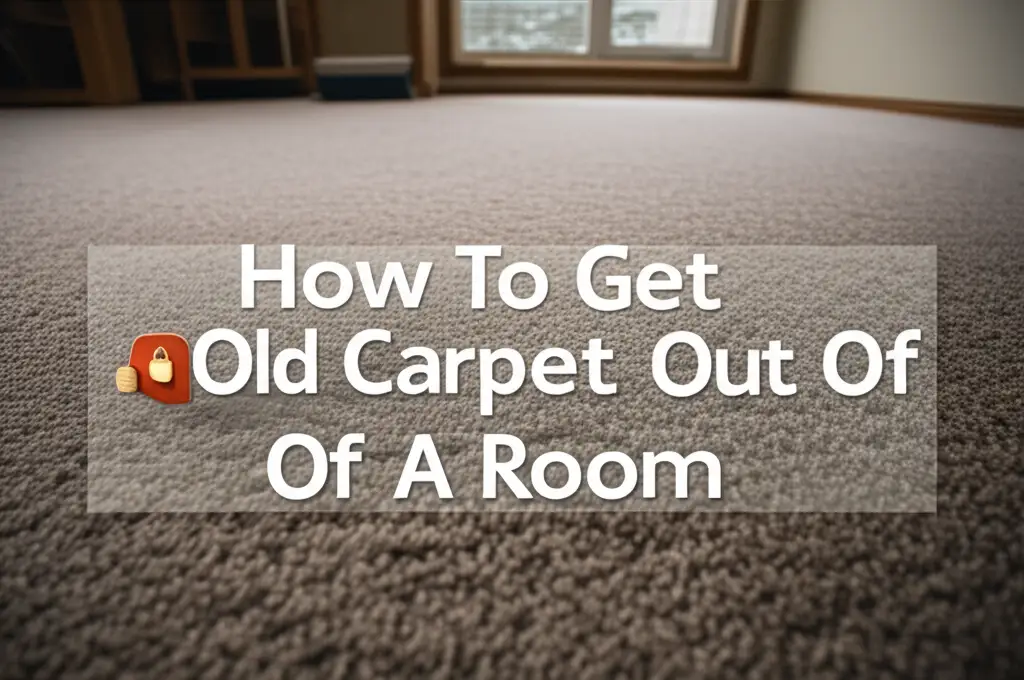
Get Old Carpet Out of a Room: Your DIY Guide
Have you ever looked at your old carpet and thought, “It’s time for a change”? I certainly have. That worn-out, dated flooring can make a whole room feel tired. Taking out old carpet might seem like a big job, but it is a project you can do yourself. Knowing how to get old carpet out of a room correctly saves you money. It also prepares your space for new flooring. This guide will walk you through each step. We will cover tools, safety, and proper disposal. Get ready to transform your living space.
Takeaway:
- Gather all necessary tools and safety gear before you start.
- Work systematically, removing carpet, then padding, then tack strips.
- Inspect and prepare the subfloor for new flooring.
- Plan for proper disposal of old carpet materials.
To get old carpet out of a room, you need to first prepare the space and gather tools. Then, cut the carpet into manageable strips and roll them up. After the carpet, remove the padding and all staples. Finally, pry up the tack strips and clean the subfloor for your new flooring.
Prepare Your Room and Gather Essential Tools
Starting any home improvement task requires good preparation. Removing old carpet is no different. You want to make sure the room is ready for the work. This also means having all the right tools on hand. Getting things ready before you start saves time. It makes the entire process smoother.
First, clear the room completely. Move all furniture and items out. This gives you a clear workspace. Make sure nothing is in your way. A clear floor helps you work safely and efficiently. You also need good lighting to see what you are doing. Open blinds or bring in extra lights.
Next, think about safety. Removing old carpet can kick up a lot of dust. Old carpet might also have mold or other irritants. Wear a dust mask to protect your lungs. Heavy-duty work gloves will protect your hands from sharp tools and tack strips. Safety glasses keep debris out of your eyes. Proper gear is a must for this job.
Now, let’s talk about tools. You do not need many special tools, but a few items are key. You will need a utility knife with sharp blades. This is for cutting the carpet into strips. A pry bar or a floor scraper helps you lift tack strips and stubborn padding. Pliers or vice grips are good for pulling out staples. A heavy-duty staple remover is also very useful. You also need large trash bags or heavy-duty tape for rolling up carpet. This helps with disposal. Having a shop vacuum ready is also a good idea for cleanup. I always make sure my knife blades are fresh. Dull blades make cutting much harder.
Before you begin, inspect the room. Check for any wires or pipes under the carpet near walls. This is rare, but good to know. Look at how the carpet is laid. Is it glued down or held by tack strips? Most residential carpets use tack strips around the edges. Understanding the installation helps with removal. Sometimes, older carpet has been laid over different subfloors. Knowing what is under your carpet is helpful. It tells you what to expect when you pull it up. This preparation step sets you up for success.
Strategic Carpet Removal: Cutting and Rolling
Once your room is clear and your tools are ready, you can begin the actual carpet removal. This part is about making big carpet pieces into smaller, manageable sections. This makes them easier to handle and dispose of. You will use your utility knife for this step. Always be careful when handling sharp blades.
Start by finding a corner of the room. Use your pliers or a pry bar to lift the carpet edge. The carpet is likely held by tack strips along the walls. These strips have sharp nails that point upwards. Pull the carpet up from the tack strip slowly. Once you have a loose edge, you can start cutting.
Make a long cut down the middle of the room. Cut the carpet into strips about 2 to 3 feet wide. These strips are easy to roll up. You want to cut the carpet all the way through to the subfloor. Be careful not to damage the subfloor underneath. Sometimes, you can find a seam in the carpet. Using existing seams can make cutting easier. I find cutting along a straight edge helps keep lines neat. A long straightedge or a drywall T-square can help guide your knife.
As you cut each strip, start rolling it up. Roll it tightly from one end to the other. This makes the rolls compact. Secure each roll with duct tape or heavy-duty strapping tape. This stops them from unrolling. Smaller rolls are easier to carry and fit into trash bags or a dumpster. The carpet can be surprisingly heavy. Do not try to make rolls too big. Making them too large will make them hard to lift.
Work your way across the room, strip by strip. Keep cutting, rolling, and taping. As you remove the carpet, you will see the carpet padding underneath. This padding protects the subfloor and provides cushion. The padding will be the next thing you remove. Take your time with the cutting. Rushing can lead to mistakes or injuries. Remember to change your utility knife blades often. A dull blade makes cutting difficult and unsafe. Fresh blades cut cleanly and smoothly. This method works well for most types of residential carpet. For very large rooms, you might need help moving the rolled carpet pieces.
Removing Old Carpet Padding
After you have successfully removed all the carpet strips, you will see the old carpet padding. The padding is the soft layer under the carpet. It provides cushioning and insulation. Like the carpet, the padding needs to come out. It is often stapled down or lightly glued. Removing it is usually easier than removing the carpet itself.
Start in a corner again. Lift an edge of the padding. You might find it is just loose or lightly stapled. If it is stapled, you will see many staples. These staples hold the padding to the subfloor. Pull the padding up slowly. It often comes up in large pieces.
Once you lift a section, you can start pulling it across the room. The padding usually tears easily. You do not need a knife to cut it unless it is a very large room. You can often just rip it by hand into manageable pieces. Just like with the carpet, roll up the padding pieces. They are much lighter than the carpet. Secure these rolls with tape too. This makes them neat for disposal.
As you remove the padding, you will notice the staples that held it down. These staples are typically small. They are flush with the subfloor. These staples must be removed. Leaving them can cause problems for new flooring. They can damage new materials or make the floor uneven.
You can use pliers or a specialized staple remover for this. A floor scraper with a sharp edge can also help lift staples. Go over the entire subfloor carefully. Pull out every single staple. This part takes time. It is a detail that really matters. Small staples can easily break off in the subfloor. Use pliers to get a good grip. If the staples are rusted or very old, they might be harder to pull. Make sure you get all the pieces out. Leaving metal pieces can hurt you or damage your new floor. This step is important for a smooth, clean subfloor.
Tack Strip and Staple Removal: Clearing the Subfloor
Once the carpet and padding are gone, your subfloor is visible. But the job is not finished yet. You still have to deal with the tack strips and any remaining staples. These elements hold the carpet down. They must be removed before you can install new flooring. This step is crucial for a smooth and safe subfloor.
Tack strips are thin pieces of wood. They have sharp nails pointing upwards. These nails grip the carpet backing. Tack strips are usually found along the perimeter of the room, near the walls. They are nailed directly into the subfloor. You need a pry bar or a claw hammer to remove them.
Start at one end of a tack strip. Wedge the pry bar under the strip. Apply steady pressure to lift it. The strip should pop up from the subfloor. Work your way along the strip, prying it up section by section. Be careful, as the nails are very sharp. You do not want to step on them. I always wear thick gloves during this part. Sometimes, old nails can break off and stay in the subfloor. Remove these broken pieces with pliers.
As you remove the tack strips, place them directly into a sturdy box or bag. Do not just leave them on the floor. Their sharp nails are a hazard. Make sure the container can hold the strips safely. You do not want them poking through the bag.
After removing all tack strips, turn your attention to any remaining staples. Even after removing the padding, small staples often stay behind. These are typically from the padding, but sometimes from the carpet itself. You might also find staples that broke off when you removed the padding.
Use a pair of pliers, needle-nose pliers, or a flat-head screwdriver to remove these staples. Work on your hands and knees to get a good view of the floor. Systematically go over every square inch of the subfloor. Pull each staple out. This can be time-consuming work, but it is very important. Any staples left behind can damage your new flooring. They can also create uneven spots. For a smooth finish, all metal pieces must be gone.
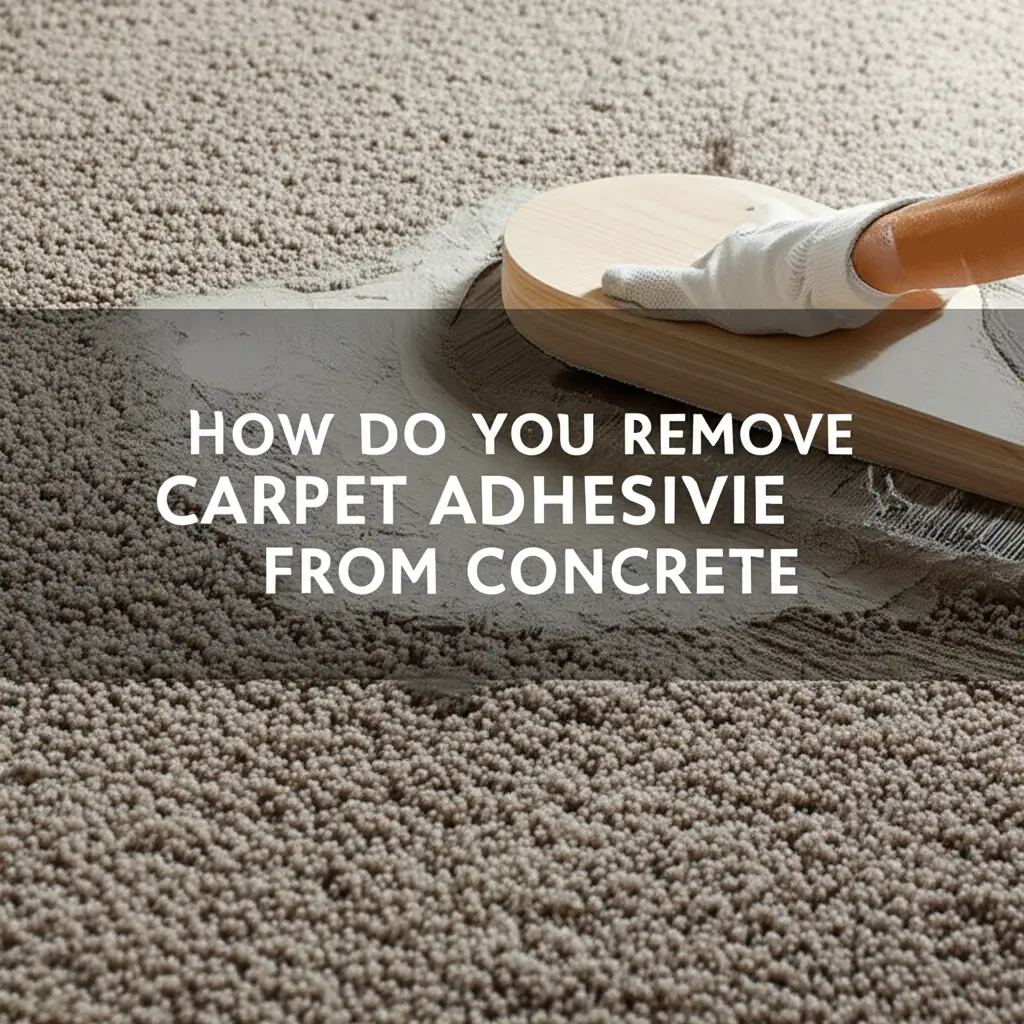
You might find old glue remnants too. If the carpet or padding was glued down, you might need a scraper to remove the glue. Some glue can be stubborn. For tougher glue spots, you might need a special solvent. Always test solvents in a small area first. Make sure they do not damage your subfloor. This step completely clears the subfloor. It makes the floor ready for the next phase of your project. This careful removal ensures your new floor lays perfectly flat.
Subfloor Inspection and Preparation
With all the carpet, padding, tack strips, and staples removed, you now have a bare subfloor. This is a big moment in your DIY project! However, before you lay any new flooring, you must inspect and prepare the subfloor. A good subfloor makes sure your new floor lasts long. It also helps it look great.
First, do a thorough visual inspection. Look for any damage. Are there cracks in the subfloor? Do you see any soft spots? Soft spots can mean water damage or rot. You need to fix these issues before installing new flooring. If you find a soft spot, investigate it further. It might mean replacing a section of the subfloor. Water damage can lead to mold or structural problems. Addressing these problems now saves you headaches later.
Next, check for levelness. Your subfloor needs to be as level as possible. Use a long straightedge or a level tool. Place it on different parts of the floor. Check for high spots and low spots. Minor imperfections are normal. Large differences can affect new flooring. For instance, luxury vinyl plank or hardwood needs a very flat surface. If the subfloor is not level, you might need to use a self-leveling compound. This compound pours onto the floor and fills low spots. It dries to a smooth, flat surface. This step is very important for many types of new flooring.
Now, it is time for cleaning. Even after pulling out all the materials, dust and debris remain. Use a shop vacuum to thoroughly clean the entire subfloor. Get into all the corners and along the walls. You want to remove all dust, dirt, and small debris. Then, wipe the subfloor down. A damp cloth can help pick up fine dust. Let the subfloor dry completely before doing anything else.
Consider moisture. Some subfloors, like concrete, can have moisture issues. If you are installing a moisture-sensitive floor (like hardwood), you might need a moisture barrier. You can test for moisture with a moisture meter. If moisture is present, a vapor barrier can protect your new floor. This ensures your new floor stays dry and stable. This level of preparation ensures your subfloor is perfect. It is ready for whatever beautiful new flooring you choose. For details on how different carpets are laid, check out how to keep a carpet down.
Planning for Old Carpet Disposal
Removing old carpet is only half the battle. The other half is disposing of it properly. Old carpet and padding take up a lot of space. You cannot just put them out with regular trash. Planning for disposal before you start saves you stress later. Knowing your options helps you choose the best way to get rid of your old flooring materials.
One common way to dispose of carpet is to take it to a local landfill or transfer station. Many cities have facilities where you can drop off bulky waste. Call them first to ask about their rules. They might have specific hours for drop-offs. They might also charge a fee based on weight or volume. Make sure your carpet rolls are well-taped. This makes them easier for the facility workers to handle. You will need a truck or a large van for this option.
Another option is to rent a dumpster. This is a good choice if you have a lot of carpet. It is also good if you are doing a larger renovation project. Dumpsters come in various sizes. You can pick the right size for your amount of waste. The dumpster company drops it off, and you fill it up. Then, they pick it up. This is convenient, but it costs more money. Be sure to check what materials are allowed in the dumpster. Most accept construction and demolition debris, including carpet.
Some areas have special recycling programs for old carpet. Carpet recycling aims to reduce landfill waste. These programs break down old carpet fibers. They turn them into new products. Look online for “carpet recycling near me.” Check if your community has such a program. This is an environmentally friendly option. However, these programs are not available everywhere. They might also have specific requirements for carpet condition. For example, the carpet must be clean and dry.
Finally, consider local junk removal services. These companies come to your home. They load up your old carpet and other bulky items. Then, they haul it away for you. This is the most convenient option. It costs more than self-disposal. This service is good if you do not have a truck. It is also good if you cannot lift heavy items yourself. Before hiring, get a few quotes. Ensure they are licensed and insured.
No matter which method you choose, make sure your carpet is properly rolled and secured. This makes handling easier for everyone. Think about the amount of carpet you have. Consider your budget. And think about your ability to transport it. Planning disposal ensures a clean finish to your project. This avoids a pile of old carpet sitting in your yard. For situations involving very old carpet, you might also wonder does cleaning 10-year-old carpet work as an alternative to removal.
What to Do Next: Your New Flooring Project
You have successfully learned how to get old carpet out of a room. The subfloor is clean and ready. What comes next is exciting: choosing and installing your new flooring! This is the part where your vision for the room comes to life. Your preparation work now pays off. A well-prepared subfloor makes new flooring installation much smoother.
Think about the type of flooring you want. Do you like hardwood? It adds warmth and classic beauty. Laminate flooring offers a similar look at a lower cost. Vinyl plank flooring is durable and waterproof. It works well in kitchens and bathrooms. Ceramic tiles are also an option for high-moisture areas. Each type of flooring has its own installation process. Research the best fit for your home and lifestyle.
If you plan to install the new flooring yourself, do your homework. Read guides and watch videos. Understand the specific steps for your chosen material. For example, hardwood flooring often needs acclimatization time. Laminate flooring requires an underlayment. Tile needs careful measurement and grouting. Ensure you have the right tools for the new installation. Just like with carpet removal, good tools make the job easier.
Consider professional installation if DIY seems too daunting. Hiring an expert ensures a perfect job. They have the experience and specialized tools. This can save you time and potential mistakes. Get quotes from several installers. Check their references and look at their past work. Discuss your subfloor preparation with them. Tell them what you have done. This helps them understand the starting point.
Take your time with the new flooring. Do not rush the installation. A rushed job can lead to errors. These errors can affect the look and life of your new floor. For example, gaps or uneven planks can appear. Proper installation ensures your new floor looks good for many years.
Finally, enjoy your refreshed space. Removing old carpet and installing new flooring can completely change a room. It adds value to your home. It creates a cleaner, more modern look. This project is a big step in home improvement. You did the hard work yourself. Now, you get to enjoy the beautiful results. This effort turns an old room into a fresh, inviting space. If you ever need to remove commercial carpet, the process has similarities, as described in how to take up commercial carpet.
Frequently Asked Questions About Carpet Removal
How long does it take to remove carpet from one room?
Removing carpet from an average-sized room (10x12 feet) can take 2-4 hours. This includes removing the carpet, padding, and tack strips. The time varies based on carpet type, how it is installed, and your experience. Older carpets with lots of staples may take longer.
Can I remove carpet myself without special tools?
You can remove carpet with basic tools like a utility knife, pliers, and a pry bar. You do not need very special tools. However, having a good staple remover and a sharp utility knife makes the job easier and faster. Safety gear like gloves and a mask are essential.
What should I do if the subfloor is damaged?
If the subfloor is damaged, you must fix it before installing new flooring. Small holes or cracks can be patched with wood filler or leveling compound. For larger areas of rot or water damage, cut out the damaged section. Replace it with a new piece of subfloor material. Ensure the new section is securely fastened.
Is it safe to remove old carpet with mold underneath?
No, it is not safe to remove moldy carpet without proper precautions. Mold can release spores into the air. This can cause health problems. Wear an N95 mask, gloves, and protective eyewear. You may need to seal off the room. For large mold areas, consider hiring a professional mold remediation service.
How do I dispose of old carpet rolls?
Most old carpet cannot go into regular trash bins. You can take it to a local landfill or transfer station, often for a fee. Renting a dumpster is an option for larger amounts. Some areas have carpet recycling programs. You can also hire a junk removal service to haul it away.
Should I leave the tack strips if I’m putting down new carpet?
No, you should remove old tack strips, even if you are installing new carpet. New carpet needs new tack strips. Old strips can be rusty, dull, or have broken nails. They might also be in the wrong place for your new carpet. Removing them ensures a fresh, secure installation.
Conclusion
Taking out old carpet from a room can feel like a big project. But, as you have seen, it is a manageable DIY task. You can do this yourself. Following these steps helps you get old carpet out of a room efficiently and safely. You start by getting the room ready and gathering your tools. Then, you carefully remove the carpet, padding, and all the sharp tack strips and staples.
This hard work leads to a clean, bare subfloor. This subfloor is then ready for its next life. Whether you put in new carpet, hardwood, or tile, a proper removal is the first step. You create a fresh start for your home. You save money by doing the work yourself. I hope you feel ready to tackle this project. You have the knowledge now to transform your space. Go ahead and start your next home improvement adventure. Your refreshed room awaits!
- carpet removal
- DIY flooring
- home renovation

Elira Thomsen
Home Organization & DIY Living Expert
I'm Elira Thomsen, a lifelong enthusiast of clean, beautiful, and functional homes. With over a decade of hands-on experience in DIY home decor, smart cleaning solutions, and practical organization, I help everyday homeowners turn clutter into calm. Whether it's transforming a neglected nook into a cozy reading spot, mastering budget-friendly storage hacks, or refreshing a space with seasonal décor, I'm here to guide you every step of the way. My mission is simple — make home care easier, more inspiring, and truly rewarding.