· Tessa Winslow · Home Improvement · 18 min read
How To Fix Gaps In Shrot Nap Carpet
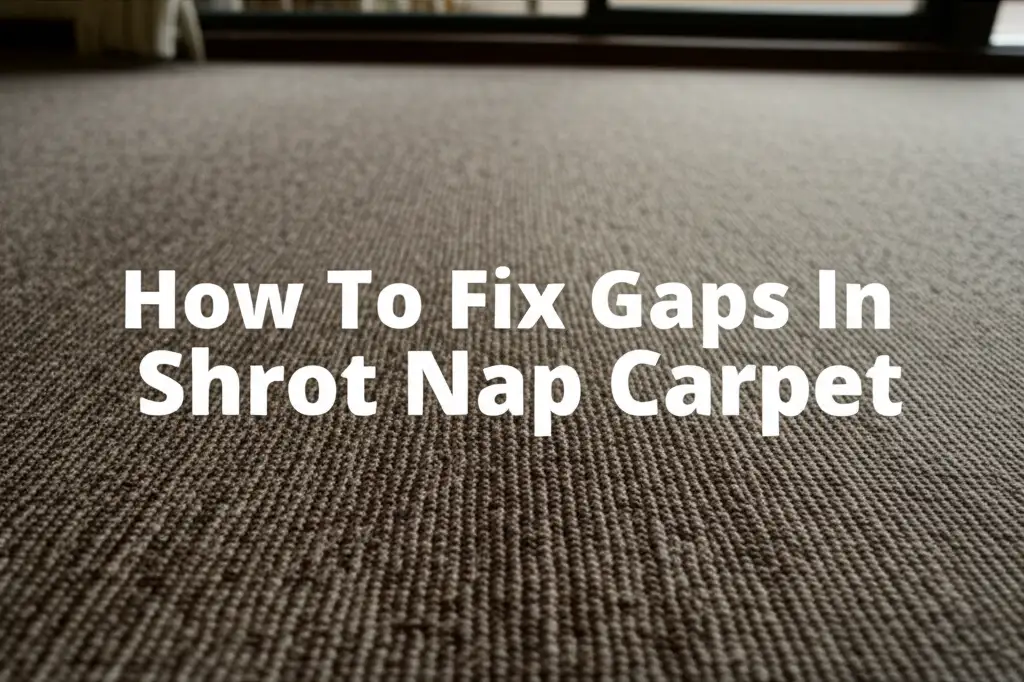
How To Fix Gaps In Shrot Nap Carpet
Have you noticed unsightly gaps appearing in your short nap carpet? It can be frustrating to see your once-seamless flooring pull apart, revealing the subfloor beneath. These gaps not only detract from your home’s appearance but can also pose tripping hazards and shorten your carpet’s lifespan. You want your home to look its best, and a gappy carpet just doesn’t cut it.
Fortunately, fixing gaps in short nap carpet is often a manageable DIY project. You do not always need to call a professional. This comprehensive guide will walk you through understanding why these gaps occur, gathering the right tools, and performing effective repairs. We will cover everything from simple re-stretching to more involved seam mending. By the end, you will have the knowledge to restore your carpet’s smooth, uniform look, ensuring it stays beautiful for years to come.
Takeaway
- Assess the Damage: Determine if gaps are from stretching, poor installation, or seam separation.
- Gather Tools: Obtain a knee kicker, utility knife, tucking tool, and seam tape as needed.
- Prepare the Area: Clear furniture and clean the carpet before starting repairs.
- Re-stretch Minor Gaps: Use a knee kicker to pull the carpet taut and re-secure it.
- Repair Seams: For separated seams, use heat-activated seam tape and an iron.
- Prevent Future Issues: Ensure proper installation and regular maintenance.
To fix gaps in short nap carpet, you must re-stretch the loose areas using a knee kicker or power stretcher, then re-secure the carpet to the tack strips at the room’s perimeter. For separated seams, apply heat-activated seam tape beneath the edges and fuse them together with a seaming iron. This process tightens the carpet and restores its uniform appearance.
Understanding Why Gaps Appear in Your Short Nap Carpet
Short nap carpet, also known as low pile carpet, is popular for its durability and clean appearance. However, even the most robust carpets can develop gaps over time. Understanding why these gaps form is the first step to a successful repair. Many factors contribute to carpet shifting and separating. You might be surprised at some of the culprits.
One common reason for gaps is natural settling and stretching. Over time, carpet fibers and backing can relax, especially in high-traffic areas. This relaxation causes the carpet to expand slightly, leading to ripples or gaps at the edges or seams. It is a normal part of a carpet’s life cycle. Your carpet just needs a little tightening.
Poor initial installation is another significant cause. If the carpet was not adequately stretched during installation, it might loosen prematurely. Insufficient tension leaves the carpet prone to shifting. Improper use of tack strips or incorrect seaming can also lead to gaps. Sometimes, the original installer just missed a spot.
Environmental factors also play a role. Fluctuations in temperature and humidity can cause carpet materials to expand and contract. High humidity makes the carpet absorb moisture and swell, while dry conditions cause it to shrink. These constant changes can pull carpet seams apart or loosen the carpet from the walls. Your home’s climate truly impacts your carpet.
Finally, heavy furniture and foot traffic contribute to the problem. Moving heavy items across the carpet can drag it, creating bulges or gaps. Concentrated foot traffic in certain pathways can also wear down specific areas, making them more susceptible to stretching and loosening. Identifying the cause helps you choose the right fix and prevent future issues.
Essential Tools and Materials for Carpet Gap Repair
Before you tackle those annoying gaps, gathering the right tools and materials is essential. Having everything at hand makes the repair process smoother and more efficient. You do not want to stop mid-job to search for a missing item. I found that being prepared always saves time and frustration.
A knee kicker is perhaps the most crucial tool for fixing loose carpet. This tool allows you to push the carpet firmly towards the wall, creating tension. You place one end against the carpet and use your knee to apply force, stretching the carpet onto the tack strips. It is a basic but very effective device for minor re-stretching. This tool helps you get the carpet snug.
For larger areas or very stubborn gaps, a power stretcher might be necessary. This tool provides more leverage and tension than a knee kicker. It can stretch the carpet across an entire room, making it ideal for significant re-stretching jobs. While a power stretcher offers superior results, it is a specialized tool often rented rather than purchased by DIYers. It offers more uniform tension.
You will also need a sharp utility knife with plenty of fresh blades. This knife is for trimming excess carpet after re-stretching or cutting away frayed edges. A dull blade can snag and damage the carpet, so always use a sharp one. A ruler or straightedge helps you make precise, clean cuts. I always keep extra blades on hand.
For securing the carpet, a tucking tool or carpet awl is very helpful. This tool helps you neatly tuck the carpet edge between the baseboard and the tack strip. It ensures a clean finish and secures the carpet firmly. A sturdy pair of work gloves will protect your hands during this process. You can also use a blunt chisel or a strong putty knife as a substitute.
If your gaps are at a seam, you will need heat-activated carpet seaming tape and a seaming iron. The tape has adhesive that melts when heated, bonding the two carpet edges together. A seaming iron is specifically designed to activate this adhesive without damaging the carpet fibers. These items are vital for repairing separated seams. You can usually rent a seaming iron from a hardware store.
Preparing Your Carpet for a Seamless Fix
Proper preparation is key to a successful carpet repair. Skipping these steps can lead to a less effective fix or even damage your carpet further. Think of it as preparing a canvas before painting; the foundation matters. I always take my time with this stage.
First, clear the area completely. Move all furniture, rugs, and other items out of the way. You need unobstructed access to the carpet, especially near the walls and any seams that need attention. This step ensures safety and allows you to work freely. Do not underestimate how much space you will need.
Next, give the carpet a thorough cleaning. Vacuum the entire area, paying extra attention to the gaps and edges. Remove any dirt, dust, or debris that might interfere with the repair process. A clean surface ensures better adhesion for seam tape and prevents trapped particles. You might even consider a spot clean for any visible stains near the gaps.
Once clean, assess the damage carefully. Determine the type of gap you are dealing with. Is it a loose edge pulling away from the wall? Is it a separated seam running through the room? Or are there ripples and buckles in the middle of the carpet? Different types of gaps require different repair techniques. A clear understanding helps you choose the right approach.
You should also check the tack strips around the perimeter of the room. These strips, with their sharp pins, hold the carpet in place. Make sure they are firmly attached to the subfloor and that the pins are not bent or broken. Replace any damaged or missing sections of tack strip before re-stretching. You can find tack strips at most hardware stores.
Finally, ensure the carpet is completely dry if you used any cleaning solutions. Moisture can hinder the adhesive on seam tape and make the carpet more difficult to stretch. Allow ample drying time, or use fans to speed up the process. A dry carpet will provide the best results.
Step-by-Step Guide: Re-Stretching Short Nap Carpet to Close Gaps
Re-stretching is the most common method for fixing gaps in short nap carpet, especially those caused by natural settling or minor loosening. This process helps restore the carpet’s original tension and eliminates ripples. I have found this technique incredibly effective for most common carpet issues.
1. Removing the Carpet from Tack Strips
Start by carefully prying the carpet edge away from the tack strips along the wall where the gap is most prominent. Use a pair of pliers or a flat-head screwdriver for this. Work slowly to avoid damaging the carpet’s backing. You need to free enough carpet to work with the stretcher. You will typically work on one wall at a time.
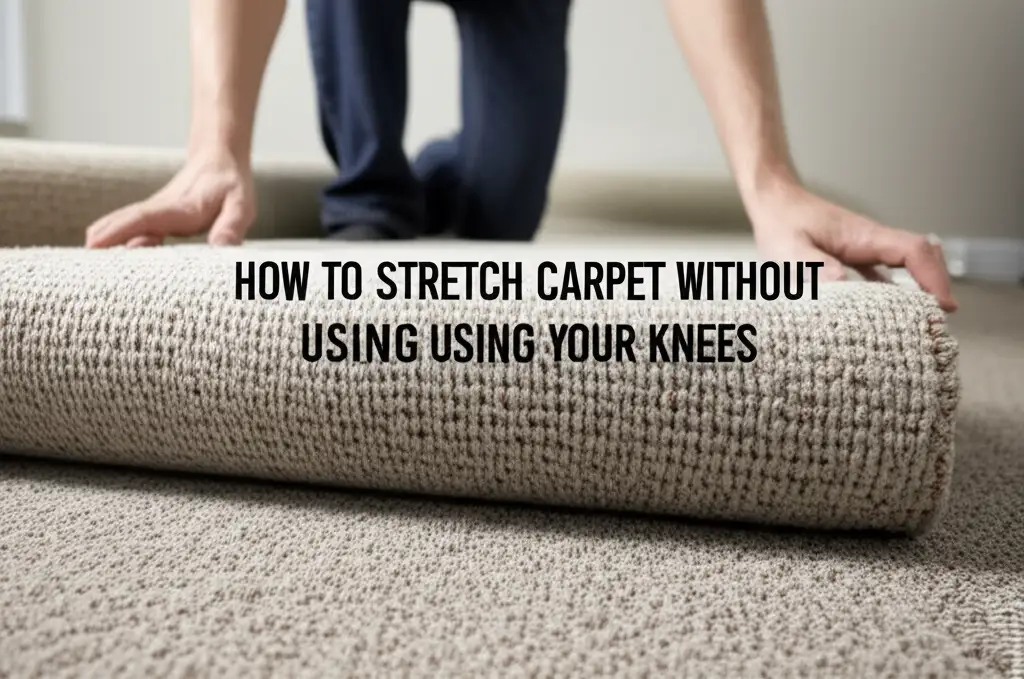
2. Using the Knee Kicker
Position the knee kicker approximately 1-2 inches from the wall, with its head firmly gripping the carpet. Point the kicker towards the wall you are stretching to. Use your knee to apply a quick, firm thrust to the kicker’s padded end. This action pushes the carpet forward, tightening it across the room. Do not use excessive force, as this can damage the carpet.
Work in small sections, moving the knee kicker along the wall. Overlap your kicks slightly to ensure even tension. Focus on pushing the carpet firmly onto the tack strips. You will see the gaps at the wall start to close. This step requires a bit of rhythm.
3. Trimming Excess Carpet
After stretching a section, you will likely have excess carpet extending beyond the tack strip. Use your sharp utility knife to carefully trim this excess. Keep your cuts clean and straight, following the edge of the wall or baseboard. Accuracy here ensures a neat finish.
4. Tucking the Carpet Edge
Once trimmed, use your tucking tool to push the newly stretched and trimmed carpet edge down between the baseboard and the tack strip. Ensure it is firmly seated on the pins of the tack strip. This provides a secure and professional-looking finish. This step makes the carpet look seamless again. For more tips on keeping carpet secure, you can explore resources on how to keep a carpet down.
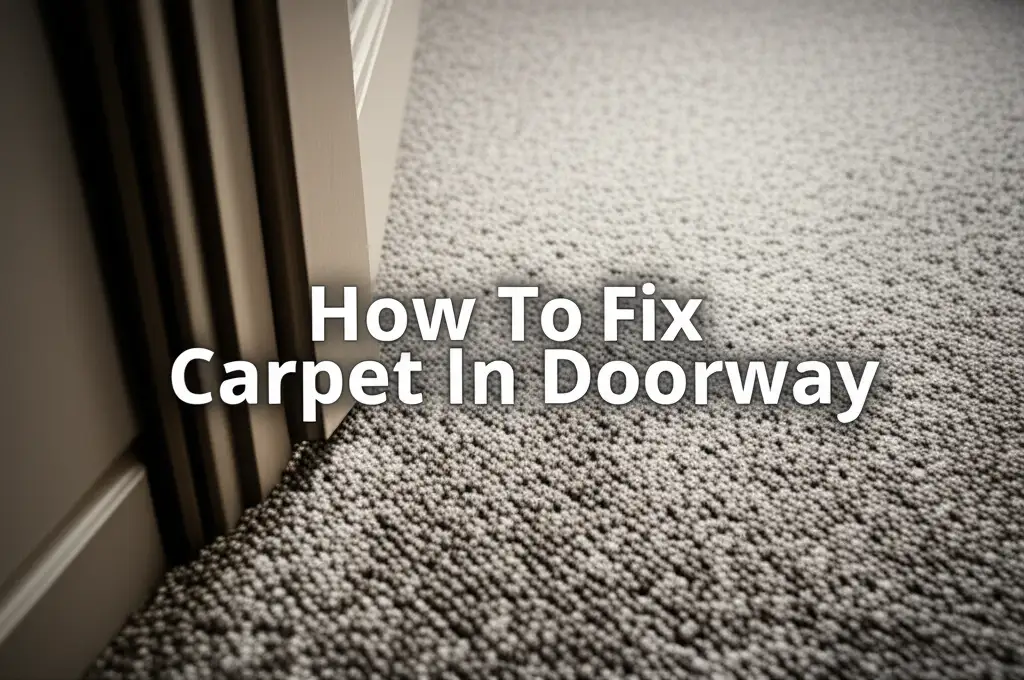
Repeat these steps along all affected walls until the gaps are eliminated and the carpet feels taut. If you find gaps at your doorway, the process is similar to how you would fix carpet in a doorway. Always take your time to ensure a good result.
Advanced Repair: Mending Larger Gaps and Seams
Sometimes, simple re-stretching with a knee kicker is not enough, especially when dealing with large gaps or separated seams. These situations require more advanced techniques and potentially different tools. Do not worry; these repairs are still within reach for a determined DIYer. I have found that patience is your best friend here.
1. Assessing the Severity of Seam Separation
For a large gap or a completely separated seam, you need to understand the extent of the damage. Is the seam tape underneath damaged or missing? Are the carpet edges frayed? A clear assessment guides your repair strategy. You might need to replace the seam tape entirely.
2. Using a Power Stretcher for Major Gaps
If a knee kicker cannot adequately tension your carpet, a power stretcher is the next step. This tool provides much greater pulling force, allowing you to stretch the carpet across a wider area more effectively. Place the power stretcher’s head on the carpet, often near a wall, and its tail end against the opposite wall. Engage the lever to stretch the carpet firmly.
Work in increments, stretching small sections and then re-securing them to the tack strips. A power stretcher ensures uniform tension throughout the room, which is crucial for eliminating large buckles and gaps. While it is a larger tool, its efficiency makes it invaluable for big jobs. You can usually rent these from home improvement stores.
3. Repairing Separated Carpet Seams
If the gap is along a seam, you will need heat-activated seaming tape and a seaming iron.
- Prepare the Seam: Lift both edges of the separated seam to expose the subfloor. Remove any old, brittle seam tape. Trim any frayed edges from the carpet to create clean, straight lines. Clean the subfloor underneath.
- Position the Tape: Lay the new seaming tape, adhesive side up, directly under the center of the seam. Ensure it extends a few inches beyond each end of the gap. The tape should be perfectly aligned.
- Apply Heat: Place the seaming iron directly on the tape. Slowly glide the iron along the tape, applying consistent pressure. The heat will melt the adhesive. Follow the manufacturer’s instructions for the specific iron and tape you are using.
- Join the Seam: As you move the iron, quickly press the two carpet edges together behind the iron. Apply firm, even pressure with your hands or a seam roller. This fuses the carpet backing to the melted adhesive. Be careful not to burn the carpet fibers.
- Cool and Set: Allow the seam to cool completely before walking on it or placing furniture. This ensures the adhesive cures properly and creates a strong bond.
Mending seams takes practice, but with careful attention, you can achieve a nearly invisible repair. This technique restores the integrity of your carpet’s design.
Patching Techniques for Damaged Short Nap Carpet Areas
Sometimes, gaps are not just about loose carpet or separated seams. They can also result from areas of the carpet being severely damaged, worn thin, or even torn. In these cases, patching is a viable solution to restore your carpet’s appearance. It allows you to replace only the damaged section.
The key to successful patching is finding a matching piece of carpet. This “donor” carpet could come from a remnant left over from the original installation, a closet, or an inconspicuous area like inside a large cabinet. The goal is to get a piece that matches in color, pile height, and wear. A good match makes the patch virtually invisible.
1. Preparing the Damaged Area
Carefully trim away the damaged section of the carpet. Use a sharp utility knife and a straightedge to cut a clean, square, or rectangular hole. Make sure the edges are perfectly straight. This precision is crucial for a snug fit. Remove any loose fibers or debris from the subfloor within the cutout area.
2. Cutting the Donor Patch
Place your cut-out damaged piece of carpet over your donor carpet. Align the pile direction perfectly. Use your utility knife to cut a new patch that is exactly the same size and shape as the hole. Ensure the pile direction of the patch matches the surrounding carpet. Running your hand over both surfaces can help you confirm the direction.
3. Securing the Patch
You have a few options for securing the patch:
- Seaming Tape: This is the most common and durable method. Place heat-activated seaming tape underneath all four edges of the hole. Position the new carpet patch carefully into the hole, ensuring a tight fit. Then, use a seaming iron to heat and bond the patch edges to the tape, just as you would with a seam repair. Apply pressure to set the adhesive.
- Carpet Adhesive/Glue: For smaller patches or quick fixes, you can use a specialized carpet adhesive. Apply a thin layer of adhesive to the subfloor around the edges of the hole and along the underside of the patch edges. Carefully press the patch into place. Wipe away any excess glue immediately. This method is simpler but may not be as strong as seaming tape.
- Double-Sided Carpet Tape: This offers a temporary or less permanent solution for small, low-traffic areas. Apply strips of heavy-duty double-sided carpet tape to the subfloor around the edges of the hole. Press the patch firmly onto the tape. This method is easy but might not hold up to heavy use.
4. Finishing Touches
Once the patch is secured, gently brush the carpet fibers with your fingers or a stiff brush to blend the edges. If necessary, trim any stray fibers that stick up. Allow ample time for any adhesive or seam tape to fully cure before walking on the patched area. A well-executed patch can extend the life of your carpet significantly.
Preventing Future Gaps in Your Short Nap Carpet
Fixing gaps is one thing, but preventing them from reoccurring is even better. With a few proactive measures, you can ensure your short nap carpet stays taut and beautiful for years. Prevention saves you time, effort, and money in the long run. I always advise homeowners to adopt good maintenance habits.
1. Ensure Proper Installation: The most critical step in preventing future gaps is a professional, high-quality installation. If you are getting new carpet, ensure the installer uses appropriate stretching tools, like a power stretcher, to achieve maximum tension. They should properly secure all edges to the tack strips. A well-installed carpet is much less likely to develop gaps. Do not hesitate to ask your installer about their stretching methods.
2. Maintain Consistent Indoor Climate: Drastic changes in temperature and humidity can cause carpet materials to expand and contract, leading to loosening. Try to maintain a relatively stable indoor climate using your heating and air conditioning systems. A humidifier in dry climates or a dehumidifier in humid ones can help regulate moisture levels. Stable conditions reduce stress on your carpet.
3. Use Furniture Glides and Avoid Dragging Heavy Items: When moving furniture, always lift it rather than dragging it across the carpet. Dragging heavy items can pull the carpet fibers, stretch the backing, and create ripples or gaps. Attach furniture glides or felt pads to the legs of heavy furniture to minimize friction. If you need to rearrange, get help to lift items carefully.
4. Consider a Quality Carpet Pad: A good quality carpet pad underneath your short nap carpet provides cushioning and support. It helps absorb impact, reducing wear and tear on the carpet backing. A dense, firm pad can also help prevent the carpet from shifting and stretching over time. This layer acts as a shock absorber.
5. Regular Vacuuming and Professional Cleaning: Regular vacuuming removes dirt and debris that can degrade carpet fibers. Professional carpet cleaning every 12-18 months not only keeps your carpet looking fresh but also helps restore its pile and elasticity. Avoid over-wetting your carpet during cleaning, as excessive moisture can contribute to stretching. A clean carpet is a happy carpet.
6. Address Issues Promptly: Do not ignore small ripples or minor gaps. The sooner you address them, the easier and less costly the repair will be. Small issues left unaddressed can quickly escalate into larger, more challenging problems. A quick re-stretch can prevent significant headaches.
By following these preventative tips, you can significantly extend the life and beauty of your short nap carpet. Taking these steps is an investment in your home’s appearance.
FAQ Section
Q1: Can all gaps in short nap carpet be fixed DIY?
Most common gaps, especially those caused by natural settling or minor loosening, can be fixed using DIY methods like re-stretching with a knee kicker or repairing seams with seaming tape. Very large, complex issues, or problems stemming from significant subfloor damage, might require professional intervention. Assessing the problem accurately helps you decide.
Q2: How long does carpet gap repair typically last?
The longevity of a carpet gap repair depends on the repair quality and the cause of the original gap. A well-executed re-stretch or seam repair using proper tools and techniques can last for many years. If underlying issues like extreme humidity or poor subfloor conditions are not addressed, gaps may reappear sooner. Regular maintenance extends its life.
Q3: What causes carpet to stretch and form gaps?
Carpet stretching and gap formation are caused by several factors. Natural settling and wear over time are common contributors. Improper installation, where the carpet was not stretched sufficiently, is another major reason. Fluctuations in room temperature and humidity, as well as heavy foot traffic or dragging furniture, can also cause the carpet to loosen and shift.
Q4: When should I call a professional for carpet gaps?
You should call a professional if you have extensive damage, such as large tears or widespread delamination of the carpet backing. If the gaps are due to structural issues with the subfloor, or if your attempts at DIY repair have not been successful, a professional carpet installer has specialized tools and expertise to address complex problems. They can also advise if you are unsure about the underlying cause. Some issues, like those involving rotted floors, are best left to professionals; consider if carpet installers fix rotted floors when evaluating damage.
Q5: Can humidity affect carpet gaps?
Yes, humidity plays a significant role in carpet stretching and gap formation. High humidity causes carpet fibers to absorb moisture and swell, leading to expansion. When humidity drops, the carpet dries and contracts. These repeated cycles of expansion and contraction can loosen the carpet’s grip on tack strips and pull seams apart, creating gaps over time. Maintaining stable humidity levels helps.
Q6: Is a knee kicker or power stretcher better for fixing gaps?
A knee kicker is excellent for minor re-stretching and smaller rooms. It is easy to use and relatively inexpensive. A power stretcher is superior for large rooms, extensive gaps, or when maximum tension is needed. It provides more leverage and ensures a more uniform stretch across the entire carpet. For most DIYers, a knee kicker is sufficient, but a power stretcher is better for professional-level results.
Conclusion
Seeing gaps in your short nap carpet can be disheartening, making your home feel less polished. However, as we have explored, most of these issues are entirely fixable with a bit of effort and the right tools. You now understand the common reasons why gaps form, from natural settling to environmental factors. You also know the essential tools needed for a successful repair, whether it is a simple re-stretch or a more involved seam repair.
By following the step-by-step guides for re-stretching and patching, you can restore your carpet’s smooth, seamless appearance. We covered practical techniques to tighten loose areas and effectively mend separated seams. Remember, taking preventative measures, such as ensuring proper installation and maintaining consistent indoor humidity, will help keep your carpet looking great for longer. Do not let those gaps persist. Take action today to fix gaps in short nap carpet and enjoy a more beautiful, safer home environment. Your carpet will thank you.
- short nap carpet
- carpet repair
- fix carpet gaps
- carpet stretching
- DIY carpet fix
- carpet maintenance

Tessa Winslow
Cleaning Expert
With years of hands-on experience in home care and a love for transforming everyday spaces, I specialize in making cleaning feel approachable and even enjoyable. I share smart, sustainable solutions that blend cleaning, organization, and decor—so your home not only looks good, but feels good too. Whether you're tackling weekend chores or taking on a full DIY refresh, I’m here to help you create a cleaner, cozier space you’ll love coming home to.