· Tessa Winslow · Kitchen Appliances · 15 min read
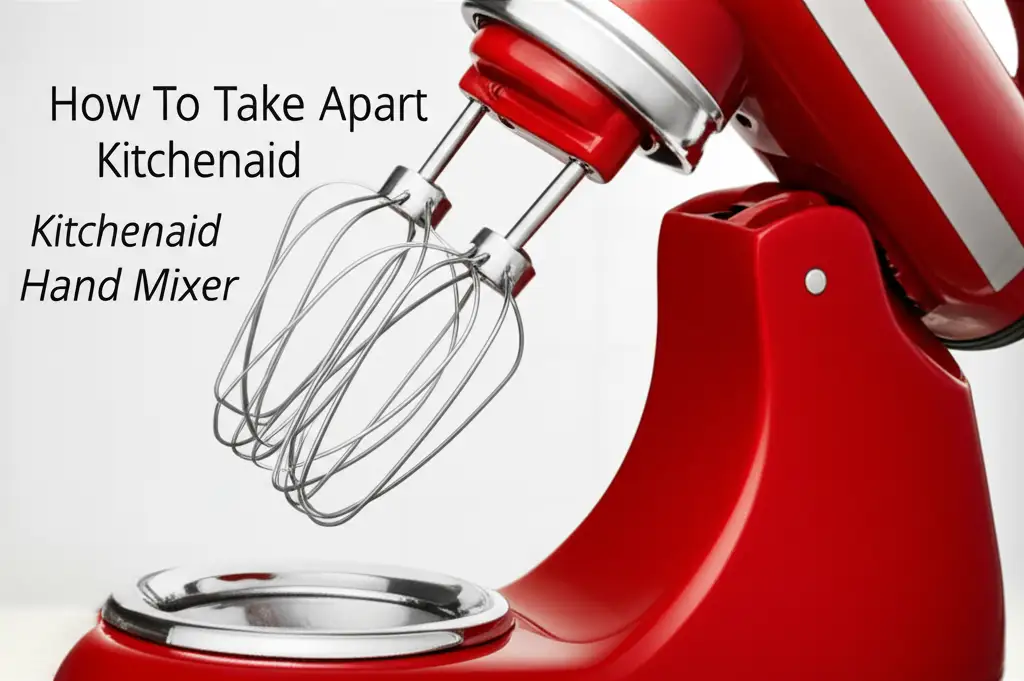
How To Take Apart Kitchenaid Hand Mixer
Safely Disassemble Your KitchenAid Hand Mixer
Have you ever wondered how to take apart a KitchenAid hand mixer? Perhaps your reliable kitchen companion needs a deep clean or a small repair. Disassembling small appliances can feel intimidating at first. However, with the right approach and proper safety measures, you can open your hand mixer successfully.
This comprehensive guide helps you open your KitchenAid hand mixer step by step. We will cover necessary tools, safety precautions, and methods for disassembling various components. Understanding your mixer’s internal parts allows for better maintenance and troubleshooting. Prepare to gain confidence in handling your kitchen appliances. We help you explore the inner workings of your KitchenAid hand mixer.
Takeaway
- Always unplug your KitchenAid hand mixer before starting any work.
- Gather all necessary tools like screwdrivers and prying tools beforehand.
- Keep screws and small parts organized to simplify reassembly.
- Work slowly and carefully to avoid damaging plastic tabs or internal wiring.
- Take photos at each step to help with putting the mixer back together.
The Basics of Hand Mixer Disassembly
To take apart a KitchenAid hand mixer, first ensure it is unplugged. Then, locate and remove all external screws, typically found on the handle, base, or along the seam. Gently pry open the plastic casing, being careful not to damage internal wires or clips. This reveals the motor and gear assembly.
Preparation Is Key: Tools and Safety First
Before you attempt to take apart your KitchenAid hand mixer, proper preparation is crucial. This step ensures both your safety and the success of the disassembly process. Skipping preparation can lead to damage to your mixer or even personal injury. We always start by unplugging the appliance. This removes all power from the unit. It prevents any accidental shocks during the work.
Gathering the correct tools makes the job much easier. You will typically need a set of screwdrivers. This often includes Phillips head and flathead types. Some KitchenAid models might use Torx screws, so a set of these bits is also helpful. A plastic prying tool, like those used for electronics repair, can prevent scratches when separating the casing. Small containers or a magnetic mat are excellent for organizing removed screws. This prevents loss and makes reassembly simple.
Setting up your work area correctly is also important. Choose a clean, well-lit surface. A non-slip mat can keep parts from sliding around. Ensure you have enough space to lay out components as you remove them. This systematic approach helps you track everything.
Safety should always be your top priority. Besides unplugging the mixer, consider wearing safety glasses. This protects your eyes from any small flying debris or dust. Avoid using excessive force. Plastic parts can break easily. Do not use water or cleaning solutions near exposed electrical components. Understanding the specific model of your KitchenAid hand mixer can also be beneficial. Sometimes, knowing your model number can help you find specific diagrams or instructions online. This can provide valuable insights into its construction.
Locating and Removing Exterior Screws
Once your workspace is ready and tools are at hand, the next step in how to take apart your KitchenAid hand mixer is to find and remove all exterior screws. KitchenAid hand mixers typically have their screws hidden. They can be in a few common locations. Knowing where to look will save you time and effort.
Start by carefully examining the mixer’s handle. Many models have screws located under a rubber grip or plastic cap. These caps often pry off with a small flathead screwdriver. Look closely at the base of the mixer. Sometimes, screws are positioned near the beater eject button or where the cord enters the housing. Some models might have screws along the seam where the two halves of the casing meet.
The type of screws can vary. Most common are Phillips head screws. However, some newer or specific models might use Torx screws. Always make sure you use the correct screwdriver bit. Using the wrong size or type can strip the screw head. This makes removal much harder. If a screw feels stuck, do not force it. A gentle turn with the correct tool often works.
As you remove each screw, place it immediately into one of your small containers. You might consider labeling the containers based on where the screws came from. For example, “handle screws” or “base screws.” This organization simplifies reassembly. It ensures every screw returns to its correct place. Sometimes, screws are hidden under rubber feet or stickers. Feel around these areas for bumps. These bumps might indicate a screw underneath. Take your time during this step. Proper screw removal prevents damage to the casing or internal components.
Opening the Casing: Gentle Separation Techniques
After removing all the visible screws, the next step in how to take apart a KitchenAid hand mixer involves gently separating the casing halves. This can be a delicate process. The casing often uses a combination of screws and hidden plastic clips. These clips can break if too much force is applied. Patience is key here.
Start by looking for any natural seams in the casing. These seams usually indicate where the two halves join. Begin at one end of the mixer. Use a plastic prying tool to gently work the seam apart. Avoid using metal tools if possible. Metal tools can scratch or mar the plastic. Insert the prying tool into the seam. Then, twist it slightly to create a small gap. You might hear a gentle click as the clips release.
Work your way slowly around the entire perimeter of the mixer. Apply gentle pressure. If you encounter resistance, stop and re-examine the casing. There might be a hidden screw you missed. Some models have interlocking tabs that require a specific angle to release. Do not rush this step. Rushing can snap the plastic tabs that hold the casing together. These tabs are important for keeping the mixer’s housing secure once reassembled.
As the casing begins to separate, be mindful of internal wires. Wires connect the motor, speed control, and power cord. They often run between the two halves of the casing. Pulling the halves apart too quickly can yank these wires loose. It can also damage the connections. Once the casing is open, do not fully separate the halves immediately. Instead, open it like a book. This lets you observe the internal layout. You can then identify how the components are arranged. This visual understanding helps immensely during reassembly. You might want to take a picture of the internal setup at this point. This serves as a reference later on.
Understanding Internal Components: Motor and Gear Assembly
With the casing of your KitchenAid hand mixer open, you now have a clear view of its internal components. Understanding these parts helps you identify potential problems or simply appreciate the engineering. The core of any hand mixer consists of the motor and the gear assembly. These two parts work together to rotate the beaters.
The motor is usually the largest component inside the casing. It looks like a cylindrical or rectangular block, often made of metal or black plastic. Wires connect directly to the motor. These wires supply power and control the speed. The motor’s function is to convert electrical energy into mechanical motion. This motion drives the beaters. Observing the motor’s condition can tell you a lot. Look for any signs of burning or excessive dust buildup.
Directly connected to the motor, you will find the gear housing. This is often a separate plastic or metal casing. It contains a series of gears. These gears are crucial. They reduce the high speed of the motor to a lower, more powerful rotation for the beaters. Gears also typically transfer the motor’s power to both beater shafts. Many hand mixers use a grease-based lubricant within this gear assembly. This reduces friction and noise. Over time, this grease can dry out or become contaminated. This might cause the mixer to make unusual noises.
You will also notice the power switch and speed control. These components are connected by wires to both the motor and the main circuit board. The circuit board manages the electrical flow and speed settings. The beater shafts extend from the gear assembly through openings in the mixer’s bottom. These shafts connect to your beaters. They should spin freely without resistance. If you plan to replace parts, identify the specific component that needs attention. For example, if your mixer makes a grinding noise, the gears might need inspection or lubrication. When dealing with older appliances, proper maintenance can extend their life, much like regular cleaning keeps your large appliances efficient. For example, understanding the components of your mixer is similar to learning how different parts of your refrigerator work to keep food fresh.
Accessing the Circuit Board and Electrical Connections
After familiarizing yourself with the motor and gear assembly, you can now focus on the electrical heart of your KitchenAid hand mixer: the circuit board and its connections. This step is important for understanding how power is distributed and controlled within the appliance. It also helps diagnose electrical issues. Always proceed with caution when handling electrical components.
The circuit board is a small, flat panel covered in tiny electronic components. It acts as the brain of the mixer. It manages the power supply from the cord to the motor and controls the speed settings. You will typically find the circuit board located near the power cord’s entry point or close to the speed control switch. It is usually secured with small screws or plastic clips.
Wires connect the circuit board to various parts of the mixer. These include the power cord, the motor, and the speed control switch. Notice the color coding of these wires. Manufacturers use specific colors to indicate different connections. This is very helpful for reassembly. Before disconnecting any wires, take a clear picture of the board and all its connections. This visual reference is invaluable. Use a small screwdriver or needle-nose pliers to gently disconnect wires. Some wires might have push-on terminals. Others may require desoldering if you are comfortable with that. However, for basic disassembly, often simple connections are sufficient.
When inspecting the circuit board, look for any visible signs of damage. These signs include burnt spots, swollen capacitors, or loose solder joints. These can indicate electrical problems. If you find any such damage, the board might need replacement. Never attempt to repair a damaged circuit board without proper knowledge and tools. Electrical repairs can be dangerous. Also, check the condition of the wires themselves. Look for fraying, nicks, or exposed copper. Damaged wires pose a shock hazard. Understanding how these electrical parts work helps you troubleshoot the mixer. It also ensures safe handling during reassembly.
Troubleshooting Common Issues and Cleaning Internal Parts
Disassembling your KitchenAid hand mixer provides a unique opportunity. You can diagnose common problems and perform a thorough internal cleaning. Many performance issues stem from accumulated debris or worn components inside the casing. This step allows you to address these issues directly.
Once the casing is open, begin by inspecting the gear assembly. Look for any excessive grease build-up, especially if it appears hardened or black. Old, contaminated grease can impede gear movement. This causes the mixer to run slowly or make unusual noises. You might also find food particles or hair wrapped around shafts. These foreign objects can put a strain on the motor. Use a small brush or cotton swab to remove old grease and debris. You can use a mild degreaser, but be careful not to get it on electrical parts.
Check the condition of the motor’s fan blades if your mixer has them. Dust and debris can accumulate here. This prevents proper cooling. An overheating motor can lead to premature failure. Clean any dust from the motor housing using compressed air or a soft brush. Ensure all internal areas are free from dust and crumbs. This extends the life of your appliance. A clean interior prevents future breakdowns. Just as you might deep clean components to enhance the efficiency of your home, like when you learn how to clean air vents for better air quality, cleaning the internal parts of your mixer improves its performance.
Next, examine the wires and connections. Look for any loose connections or frayed wires. These can lead to intermittent power or safety hazards. If you find any damaged wiring, it is best to replace the wire or consult a professional. Lubricate the gears with a small amount of food-grade lithium grease or a similar appliance-safe lubricant. Do not over-lubricate. Too much grease can attract more dust. After cleaning and lubricating, manually spin the beater shafts. They should turn smoothly without resistance. This internal maintenance can often restore your hand mixer to optimal working condition.
Reassembly Steps: Putting Your Hand Mixer Back Together
After you have completed your inspection, cleaning, or repair, the final step is to put your KitchenAid hand mixer back together. This process essentially reverses the disassembly steps. However, careful attention to detail is still essential. Rushing can lead to misplaced parts or improper function.
Start by ensuring all internal components are correctly positioned. The motor, gear assembly, and circuit board must sit firmly in their designated spots. If you disconnected any wires from the circuit board, reconnect them now. Refer to the pictures you took during disassembly. Ensure each wire goes back to its original terminal. Incorrect wiring can prevent the mixer from working or even cause damage. Double-check that no wires are pinched or obstructing the closing of the casing.
Next, carefully bring the two halves of the casing together. Align them precisely. Ensure all internal components stay in place as you close the shell. You might need to gently press along the seams to engage the plastic clips. Listen for the satisfying clicks as the tabs lock into place. Do not force the casing shut. If it does not close easily, something might be misaligned or a wire might be in the way. Reopen it and adjust the components.
Once the casing halves are securely joined, begin reinserting the exterior screws. Place each screw back into its original hole. Tighten them just enough to be snug. Avoid over-tightening. Over-tightening can strip the plastic threads. This prevents the screws from holding properly. It can also crack the plastic casing. If your mixer had any rubber feet or decorative caps covering screw holes, replace them now.
Finally, before fully trusting your reassembled mixer, perform a test. Plug it in. Turn it on at its lowest speed setting. Listen for any unusual noises. Check that the beaters spin freely and at the correct speeds. If everything appears to be working correctly, your KitchenAid hand mixer is ready for use. You have successfully learned how to take apart a KitchenAid hand mixer and put it back together!
FAQ Section
Q1: Why would I take apart my KitchenAid hand mixer?
People take apart their KitchenAid hand mixers for several reasons. Common reasons include deep cleaning internal components, troubleshooting a problem like a strange noise or intermittent power, or replacing a broken part such as a gear or a switch. Disassembly can extend the life of your appliance.
Q2: What tools do I need for this task?
You will typically need a set of screwdrivers (Phillips, flathead, and possibly Torx). A plastic prying tool is also very useful for separating the casing without causing scratches. Small containers or a magnetic mat help organize screws and small parts.
Q3: Is it safe to take apart electrical appliances?
Yes, it can be safe if you follow strict precautions. Always unplug the mixer from the power outlet before starting any work. This removes the risk of electric shock. Work in a dry, well-lit area. Avoid touching exposed electrical contacts once the casing is open.
Q4: Can I repair it myself once it’s open?
You can perform basic repairs like cleaning out debris, lubricating gears, or reattaching loose wires. However, complex electrical repairs, like replacing a motor or a circuit board, often require specialized knowledge and tools. If you are unsure, consult a professional.
Q5: How do I identify my KitchenAid hand mixer model number?
The model number is usually found on a sticker or etched label. Look on the bottom or side of the mixer, near where the cord attaches. This number is helpful for finding repair diagrams or ordering specific replacement parts for your model.
Q6: What if I break a plastic tab during disassembly?
Breaking a plastic tab is a common issue, especially if you apply too much force. If a tab breaks, the casing might not close as securely. You can sometimes use a strong adhesive, like super glue or epoxy, to reattach the tab or secure the casing. However, this might make future disassembly harder.
Conclusion
Understanding how to take apart a KitchenAid hand mixer can empower you to perform your own maintenance and minor repairs. This process, while seemingly intricate, becomes straightforward with patience and the right steps. We covered essential safety precautions, the tools required, and a detailed walkthrough for each stage of disassembly and reassembly. From carefully removing external screws to gently separating the casing and identifying internal components, you now have a roadmap for tackling this task.
Taking the time to clean internal components and ensure everything is properly aligned can significantly extend the life of your appliance. Remember, your KitchenAid hand mixer is a valuable kitchen tool. Giving it proper care ensures it continues to serve you well for years to come. Do not hesitate to use the insights from this guide to keep your mixer in top condition. Take the plunge and give your KitchenAid hand mixer the care it deserves.
- KitchenAid
- hand mixer
- appliance repair
- disassembly
- kitchen tools
- DIY repair
- small appliance

Tessa Winslow
Cleaning Expert
With years of hands-on experience in home care and a love for transforming everyday spaces, I specialize in making cleaning feel approachable and even enjoyable. I share smart, sustainable solutions that blend cleaning, organization, and decor—so your home not only looks good, but feels good too. Whether you're tackling weekend chores or taking on a full DIY refresh, I’m here to help you create a cleaner, cozier space you’ll love coming home to.