· Tessa Winslow · Appliance Repair · 13 min read
How To Remove Wall Oven Door

How To Remove Wall Oven Door Safely & Easily
Have you ever found stubborn spills inside your wall oven? Or perhaps a hinge needs repair? Knowing how to remove your wall oven door can simplify many kitchen tasks. I understand the frustration of trying to clean those hard-to-reach spots. This guide offers a simple, step-by-step approach to safely detach your oven door. We will cover safety measures, necessary tools, and detailed instructions for various oven models. By the end, you will feel confident tackling this task yourself, ensuring a cleaner oven or smoother repair process.
Takeaway
Removing your wall oven door is a straightforward process that improves cleaning and allows for repairs. Remember these key points:
- Always disconnect power to the oven first.
- Identify your oven’s hinge type before starting.
- Use a sturdy towel or blanket to protect the door.
- Work with a helper if the door is heavy.
How do you remove a wall oven door?
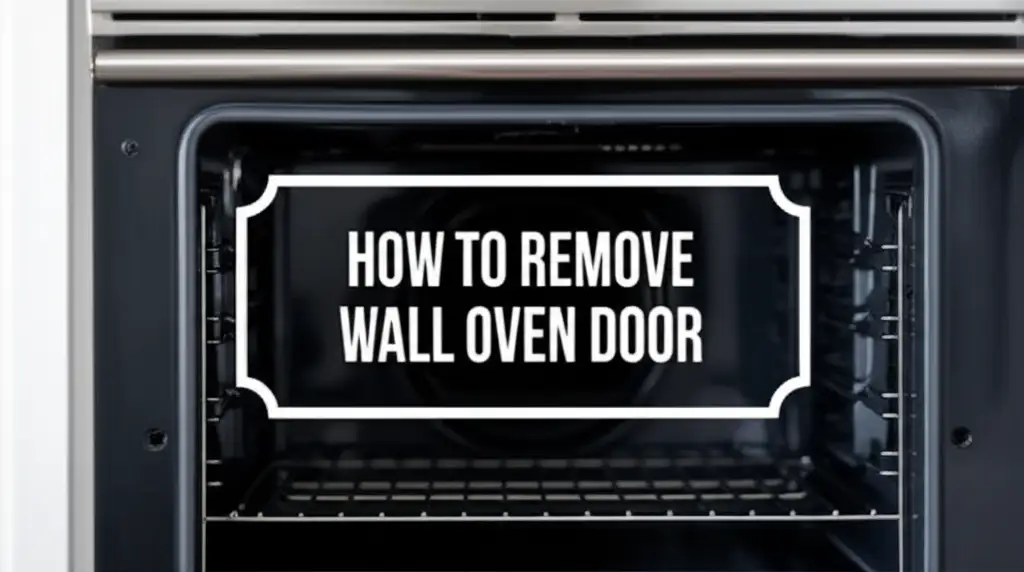
You can remove a wall oven door by first ensuring the oven is unplugged and cool. Open the door fully, then locate the hinge locks or release levers on both hinges. Flip or pull these mechanisms to the locked or disengaged position. Partially close the door to a specific angle, then lift the door straight up and out from the oven frame.
Why Remove Your Wall Oven Door? Reasons & Benefits
Removing your wall oven door might seem like a big job. However, there are many good reasons to do it. The main benefit is much easier cleaning. Grease and food splatters often collect between the glass panels. Without removing the door, these spots are impossible to reach. A deep clean improves your oven’s efficiency and look.
Another common reason is appliance repair. Oven doors can develop issues over time. Hinges might become loose, or the door might not seal properly. Removing the door allows you to access these parts directly. You can inspect hinges, replace faulty seals, or even swap out glass panels if they crack. This saves you money on professional repair services.
Sometimes, you need to replace the entire oven. Removing the door makes the oven lighter and easier to move. This is helpful during kitchen renovations or when upgrading your appliances. Always consider the door’s weight. It can be surprisingly heavy, so plan accordingly.
Finally, door removal helps with general maintenance. You can check the door’s balance and ensure all components work correctly. This proactive approach helps prevent larger problems in the future. I find that a little maintenance goes a long way.
Safety First: Essential Precautions Before Starting
Before you touch anything, prioritize safety. This step is the most important part of the process. Ignoring safety can lead to injury or damage to your appliance. Always begin by disconnecting the oven’s power supply. Go to your circuit breaker box and turn off the breaker for your oven. This prevents electrical shocks.
Next, ensure the oven is completely cool. A hot oven door can cause severe burns. Give it plenty of time to cool down after use, perhaps several hours. I always wait until the oven is at room temperature. Wear protective gloves to protect your hands from sharp edges or pinch points. Oven doors can have metal parts that might be sharp.
Have a clean, flat surface ready to place the door on once it is removed. A blanket or a soft towel can protect the door from scratches. This also protects your floor or countertop. Many oven doors are heavy. I strongly recommend having a second person assist you. Lifting a heavy door alone can lead to back strain or dropping the door.
Never force the door. If it does not come off easily, re-check the instructions or look for hidden latches. Forcing it can damage the hinges or the oven itself. Take your time with each step. Patience ensures a safe and successful removal process.
Gathering Your Tools: What You Will Need
Having the right tools ready makes the job much smoother. You probably have most of these items already. Gather everything before you start to avoid interruptions. You will need a few basic tools to remove your wall oven door.
First, you might need a flat-head screwdriver or a Phillips-head screwdriver. The type depends on your oven model. Some hinges have screws that need loosening. Others might use a latch mechanism that a flat-head screwdriver can help activate. Always check your oven’s specific manual.
Next, have a sturdy towel or an old blanket ready. You will place the oven door on this after removal. This protects the door’s glass and prevents scratches. It also keeps your floor or counter safe. I like to use a padded moving blanket for extra protection.
A flashlight can be very helpful. It allows you to see small latches or screws in dimly lit areas. This is especially useful if your oven is recessed or in a darker corner of the kitchen. Good lighting makes it easier to spot the hinge mechanisms.
Finally, a stable surface is crucial. This can be a table, a workbench, or a clear section of your kitchen floor. Make sure it is clean and flat. This prevents the door from wobbling or falling once removed. Having a helper is also a “tool” in itself. An extra pair of hands makes lifting and positioning the door much safer.
Step-by-Step Guide: How to Remove Your Wall Oven Door
Removing your wall oven door involves specific steps. The exact method can vary by oven brand and model. However, most ovens use one of a few common hinge designs. I will walk you through the most common methods. Always refer to your oven’s manual for precise instructions for your specific model.
Hinge Lock Method (Most Common)
Many modern ovens use a hinge lock system. This is often the easiest method. First, open the oven door completely flat. It should be parallel to the floor. Look for small latches or clips on each hinge, located near the oven frame. These latches often flip up or slide into a locked position.
Flip or slide both hinge locks. They should click into place, holding the hinges open. Once both latches are set, slowly begin to close the door. Do not close it all the way. You will feel resistance at a certain point, usually around a 15-30 degree angle from the fully closed position. This is the “removal angle.” At this angle, the hinges disengage from the oven frame.
With the door at this angle, firmly grip both sides. Then, lift the door straight up and out. It should slide off the hinges easily. If it resists, do not force it. Re-check the hinge locks and the angle. Place the door carefully on your prepared padded surface.
Lift-Off Method
Some older or simpler oven models use a “lift-off” method without explicit locks. For these, open the oven door fully. Examine the hinges. They will look like simple metal arms extending from the door into slots on the oven frame. There are no visible latches to flip.
With the door fully open, gently lift the door straight up from the hinges. You may need to jiggle it slightly to release it. The door’s weight helps it stay in place. This method requires a steady hand. Again, if it doesn’t lift easily, avoid forcing it.
This method works well for very basic designs. It relies on the door’s weight to keep it attached. Once lifted, the door should separate cleanly from the oven body. Always ensure you have a good grip before lifting.
Screw Removal Method
A few oven models require you to remove screws from the hinges. This is less common for full door removal but can occur, especially for hinge repair. Open the oven door fully. Locate any screws that secure the hinge mechanism to the oven frame or the door itself. These are typically on the lower part of the hinge arm.
Use the appropriate screwdriver to carefully loosen and remove these screws. Keep them in a safe place, like a small cup, so you do not lose them. Once the screws are removed, the hinge might be loose. You may then need to lift the door off the remaining hinge pins.
This method is more involved. It is best to consult your oven’s manual. Reinstallation will require careful alignment of the screws. Always ensure screws are fully tightened upon reassembly.
If you are thinking about other appliance fixes, learning how to unlock your Samsung stove oven can be helpful. This ensures your appliance is ready for any maintenance. Similarly, if you are working with other kitchen appliances, knowing how to open a Maytag dishwasher door can provide insight into different door mechanisms.
Reinstalling Your Wall Oven Door: A Reverse Process
Reinstalling your wall oven door is essentially the reverse of removal. This process is usually simpler once you understand the mechanism. Make sure the oven is still cool and the power is off. I always double-check this for safety.
First, identify the hinge slots on the oven frame. Hold the door firmly by its sides. Align the hinge arms on the door with the slots on the oven. If your oven uses the hinge lock method, ensure the locks are still in the disengaged position. You might need to adjust the angle of the door slightly, typically 15-30 degrees from closed, just like when you removed it.
Lower the door slowly onto the hinge pins. You should feel the hinge arms slide into the slots. Once seated, open the door fully. Now, push or flip the hinge locks back into their original “unlocked” position. This secures the door. If the door uses the lift-off method, simply slide it back down onto the pins until it feels secure. For the screw removal method, realign the hinges and reinsert all screws, tightening them firmly.
Gently open and close the door a few times to test its operation. It should move smoothly without sticking or wobbling. Check that it closes completely and creates a good seal. Once you are satisfied, you can turn the power back on at the circuit breaker.
Common Challenges and Troubleshooting Tips
Even with clear instructions, you might encounter some issues. Knowing what to do can save time and frustration. One common problem is the door not coming off easily. If the door feels stuck, do not force it. Re-check the hinge locks. Ensure they are fully flipped or slid into the correct position. Sometimes they do not engage completely.
Another issue is finding the correct removal angle. If you close the door too much or not enough, the hinges will not release. Experiment slightly with the door angle. Slowly move it between 10 and 40 degrees from closed. You should feel a point of minimal resistance where it wants to lift. I often find this part requires a bit of gentle trial and error.
If the hinges seem jammed or rusty, a small amount of penetrating oil might help. Apply it sparingly and wipe away any excess. This can loosen stiff mechanisms. However, be careful not to get oil on electrical components or heating elements.
Sometimes, after reinstallation, the door might not close properly. Check that the hinge arms are fully seated in their slots. Also, ensure the hinge locks are completely disengaged. A misaligned hinge can prevent a proper seal. If the door feels loose or wobbly, double-check all screws and hinge mechanisms. Make sure everything is tight and correctly positioned. If you’re working on cleaning, remember that the principles of deep cleaning apply to other appliances too, like learning how to clean an air fryer oven for maintaining its efficiency.
Maintaining Your Oven Door for Longevity
Regular maintenance helps your wall oven door last longer. After you remove the door for cleaning, make sure to clean the hinges too. Wipe away any accumulated grease or food particles. This prevents buildup that can cause hinges to stick. I use a damp cloth with a mild degreaser.
Lubricate the hinges periodically. Use a food-safe silicone lubricant. A small amount on the hinge pins or moving parts can keep them operating smoothly. This reduces friction and wear. Do not use standard oil, as it can attract dust and grime.
Check the door seal, or gasket, regularly. This is the rubber or braided seal around the oven opening. A damaged seal lets heat escape, making your oven less efficient. If you see cracks or tears, replace the seal. You can usually find replacement gaskets online or from appliance parts suppliers.
Avoid slamming the oven door. This puts stress on the hinges and can lead to misalignment over time. Encourage everyone in your household to close it gently. Overloading the door with heavy baking sheets or pans can also strain the hinges. Always place items securely inside the oven cavity, not on the open door.
Finally, clean the door glass regularly. This prevents baked-on stains that are harder to remove later. A clean door allows you to monitor your food easily. Consistent care keeps your wall oven door functional and looking good for years. If you are dealing with other oven issues, like an oven not heating up properly, it might be time to reset your Bosch oven or similar appliance.
FAQ Section
Can I remove my wall oven door without tools?
Most wall oven doors require at least a flat-head screwdriver to activate hinge locks. Some older models might lift off without tools. Always check your specific oven manual for the correct procedure. Using the right tool prevents damage to the hinges.
How often should I remove my oven door for cleaning?
It depends on how much you use your oven. For average use, removing the door every 6-12 months for a deep clean is good. If you cook greasy foods often, you might do it more frequently. This helps prevent stubborn buildup.
What if my oven door is stuck after I try to remove it?
If the door is stuck, do not force it. Double-check that the hinge locks are fully engaged in the removal position. Ensure you are lifting at the correct angle. Sometimes a gentle wiggle helps. Consult your oven’s manual for specific troubleshooting steps.
Is it safe to remove the oven door by myself?
It is possible, but I highly recommend having a helper. Oven doors are often very heavy. Lifting alone can lead to injury or damage to the door. An extra set of hands makes the process much safer and easier.
Can removing the oven door void my warranty?
No, removing the oven door for routine cleaning or maintenance typically does not void your warranty. However, damaging the oven during removal might. Always follow the manufacturer’s guidelines for safe removal. If you are unsure, contact the manufacturer.
How do I know if my oven door hinges are bad?
Signs of bad hinges include a door that does not close properly, a gap when the door is closed, or the door feeling loose or wobbly. You might also hear a grinding noise when opening or closing. Worn hinges need replacement to maintain oven efficiency.
Conclusion
Removing your wall oven door is a practical skill for any homeowner. It simplifies deep cleaning and allows for essential repairs or replacements. By following my step-by-step guide, you can confidently tackle this task. Remember to prioritize safety by disconnecting power and having a helper. Understanding your oven’s hinge mechanism is key to a smooth removal process.
Once the door is off, you can access those hard-to-reach areas for a truly sparkling oven. Reinstallation is straightforward and reverses the removal steps. Regular maintenance of your oven door ensures its longevity and efficiency. Take control of your home appliance care. A clean and well-maintained wall oven serves you better for years to come.


