· Elira Thomsen · DIY Home Decor · 12 min read
How To Make Custom Pillows
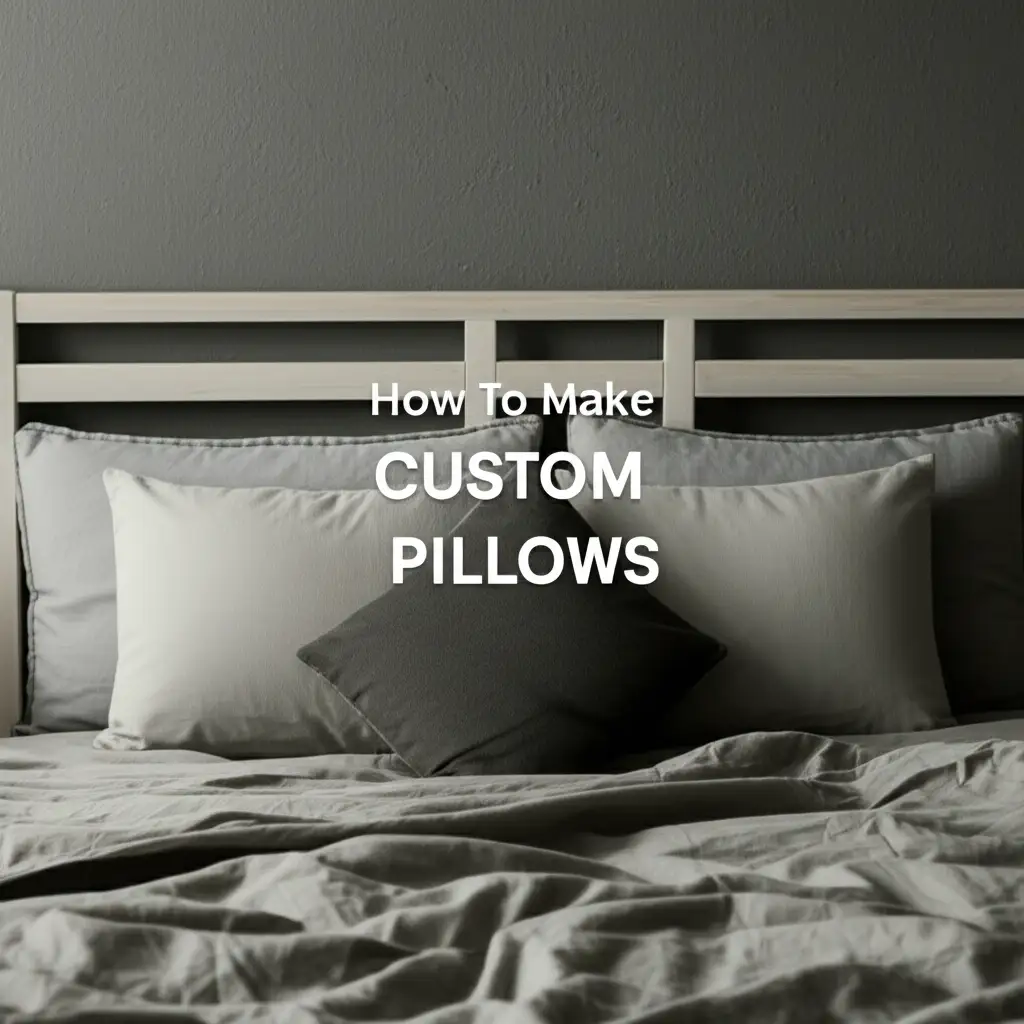
Craft Your Own Custom Pillows: A DIY Guide
Do you dream of a home where every detail reflects your style? Making custom pillows allows you to add a truly personal touch. Standard store pillows often lack the specific color or pattern you envision. Creating your own helps you achieve a cohesive look for any room. This guide will show you how to make custom pillows, from choosing materials to finishing your project. We cover fabric selection, basic sewing steps, and design ideas. Get ready to transform your living space with unique, handmade comfort.
Takeaway: Your Journey to Custom Comfort
- Personalize Your Space: Make pillows that perfectly match your decor.
- Save Money: Often, DIY is more cost-effective than buying specialized pillows.
- Express Creativity: Design unique pieces that reflect your artistic vision.
- Learn New Skills: Gain valuable sewing and crafting abilities.
Making custom pillows involves choosing fabric, cutting patterns, and sewing pieces together. You can add a filling for comfort. This process helps you create decor items that perfectly fit your home’s style and color scheme.
Why Create Your Own Custom Pillows?
Creating your own custom pillows brings many benefits. First, you get complete control over the design. You can choose any fabric, color, or pattern you like. This means your pillows will perfectly match your current decor. They can also provide an accent splash of color. I always find it rewarding to see my vision come to life.
Second, custom pillows are unique. You will not find them in any store. This makes your home stand out. It adds a personal touch that mass-produced items cannot offer. My friends often ask where I bought my pillows. They are always surprised when I say I made them.
Third, making your own pillows can save money. High-quality decorative pillows can be expensive. Buying fabric and a pillow insert is often cheaper. This is especially true if you need several pillows. It is a budget-friendly way to update your home.
Finally, the process is a fun and creative outlet. You learn new skills while making something beautiful. This hobby is very relaxing for me. It allows me to express my creativity. Many people enjoy the satisfaction of crafting.
Essential Tools and Materials for Custom Pillow Making
Before you start, gather all the necessary tools and materials. Having everything ready makes the process smooth. You will need a few basic items to begin your custom pillow project. I always check my supplies before starting any new craft.
First, you need fabric. Choose a fabric suitable for pillows. Upholstery fabric is durable, but cotton or linen also work well. Think about the room where the pillow will go. Consider how much wear and tear it will get.
Second, a sewing machine is very helpful. While you can hand sew, a machine saves much time. It also creates stronger seams. Make sure your machine is threaded and ready. I prefer using a machine for speed and neatness.
Third, you need basic sewing supplies. This includes sharp fabric scissors for clean cuts. A measuring tape or ruler is essential for accuracy. Pins hold your fabric in place while sewing. A seam ripper helps fix mistakes. You will also need thread that matches your fabric.
Fourth, you need a pillow insert. This is the inner pillow that gives your custom cover its shape. Choose an insert size based on your desired pillow dimensions. Polyester fiberfill inserts are common and affordable. Down or feather inserts offer more luxury. Consider the firmness you prefer.
Choosing the Right Fabric and Fill for Your Custom Pillows
Selecting the right fabric and fill is crucial for your custom pillows. These choices affect both the look and feel of your finished product. They also determine how durable your pillow will be. I enjoy exploring different textures and colors.
When choosing fabric, think about the room’s overall style. For a cozy living room, a soft velvet or chenille works well. If you have a high-traffic area, opt for durable fabrics like canvas or twill. Consider the pattern too. Bold prints make a statement, while solids offer versatility. Remember that colors can fade over time with sun exposure.
Pillow fill makes a big difference in comfort. Polyester fiberfill is a popular choice. It is affordable and holds its shape well. Down or feather fills provide a softer, more luxurious feel. They contour to your body. For a firmer pillow, you might use foam inserts. Think about how you will use the pillow. Will it be for decoration or for daily use?
Consider any allergies when choosing fill material. Some people react to down or feathers. Hypoallergenic options are available. The right fill also affects how full your pillow looks. A slightly larger insert can make your pillow look plumper. This gives it a more professional appearance.
Step-by-Step Guide to Sewing a Basic Custom Pillow Cover
Sewing a basic custom pillow cover is simpler than you might think. Even beginners can achieve great results with clear steps. I remember making my first pillow; it was such a proud moment. Follow these instructions carefully.
First, measure your pillow insert. Add one inch to both the length and width for seam allowance. For example, if your insert is 18x18 inches, cut your fabric to 19x19 inches. You will cut two pieces of fabric for a basic square pillow. Use a fabric marker or chalk to draw your lines before cutting.
Second, place your two fabric pieces right sides together. Line up the edges neatly. Pin them in place around all four sides. Leave a 6-inch opening on one side. This opening will be used for turning the pillow right side out and inserting the fill. I usually mark the opening with two pins.
Third, sew around the pinned edges. Use a straight stitch on your sewing machine. A 1/2-inch seam allowance is common. Go slowly, especially around corners. Backstitch at the start and end of your seams to secure them. Make sure you stop sewing at the marked pins for the opening.
Fourth, trim the corners. Cut the fabric diagonally across each corner, close to the seam. Be careful not to cut through the stitches. This helps the corners lie flat when you turn the pillow. Now, turn the pillow cover right side out through the opening. Use a blunt object, like a chopstick, to gently push out the corners. Press the seams flat with an iron.
Finally, insert your pillow form. Gently push the form into the cover, working it into the corners. Once the form is inside, close the opening. You can hand stitch the opening closed using a ladder stitch. This stitch is nearly invisible. Or, you can machine stitch it closed for a quicker finish. Your custom pillow is now ready!
Advanced Techniques and Design Ideas for Custom Pillows
Once you master the basic pillow cover, you can explore advanced techniques. These methods add unique flair to your custom pillows. They can transform a simple pillow into a decorative accent piece. I love experimenting with different embellishments.
Consider adding piping to your pillow edges. Piping is a cord covered in fabric, sewn into the seam. It gives pillows a defined, professional look. You can use contrasting fabric for the piping. This adds a pop of color or texture. Making your own piping ensures a perfect match.
Appliques are another great option. These are fabric cutouts sewn onto the pillow surface. You can create shapes like leaves, animals, or abstract designs. Use iron-on adhesive to hold them in place before sewing. This technique adds visual interest and dimension. It is a fun way to personalize a plain pillow.
Embroidery brings intricate detail to your pillows. You can hand embroider monograms, floral patterns, or abstract designs. Machine embroidery offers a wider range of stitches and designs. It can create complex patterns quickly. Embroidery adds a touch of elegance and craftsmanship. Think about using different thread colors for more impact.
Experiment with different pillow shapes. Beyond squares and rectangles, try round pillows, bolster pillows, or even unique animal shapes. These non-traditional shapes make a statement. You can also mix and match fabrics. Combine different textures like linen with velvet. This creates a rich, layered look. Your creativity is the only limit!
Caring for Your Handmade Custom Pillows
Taking good care of your handmade custom pillows helps them last longer. Proper cleaning and maintenance keep them looking fresh. I always follow specific care instructions for my creations. This preserves their beauty and extends their life.
First, check the fabric care instructions. Different fabrics require different cleaning methods. Most cotton or linen covers can be machine washed on a gentle cycle with cold water. For delicate fabrics like silk or velvet, hand washing or spot cleaning may be better. Always use a mild detergent. Avoid harsh chemicals that can damage the fabric.
Second, consider the pillow insert. If your insert is washable, follow its specific instructions. Many synthetic fiberfill inserts can be machine washed. Down or feather inserts often require professional cleaning. Some inserts are not washable at all. In such cases, you can remove the pillow cover for washing and air out the insert. It is important to know how often should you replace pillows. This ensures hygiene and comfort over time.
Third, address stains quickly. Blot fresh stains with a clean cloth. Avoid rubbing, as this can spread the stain. Use a fabric-appropriate stain remover. Test the remover on an inconspicuous area first. If you notice discoloration or an unusual smell, check for mold. Knowing what does mold on pillows look like helps you address it promptly.
Finally, store your pillows properly when not in use. Keep them in a dry, well-ventilated area. Avoid direct sunlight, which can fade fabrics. Using breathable storage bags protects them from dust and moisture. Regular fluffing also helps maintain the pillow’s shape and loft. Consistent care keeps your custom pillows beautiful for years.
Troubleshooting Common Pillow Making Issues
Even experienced crafters face challenges. Knowing how to troubleshoot common pillow making issues saves time. It also prevents frustration. I have learned to solve many problems along the way.
One common issue is uneven seams. This often happens if you do not maintain a consistent seam allowance. To fix this, use a seam ripper to undo the stitches. Then, re-pin the fabric carefully. Guide the fabric evenly through your sewing machine. Use a seam allowance guide on your machine if it has one. Measuring your seam allowance with a ruler as you sew can also help.
Fabric fraying can be annoying. This happens more with loosely woven fabrics. To prevent fraying, finish your raw edges. You can use a serger if you have one. A zigzag stitch on your regular sewing machine also works well. Sew this stitch along the raw edges before you assemble the pillow. French seams are another option for neat, enclosed edges.
Another challenge is getting the pillow insert to fit perfectly. If the cover is too big, the pillow looks saggy. If it is too small, it might bulge or be hard to insert. Always measure your insert accurately before cutting fabric. Sometimes, buying an insert slightly larger than your cover provides a fuller look. For example, use a 20-inch insert for an 18-inch cover. If your cover is too large, you can take in the seams a bit.
Machine tension problems can also occur. If your stitches look loose or looped, adjust your tension settings. Refer to your sewing machine manual for guidance. Test stitches on a scrap piece of fabric first. Proper tension ensures strong, even stitches. These tips help you achieve a professional finish on your custom pillows.
Frequently Asked Questions
How long does it take to make a custom pillow?
Making a simple custom pillow can take about one to two hours for beginners. This includes measuring, cutting, and sewing. More complex designs with zippers or embellishments might take longer. Practice improves your speed significantly.
Can I make custom pillows without a sewing machine?
Yes, you can make custom pillows without a sewing machine. Hand sewing is an option. You will need a needle, thread, and good hand sewing skills. Fabric glue or fusible web can also create no-sew pillows. These methods are good for simple designs.
What is the best fabric for outdoor custom pillows?
The best fabrics for outdoor custom pillows are durable and weather-resistant. Look for fabrics like acrylic, polyester, or solution-dyed olefin. These materials resist fading, mold, and mildew. They also dry quickly, which is important for outdoor use.
How do I choose the right size pillow insert?
Choose a pillow insert that is the same size or one to two inches larger than your finished pillow cover. For example, for an 18x18 inch cover, use an 18x18 or 20x20 inch insert. A slightly larger insert ensures a plump, full look.
Are custom pillows cheaper than store-bought ones?
Often, making custom pillows is cheaper than buying them, especially if you find fabric on sale. The cost depends on your fabric choice and the type of insert. High-end store-bought pillows can be very expensive. DIY offers great value.
Conclusion
Creating custom pillows offers a rewarding way to personalize your home. You can achieve a unique look that perfectly matches your style. This guide walked you through choosing materials, sewing a basic cover, and exploring advanced designs. You also learned how to care for your handmade pieces and troubleshoot common issues. Making custom pillows allows for endless creativity and adds a special touch to any room.
Now you have the knowledge to start your own project. Gather your supplies, choose your favorite fabric, and begin sewing. Imagine the satisfaction of relaxing on a pillow you made yourself. Start your custom pillow journey today and transform your living space with your unique creations.
- custom pillows
- DIY pillows
- sewing projects
- home decor
- personalized gifts
- pillow making

Elira Thomsen
Home Organization & DIY Living Expert
I'm Elira Thomsen, a lifelong enthusiast of clean, beautiful, and functional homes. With over a decade of hands-on experience in DIY home decor, smart cleaning solutions, and practical organization, I help everyday homeowners turn clutter into calm. Whether it's transforming a neglected nook into a cozy reading spot, mastering budget-friendly storage hacks, or refreshing a space with seasonal décor, I'm here to guide you every step of the way. My mission is simple — make home care easier, more inspiring, and truly rewarding.