· Tessa Winslow · Kitchen Appliances · 15 min read
How To Light Fish Fryer
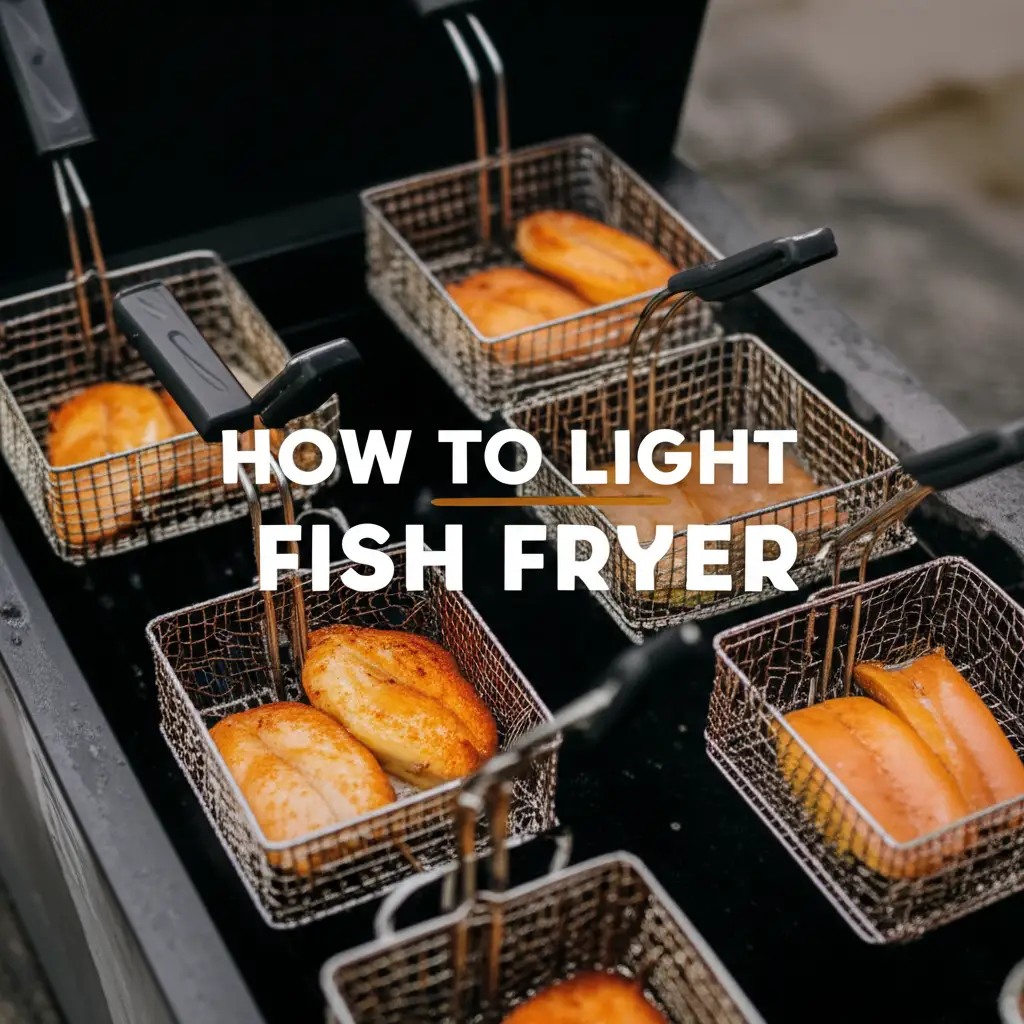
How To Light Fish Fryer Safely and Efficiently
Imagine the crisp sound of perfectly fried fish. Achieving this delicious result starts long before the first piece hits the oil. You must know how to light a fish fryer correctly. Lighting a fryer is a key step, and doing it right ensures safety and cooking success.
Many home cooks feel a little unsure when operating a deep fryer for the first time. Getting the initial setup correct prevents problems. This guide will walk you through each step. We will cover safety checks, lighting procedures for both gas and electric models, and common troubleshooting tips. By the end, you will feel confident firing up your fish fryer for delicious meals.
Takeaway
- Always conduct thorough safety checks before lighting any fish fryer.
- Understand the specific lighting procedure for your gas or electric fryer model.
- Prioritize safety by keeping flammable materials away and having a fire extinguisher handy.
- Maintain your fryer regularly to ensure safe and efficient operation.
To light a fish fryer, always check its condition first. For gas models, open the gas supply, turn the control knob to pilot or light, and use an igniter or match. For electric fryers, simply plug it in, set the temperature, and allow it to preheat.
Understanding Your Fish Fryer: Types and Components
Before you learn how to light your fish fryer, you must know what type you own. Fish fryers generally come in two main categories: gas and electric. Each type operates differently, impacting the lighting process. Knowing your fryer’s components also helps ensure safe operation.
Gas fryers typically use propane tanks or natural gas lines. They often have a main burner and a pilot light. The pilot light is a small flame that stays lit to ignite the main burner. Some gas fryers have electronic ignition systems. These systems create a spark to light the gas. Gas fryers are popular for outdoor cooking and large batches. They usually heat oil quickly and maintain high temperatures well.
Electric fryers plug into a standard wall outlet. They use heating elements submerged in the oil or placed beneath the oil pot. These elements convert electricity into heat. Electric fryers are simpler to operate. They do not involve open flames or gas lines. Many models have built-in thermostats and timers. These features offer precise temperature control. They are convenient for indoor use.
Regardless of the type, all fish fryers have an oil reservoir or pot. They also have control knobs or digital displays. Handles for portability and lids for covering are common features. Some fryers include baskets for easy food handling. Always refer to your specific fryer’s manual. It provides exact instructions for your model. Understanding these basic types helps you prepare for safe and efficient use.
Pre-Lighting Safety Checks for Your Fryer
Safety is the most important part of operating any deep fryer. Before you even think about how to light your fish fryer, you must perform crucial safety checks. These steps prevent accidents and ensure a smooth cooking experience. I always make sure these checks are done first.
First, always place your fryer on a stable, flat surface. The surface must be non-combustible. Concrete patios or sturdy metal tables work well for outdoor gas fryers. For indoor electric fryers, use a countertop away from flammable items. Ensure the fryer cannot tip over easily. An unstable fryer can lead to dangerous oil spills.
Next, inspect the fryer itself. Check for any damage. Look for cracks in the housing or frayed power cords. If you use a gas fryer, examine the gas hose and connections. Make sure there are no leaks or kinks. A damaged hose can cause gas leaks. Always use the proper regulator for your propane tank. Check all connections for tightness.
Ensure the oil reservoir is clean and dry. Any water inside the pot can cause the hot oil to splatter violently. This splatter is very dangerous. Fill the fryer with oil to the recommended level. Do not overfill or underfill the pot. Overfilling can lead to spills when food is added. Underfilling can damage the heating elements or cause uneven cooking.
Lastly, make sure you have a fire extinguisher nearby. A Class K fire extinguisher is best for grease fires. A baking soda box or metal lid can also help in an emergency. Never use water to extinguish a grease fire. Water will spread the flames. Prepare your cooking area by removing any flammable objects. This includes paper towels, curtains, or loose clothing. These checks make sure you are ready for safe operation.
Lighting a Gas Fish Fryer: Step-by-Step Guide
Lighting a gas fish fryer requires careful attention to detail. This process involves working with gas and open flames. Follow these steps precisely to ensure safety and proper ignition. I find these steps make the process simple and clear.
Preparing the Gas Supply
First, ensure your propane tank or natural gas line is connected correctly. For propane tanks, check that the valve is fully closed before attaching the hose. Secure the hose tightly to both the tank and the fryer. Use a wrench if needed to get a snug fit. Once connected, slowly open the propane tank valve. Listen for any hissing sounds. Hissing means a gas leak. If you hear a leak, turn off the gas immediately and fix the connection. Some people use soapy water to check for leaks; bubbles appear if gas is escaping.
Activating the Pilot Light (if applicable)
Many gas fryers have a pilot light. Locate the pilot light access hole, usually near the main burner. Turn the fryer’s control knob to the “Pilot” setting. Push and hold the knob down. This action allows gas to flow to the pilot. Use a long lighter or a match to ignite the pilot flame. Hold the flame to the pilot until it lights. Once lit, continue holding the knob down for about 30 seconds. This allows the thermocouple to heat up and keep the pilot flame on. Release the knob slowly. The pilot flame should remain lit. If it goes out, repeat these steps.
Igniting the Main Burner
With the pilot light stable, you can now light the main burner. Turn the control knob from “Pilot” to your desired cooking temperature. You should hear a whoosh sound as the main burner ignites. Look for a steady blue flame under the oil pot. If the burner does not light, turn the knob back to “Pilot” or “Off.” Wait a few minutes for any gas to clear. Then, try the process again. Some fryers have an electronic igniter button. If your fryer has one, push and hold the control knob to “On” or the desired temperature. Then, push the igniter button repeatedly until the burner lights. Once the burner is lit, monitor the oil temperature using a thermometer. Allow the oil to reach the target frying temperature before adding food.
Operating an Electric Fish Fryer: Simple Steps
Operating an electric fish fryer is generally simpler than using a gas model. There are no pilot lights or gas lines to worry about. Still, understanding the correct steps ensures safe and effective use. I appreciate the ease of these units.
Setting Up the Fryer
First, place your electric fish fryer on a stable, heat-resistant surface. Make sure it is close enough to a wall outlet but not too close that the cord creates a tripping hazard. Ensure the area around the fryer is clear of clutter and flammable materials. You want a safe zone around the appliance.
Next, fill the oil reservoir with your chosen cooking oil. Always fill it between the minimum and maximum fill lines indicated inside the pot. Overfilling can cause dangerous spills when food is added. Underfilling can damage the heating element. Most electric fryers have a clear indicator for these levels. Using the right amount of oil ensures efficient heating and safe operation.
Plugging In and Setting Temperature
Once the oil is at the correct level, plug the fryer into a grounded electrical outlet. Avoid using extension cords unless they are heavy-duty and rated for appliance use. Using an improper extension cord can cause overheating. Most electric fryers have a detachable power cord. Make sure it clicks securely into place.
Now, set the desired cooking temperature using the control dial or digital display. For most fish, a temperature between 350°F and 375°F (175°C to 190°C) is ideal. The fryer’s indicator light will usually turn on to show it is heating. It will turn off when the oil reaches the set temperature. This preheating process can take some time, depending on the fryer size and oil volume. Be patient and wait for the oil to fully heat. Trying to fry food before the oil is hot enough results in greasy, soggy food. Once the light indicates the oil is ready, you can start frying your fish safely.
Essential Safety Practices When Frying Fish
Knowing how to light a fish fryer is only part of the equation. Following essential safety practices is equally important. Frying food, especially with hot oil, carries inherent risks. I always prioritize safety during this process.
One of the most critical safety rules is to never leave a hot fryer unattended. Oil can quickly overheat and catch fire if left unsupervised. Stay in the kitchen area. Keep an eye on the oil temperature. Use a thermometer if your fryer does not have a precise temperature control. If the oil starts smoking heavily, it is too hot. Turn off the heat immediately. Let the oil cool down before proceeding.
Always use dry food when frying. Any water on the food can cause violent oil splatters. Pat fish dry with paper towels before placing it in the fryer. Excess moisture turns to steam instantly in hot oil. This steam expands rapidly, pushing oil out of the pot. Lower food gently into the hot oil. Avoid dropping items from a height. This helps prevent splashes and burns. Use a long-handled slotted spoon or frying basket.
Be prepared for a grease fire. Keep a metal lid or a Class K fire extinguisher nearby. If a fire starts, do not use water. Water will make the fire worse by spreading the oil. Instead, carefully slide the metal lid over the fryer to cut off oxygen. If you have a fire extinguisher, aim it at the base of the flames. If the fire is large or out of control, evacuate immediately and call emergency services. Always disconnect the power source or gas supply if safe to do so. These steps are crucial for protecting yourself and your home.
Troubleshooting Common Fryer Lighting Issues
Even with careful preparation, you might encounter issues when you try to light your fish fryer. Knowing how to troubleshoot common problems can save time and frustration. I have run into these issues myself.
If your gas fryer’s pilot light will not stay lit, check a few things. First, make sure you are holding the control knob down long enough. This step allows the thermocouple to heat up. The thermocouple senses the pilot flame and keeps the gas flowing. If it is dirty or faulty, it might not work. Try cleaning the thermocouple tip gently with a fine-grit sandpaper. If the pilot still does not stay lit, the thermocouple might need replacement. Also, check for strong drafts. Wind can blow out a pilot flame, especially outdoors. Try to shield your fryer from the wind.
If the main burner of your gas fryer does not ignite, first confirm the pilot light is lit and strong. If it is, check the control knob position. Ensure it is turned fully to the “On” or desired temperature setting. Sometimes, the igniter switch might be faulty if your fryer has one. Try lighting it manually with a long lighter. If gas flows but does not light, the burner ports might be clogged. Carbon buildup or debris can block gas flow. Turn off the gas and allow the fryer to cool. Then, use a small brush or wire to clear the burner ports.
For electric fryers, if it does not heat up, first check the power connection. Make sure the cord is fully plugged into both the fryer and the wall outlet. Test the outlet with another appliance to ensure it works. Many electric fryers have a safety switch that prevents operation if the heating element or control panel is not properly seated. Make sure all parts are assembled correctly. If the fryer trips a circuit breaker, it might be overloaded or have a short circuit. Unplug it and check your home’s electrical panel. Do not force it to work if it keeps tripping. It is better to seek professional help. These steps can often resolve simple lighting issues.
Maintaining Your Fryer for Optimal Performance
Once you master how to light your fish fryer, maintaining it becomes the next key step. Proper care ensures your fryer lasts longer and operates safely and efficiently every time. Regular cleaning and checks are part of this. I clean my fryer often.
After each use, allow the oil to cool completely. Never drain hot oil. Once cool, strain the oil through a fine-mesh sieve or cheesecloth. This removes food particles. Straining prolongs the oil’s life. Store strained oil in an airtight container in a cool, dark place. Good quality oil can be reused several times. If the oil looks very dark, smells bad, or foams excessively, discard it. For disposing of old oil, do not pour it down the drain. This can clog pipes. Instead, pour it into a non-recyclable container and throw it in the trash.
Regular deep cleaning of your fryer is crucial. For thorough cleaning, remove all oil and detach any removable parts. Many parts can be washed with warm, soapy water. Use a degreaser for stubborn grease. Ensure all soap residue is rinsed away. Dry all parts completely before reassembly. This prevents rust and water contamination in future oil. For tough grease build-up in the pot, consider using a specialized cleaning method. You can learn how to clean a deep fryer with baking soda. This method helps lift grease effectively.
Perform routine checks on your fryer’s components. For gas fryers, inspect the gas hose and connections for wear or leaks regularly. Check the igniter if your model has one. For electric fryers, examine the power cord for fraying or damage. Ensure heating elements are clean and free of debris. While some parts might be cleanable in a dishwasher, always check your specific model’s manual, similar to how one might check if an air fryer is dishwasher safe. Keeping your overall kitchen clean helps too. You might even consider tips on how to clean the refrigerator for general food safety. Also, think about maintaining the kitchen area around your cooking space, like understanding how to clean a ceiling to manage grease splatter over time. Proper maintenance extends your fryer’s life and keeps it safe.
FAQ Section
Q: What kind of oil should I use in my fish fryer?
A: You should use oils with a high smoke point. Good choices include peanut oil, canola oil, vegetable oil, or sunflower oil. These oils can withstand the high temperatures needed for frying without breaking down or burning. They also impart a neutral flavor to your fish. Always check the oil’s smoke point before use.
Q: How hot should the oil be for frying fish?
A: The ideal temperature for frying most fish is between 350°F and 375°F (175°C to 190°C). This temperature range ensures the fish cooks through quickly and gets a crispy exterior. If the oil is too cool, the fish will absorb too much oil and become greasy. If it is too hot, the outside will burn before the inside cooks.
Q: My gas fryer pilot light won’t stay lit. What is wrong?
A: If your pilot light does not stay lit, the thermocouple might be the problem. The thermocouple is a safety device that senses the pilot flame. If it is dirty or faulty, it will not allow gas to flow. Try cleaning the thermocouple tip gently. If that does not work, the part might need replacement.
Q: Can I use my fish fryer indoors?
A: Electric fish fryers are generally safe for indoor use. Gas fryers, especially those powered by propane tanks, produce carbon monoxide and are designed for outdoor use. Always check your fryer’s specific instructions. Ensure proper ventilation if using any fryer indoors. A well-ventilated area prevents smoke and odors from building up.
Q: How often should I change the oil in my deep fryer?
A: The frequency of oil changes depends on how often you fry and what you fry. For home use, if you strain the oil after each use, it can be reused typically 3-5 times. If the oil becomes dark, thick, cloudy, or develops an unpleasant odor, it is time to change it. Always use fresh oil if you notice any signs of degradation.
Conclusion
Mastering how to light a fish fryer is an important skill for any home cook. It opens the door to delicious, crispy fried fish right in your own backyard or kitchen. We have covered the essential steps, from understanding your fryer type to performing crucial safety checks and executing the lighting process for both gas and electric models. Remember, safety always comes first when working with hot oil.
By following these guidelines, you ensure not only tasty results but also a secure cooking environment. Practice the pre-lighting safety checks every time. Be mindful of oil temperatures. Keep your fryer clean and well-maintained. With a little practice, you will become confident in operating your fish fryer. So, go ahead and light up that fryer! Enjoy the wonderful aroma and incredible taste of perfectly fried fish. Happy frying!
- deep fryer
- gas fryer
- electric fryer
- fryer safety
- oil heating
- outdoor fryer
- fish frying

Tessa Winslow
Cleaning Expert
With years of hands-on experience in home care and a love for transforming everyday spaces, I specialize in making cleaning feel approachable and even enjoyable. I share smart, sustainable solutions that blend cleaning, organization, and decor—so your home not only looks good, but feels good too. Whether you're tackling weekend chores or taking on a full DIY refresh, I’m here to help you create a cleaner, cozier space you’ll love coming home to.