· Elira Thomsen · Printer Maintenance · 16 min read
How To Clean Thermal Print Head
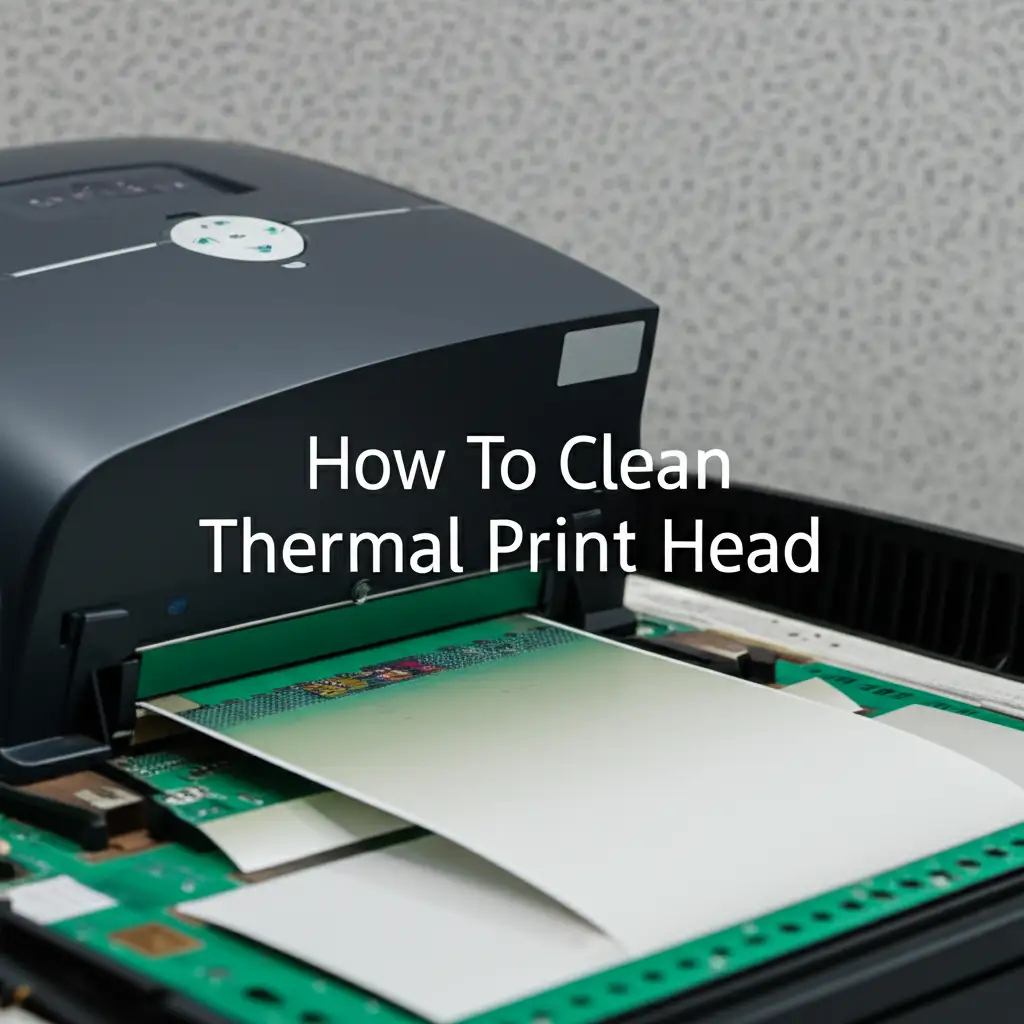
Keep Prints Clear: How to Clean Thermal Print Head
Have you ever noticed your printed labels or receipts looking faded? Maybe they have streaks or blank spots? This often means your thermal printer’s print head is dirty. A dirty print head can ruin your print quality and even shorten your printer’s life.
Learning how to clean thermal print head is a simple task. It is a vital step for proper printer care. Regular cleaning ensures sharp, clear prints every time. It keeps your business operations running smoothly. I will guide you through the process step-by-step. This article covers why cleaning is important. It lists the tools you need. It gives clear instructions on how to clean your print head safely. You will also learn about preventing future dirt buildup. Let’s make sure your thermal prints always look their best.
Takeaway
Cleaning your thermal print head is important for good prints and a long-lasting printer.
- Regular Cleaning: It prevents print quality issues like faded or streaky output.
- Right Tools: Always use 99% isopropyl alcohol and lint-free materials.
- Safe Steps: Power down, cool down, and gently wipe the print head.
- Prevention: Keep your printer clean and use proper media to reduce buildup.
To clean a thermal print head, carefully power off and unplug the printer. Allow the print head to cool down completely. Gently wipe the print head element with a lint-free swab or cloth dampened with 99% isopropyl alcohol. Let it dry fully before closing the printer and powering it back on to test.
Why Cleaning Your Thermal Print Head Matters
A clean thermal print head is essential for good printing. Thermal printers work by using heat. Tiny elements on the print head heat up paper or ribbons. This creates the images or text you see. Over time, dust, adhesive, and paper dust build up on these elements. This buildup acts like a barrier. It stops the heat from transferring properly.
When this happens, your prints suffer. You might see lines, blank spots, or faded areas. Text can look fuzzy or incomplete. Images may lose detail. This means labels cannot be scanned. Receipts become hard to read. This causes problems for your business or personal use.
Beyond poor print quality, a dirty print head can harm your printer. The print head heats up a lot during operation. Buildup can cause it to overheat. This leads to premature wear. It can shorten the print head’s lifespan significantly. Replacing a thermal print head is expensive. It is much more costly than a simple cleaning.
Regular maintenance helps you avoid these issues. It keeps your printer working at its best. It saves you money on repairs and replacements. I always tell people to think of it like car maintenance. You change the oil to keep the engine running well. You clean your print head to keep your printer printing well. This simple task maintains your investment. It ensures reliable, high-quality output every time.
Understanding Your Thermal Print Head
What exactly is a thermal print head? It is the most important part of your thermal printer. This component has tiny heating elements arranged in a line. When you print, these elements heat up very quickly. The heat transfers directly onto special thermal paper or through a thermal ribbon onto labels. This creates the image without using ink or toner.
There are two main types of thermal printing: direct thermal and thermal transfer. Direct thermal printers use heat-sensitive paper. The heat turns parts of the paper black. Thermal transfer printers use a ribbon. The heat melts ink from the ribbon onto the label material. In both cases, the print head is what delivers the heat.
Why does it get dirty? Several things can cause buildup. Dust in the environment is a common culprit. Paper dust from your labels or receipts can also settle on the head. If you use labels, adhesive residue can stick to the print head. This happens especially if labels peel off during printing. Thermal ribbons can also leave residue. All these elements combine to create a sticky film. This film then interferes with heat transfer.
The print head is very delicate. Its heating elements are small and sensitive. Even a tiny speck of dirt can affect print quality. Think of it like a fine camera lens. A small smudge makes pictures blurry. A dirty print head makes prints blurry or incomplete. Knowing how it works helps you understand why careful cleaning is so important.
Essential Tools for Cleaning a Thermal Print Head
Cleaning your thermal print head does not require many items. The right tools are key. Using the wrong materials can damage the print head. This would create more problems than you started with. Always gather your supplies before you begin.
Here is what you will need:
- 99% Isopropyl Alcohol (IPA): This is the best cleaning agent. It evaporates quickly. It leaves no residue. Make sure it is 99% pure. Lower percentages have more water, which can be bad for electronics. You can find this at electronics stores or pharmacies.
- Lint-Free Swabs or Cloth: These are crucial. Standard cotton swabs can leave fibers behind. These fibers can scratch the print head or cause new blockages. Lint-free swabs are often called “foam swabs” or “cleanroom swabs.” Lint-free cloths are also available. I always recommend using these. They are designed not to shed.
- Thermal Print Head Cleaning Cards (Optional but Recommended): These cards are pre-saturated with cleaning solution. They are designed to run through your printer like a regular label. This cleans the print head and sometimes the platen roller too. They offer a quick and easy way for light cleaning. You can use them between manual cleanings.
- Compressed Air (Optional): A can of compressed air can help remove loose dust and debris. Use it before wiping the print head. Always hold the can upright to prevent propellant from spraying out.
- Disposable Gloves (Optional): Wearing gloves keeps oils from your hands off the print head. It also protects your skin from the alcohol.
Avoid using harsh chemicals like window cleaner or acetone. These can permanently damage the print head. Do not use abrasive materials like paper towels. They can scratch the delicate surface. Stick to the list above for a safe and effective clean. Using these tools helps you achieve a truly clean thermal print head. This ensures good prints and a longer printer life.
Step-by-Step Guide: How to Clean Thermal Print Head Safely
Cleaning your thermal print head is a straightforward process. Following these steps ensures safety and effectiveness. Take your time with each stage.
Power Down and Disconnect
Safety comes first. Always turn off your thermal printer. Then, unplug it from the power outlet. This prevents any accidental power surges. It also protects you from electric shock. Allow the print head to cool down completely. Print heads get very hot during operation. Giving it 5-10 minutes to cool prevents burns. It also stops the alcohol from evaporating too quickly. A cool print head makes cleaning easier and safer.
Open the Printer and Locate the Print Head
Open the printer’s cover. You might need to release a latch or lift a lever. The print head is usually a metallic or ceramic bar. It is typically located on the underside of the top cover. It sits directly above where the labels or paper feed through. It has a shiny, smooth surface. This is the part you need to clean. Sometimes it’s a black strip with small, square elements.
Initial Dust Removal
Before you touch the print head, remove any loose debris. Use a can of compressed air. Hold it upright. Aim short bursts at the print head area. This blows away paper dust, label scraps, or general dirt. Make sure to spray from a distance. You do not want to force dust further into the printer. This initial step helps you avoid scratching the print head. It also makes the next step more effective.
Applying the Cleaning Solution
Take a lint-free swab or cloth. Dampen it with 99% isopropyl alcohol. Do not soak it. It should be moist, not dripping. Excess alcohol can drip into electronic components. This can cause damage. A damp swab is enough to dissolve residues.
Wiping the Print Head
Gently wipe the print head. Use a steady, even motion. Wipe from one end of the print head to the other. Do not scrub hard. Apply light pressure. You are trying to lift away residue, not push it around. Wipe in one direction only. This prevents smearing the dirt. Inspect the swab after each pass. If it looks dirty, use a fresh side or a new swab. Repeat this step until the swab comes away clean. Pay special attention to the heating elements. These are the small dots or lines on the print head. This careful method will help you remove all sticky buildup.
Allow Drying Time
After cleaning, let the print head air dry completely. This takes a few minutes. Alcohol evaporates quickly. Do not close the printer cover or power it on too soon. Residual alcohol can cause a short circuit. It could also damage the print head. Patience here is important. Ensure the area is completely dry before proceeding.
Test Your Printer
Once dry, close the printer cover. Plug the printer back into the power outlet. Turn it on. Print a test label or a self-test page. Check the print quality. Look for any improvements. The lines should be crisp. The colors should be solid. If the print quality is still not perfect, you may need to repeat the cleaning process. Sometimes, very stubborn residue needs a second pass.
For other cleaning tasks around the house, remember that proper cleaning techniques vary. For instance, cleaning different surfaces requires different approaches. Just like you need specific tools for your printer, cleaning a large item like a refrigerator also needs specialized methods to ensure thoroughness and prevent damage. You can learn about how to clean the refrigerator for more tips on deep cleaning household items.
Troubleshooting Common Print Head Issues After Cleaning
You have cleaned your print head. You followed all the steps. But your prints still look bad. Do not worry. This happens sometimes. There are a few things you can check.
First, consider a second cleaning. Some print heads have very stubborn buildup. A single pass might not remove everything. Try repeating the cleaning steps. Use fresh swabs and plenty of 99% isopropyl alcohol. Be extra thorough this time. Ensure you wipe from one end to the other without going back and forth over dirty spots.
Next, check for physical damage. Sometimes the issue is not dirt. The print head itself might be scratched or worn out. Look closely at the print head elements. Use a magnifying glass if you have one. Do you see any deep scratches? Are any of the tiny heating elements missing or damaged? If so, cleaning will not fix this. A damaged print head needs replacement. This is usually a job for a professional.
Also, check your media. Are you using the correct type of labels or paper? Old or poor-quality labels can cause issues. They might be too abrasive. They could have weak adhesive that leaves more residue. Try a new roll of media from a trusted brand. This can sometimes solve quality problems not related to dirt.
Review your printer settings. Ensure the darkness and speed settings are correct for your media. Incorrect settings can mimic print head issues. Check your printer’s manual for recommended settings.
If issues persist, it may be time for professional help. A technician can diagnose complex problems. They can replace components if needed. While learning about how to clean thermal print head helps with most issues, some problems are beyond simple user maintenance.
Preventative Maintenance for Your Thermal Printer
Cleaning your thermal print head is important. Preventing it from getting dirty in the first place is even better. Regular preventative maintenance extends your printer’s life. It keeps your prints looking sharp. It saves you time and money.
Here are key preventative steps:
- Establish a Regular Cleaning Schedule: How often should you clean? It depends on your usage. For heavy use (daily, high volume), clean weekly or bi-weekly. For moderate use (a few times a week), clean monthly. Light use might only need cleaning every few months. Consistent cleaning prevents major buildup. Think of it like regular cleaning around your home. Just as you learn about how often should you clean your dishwasher filter, understanding your printer’s usage helps set a realistic cleaning schedule.
- Use High-Quality Media: Cheap labels or paper can shed more dust. They can also have weaker adhesive. This adhesive can bleed out and stick to your print head. Invest in good quality thermal labels and ribbons. They are designed to minimize residue and dust. This reduces the frequency of needed cleanings.
- Keep Your Printer Environment Clean: Dust is a print head’s enemy. Place your printer in a clean area. Avoid dusty workshops or areas with heavy air circulation. Cover the printer when it is not in use. A simple dust cover can make a big difference. This prevents airborne particles from settling inside. Keeping your workspace tidy is important for all your electronics. Just like keeping a clean bedroom helps maintain overall hygiene, a clean printer environment helps prevent internal dust buildup. You can find more tips on general cleanliness with guides like how to keep a clean bedroom.
- Avoid Touching the Print Head: Your fingers have natural oils. These oils can transfer to the print head. This creates sticky spots where dust can cling. Always use gloves or avoid touching the print head directly.
- Use Cleaning Cards Regularly: These are an easy way to maintain cleanliness between deep manual cleans. Run a cleaning card through the printer once a week or as recommended by the manufacturer. They pick up light dust and residue.
By following these preventative steps, you will significantly reduce print head issues. You will get consistent, high-quality prints. Your thermal printer will last much longer. This proactive approach saves you hassle and expense in the long run.
Choosing the Right Cleaning Supplies
The effectiveness of cleaning your thermal print head depends heavily on the supplies you use. Picking the right materials is not just about getting the job done. It is about protecting your valuable equipment.
The most important item is 99% Isopropyl Alcohol (IPA). I cannot stress this enough. Lower percentages of rubbing alcohol contain more water. Water is conductive. It can corrode electronic components. It also dries slower. This increases the risk of damage. Always check the label. It should clearly state 99% pure. This high concentration ensures quick evaporation and no residue. It is safe for sensitive electronics.
Lint-free materials are equally critical. Common cotton swabs or paper towels shed tiny fibers. These fibers can get stuck in the print head. They can even cause new printing defects. They might scratch the delicate surface. Look for swabs specifically designed for electronics or print heads. These are usually made of foam or synthetic fibers. They are designed not to leave anything behind. When I clean my own printer, I always reach for these. They ensure a truly clean surface.
What should you absolutely avoid?
- Abrasive materials: Sponges, coarse cloths, or anything that feels rough. They will scratch the print head.
- Household cleaners: Window cleaner, all-purpose sprays, or anything containing ammonia, bleach, or harsh chemicals. These can dissolve the protective coating on the print head. They can also leave corrosive residues.
- Water: Plain water will not clean the sticky residues. It can also cause rust or short circuits.
- Sharp objects: Never use knives, screwdrivers, or anything sharp to scrape off debris. You will certainly damage the print head.
Investing a little in the correct cleaning supplies pays off. It protects your printer. It ensures you can always clean thermal print head effectively and safely. This guarantees clear, high-quality prints for years to come.
FAQ Section
Q1: How often should I clean my thermal print head? A1: The frequency depends on printer usage. For heavy use (daily, high volume), clean weekly or bi-weekly. For moderate use (a few times a week), clean monthly. For light use, cleaning every few months is often sufficient. Consistent cleaning prevents major buildup and maintains print quality. Always refer to your printer’s manual for specific recommendations.
Q2: What happens if I don’t clean my print head? A2: If you do not clean your print head, residue builds up. This leads to poor print quality. You will see faded, streaky, or incomplete prints. The print head might also overheat. This can shorten its lifespan. Ultimately, a dirty print head can lead to costly repairs or replacements, affecting your productivity.
Q3: Can I use rubbing alcohol instead of isopropyl alcohol? A3: Most rubbing alcohol is 70% isopropyl alcohol. This means it contains 30% water. Do not use it. The higher water content can damage electronics. It can cause corrosion. It also dries slower. Always use 99% isopropyl alcohol for cleaning thermal print heads. This ensures rapid evaporation and no harmful residue.
Q4: How do I know if my print head is dirty? A4: You will notice changes in print quality. Look for faded or light areas on labels or receipts. You might see streaks, lines, or blank spots running across your prints. Text may appear fuzzy or incomplete. If your printouts suddenly look poor, a dirty print head is a likely cause.
Q5: Can a dirty print head damage my printer? A5: Yes, a dirty print head can damage your printer over time. The buildup acts as an insulator. This causes the print head to work harder. It can overheat. This extra strain leads to premature wear of the heating elements. It can also lead to permanent damage requiring expensive print head replacement.
Q6: Are cleaning cards effective for thermal print heads? A6: Yes, cleaning cards are effective for light maintenance and preventative cleaning. They are pre-saturated with cleaning solution. They help remove minor dust and residue. They are great for use between manual cleanings. However, for stubborn or heavy buildup, a manual cleaning with 99% isopropyl alcohol and a lint-free swab is usually more effective.
Conclusion
Keeping your thermal printer in top condition is easier than you think. Learning how to clean thermal print head is a simple yet powerful skill. This small act of maintenance prevents many common printing problems. You will avoid faded labels, streaky receipts, and costly repairs. A clean print head means crisp, clear prints every time.
Remember to always power down and unplug your printer first. Use 99% isopropyl alcohol and lint-free swabs. Wipe gently and allow plenty of drying time. Beyond cleaning, adopt a preventative mindset. Use quality media. Keep your printer environment clean. Consider regular cleaning cards for in-between maintenance.
By following these simple steps, you extend the life of your thermal printer. You ensure consistent, high-quality output for your business or personal needs. Don’t let a dirty print head slow you down. Start implementing these cleaning practices today for optimal performance and reliable printing.
- Thermal Printer
- Print Head Cleaning
- Printer Maintenance
- Print Quality
- Label Printer

Elira Thomsen
Home Organization & DIY Living Expert
I'm Elira Thomsen, a lifelong enthusiast of clean, beautiful, and functional homes. With over a decade of hands-on experience in DIY home decor, smart cleaning solutions, and practical organization, I help everyday homeowners turn clutter into calm. Whether it's transforming a neglected nook into a cozy reading spot, mastering budget-friendly storage hacks, or refreshing a space with seasonal décor, I'm here to guide you every step of the way. My mission is simple — make home care easier, more inspiring, and truly rewarding.