· Elira Thomsen · Home Care · 10 min read
How To Clean Recorders In The Dishwasher

Clean Recorders Easily in Your Dishwasher
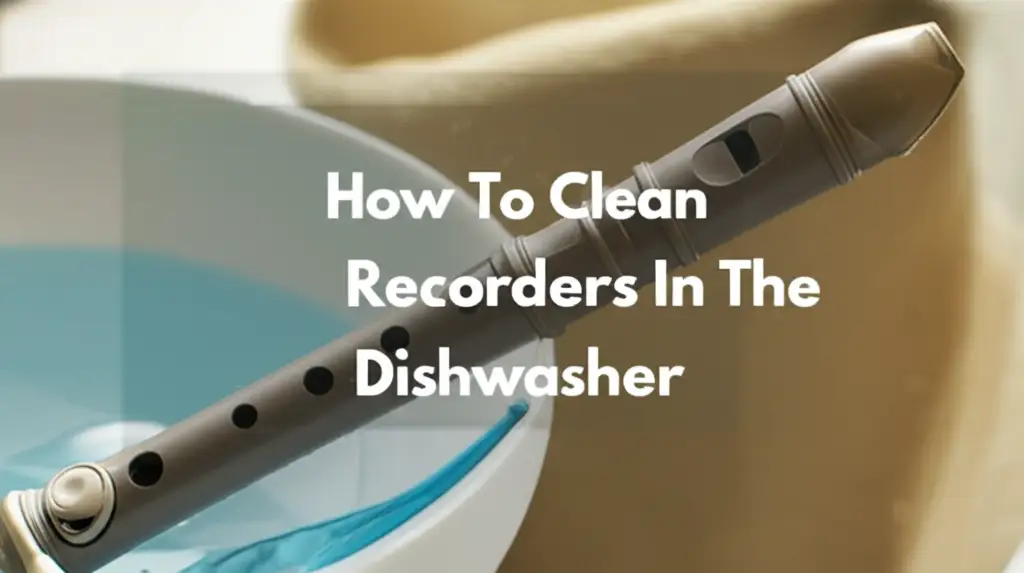
My child’s recorder often comes home sticky and a little gross. Playing a musical instrument like a recorder means it collects germs and dirt. Keeping it clean is very important for hygiene and sound quality. Many people wonder if they can simply put a recorder in the dishwasher. You might be surprised to learn that you can indeed clean recorders in the dishwasher, but only specific types.
This article will show you the exact steps to safely clean plastic recorders using your dishwasher. I will guide you through identifying suitable recorders, proper disassembly, loading techniques, and the right wash settings. We will also cover important drying instructions and offer tips for maintaining your recorder post-wash. Get ready to make your recorder sparkle and sound its best again!
Takeaway
- Only clean plastic recorders in the dishwasher.
- Disassemble your recorder completely before washing.
- Place parts on the top rack away from direct spray.
- Use a gentle, low-heat cycle without a heat dry option.
- Air dry all parts thoroughly after washing to prevent moisture damage.
You can clean plastic recorders in the dishwasher by disassembling them, placing parts on the top rack, and selecting a gentle, low-heat cycle without heat drying. This method effectively sanitizes the instrument. Always ensure full air drying before reassembly.
Identify Your Recorder: Plastic vs. Wood
Before you even think about the dishwasher, you must know what your recorder is made of. Most student recorders are plastic. These are typically safe for dishwasher cleaning. However, many professional or higher-quality recorders are made of wood. Wood recorders are never safe for the dishwasher.
Why Material Matters for Dishwasher Cleaning
Wood absorbs water. Soaking wood in water, especially hot water and harsh detergents, causes it to swell, crack, or warp. This permanently damages the instrument. It can also strip away special oils or finishes. A warped wooden recorder will not play in tune or seal properly.
Plastic recorders, on the other hand, do not absorb water. They are much more durable and resistant to temperature changes. This makes them ideal for the rigorous cleaning of a dishwasher cycle. Just like some kitchen gadgets are safe for the dishwasher, many plastic recorders are too. For instance, putting a Nutribullet in the dishwasher depends on its material, similar to a recorder. Always confirm your recorder’s material before proceeding.
Disassembling Your Recorder for Cleaning
To properly clean recorders in the dishwasher, you must take them apart. Most plastic recorders come in two or three main sections. These sections usually twist or pull apart easily. Separating the parts allows water and soap to reach all internal surfaces. It ensures a more thorough and hygienic cleaning.
Start by gently twisting the mouthpiece section from the body. Then, if your recorder has a foot joint, twist that off too. Be gentle as you separate the pieces. Avoid using too much force. Forcing parts apart can cause damage or make reassembly difficult.
Make sure to remove any cork grease or special coatings. Some plastic recorders might have a small block inside the mouthpiece called the ‘fipple’ or ‘windway block’. If this piece is removable and made of plastic, you can wash it. If it seems glued in or is made of wood, leave it alone. Most standard student recorders have a fixed block. Disassembly helps clean all the air passages. It removes sticky residue and ensures clear sound.
Loading Recorders in the Dishwasher Safely
Once your recorder is in separate pieces, you need to load them into the dishwasher correctly. This step is very important to prevent damage. Always place the recorder parts on the top rack of your dishwasher. The top rack usually has less intense water pressure and lower heat. This protects delicate items.
Position the recorder sections so they are secure. They should not move around during the wash cycle. You can use the tines of the rack to hold them in place. Make sure no parts are blocking the spray arms. Small pieces, like the mouthpiece, can be placed in a mesh bag or a closed utensil basket. This prevents them from falling to the bottom of the dishwasher during the wash. Ensuring your dishwasher itself is clean also helps. Regularly checking how often you should clean your dishwasher filter can improve overall cleaning results. This prepares your dishwasher for the best possible wash.
Do not overload the dishwasher. Give the recorder parts enough space. This allows water and detergent to circulate effectively around all surfaces. Proper loading makes sure every part of the recorder gets clean.
Choosing the Right Dishwasher Cycle and Detergent
Selecting the correct wash cycle and detergent is vital when you clean recorders in the dishwasher. You want to sanitize the instrument without damaging the plastic. Choose a gentle wash cycle. Look for options like “Light Wash,” “Delicate,” or “China Cycle.” These cycles use lower water temperatures and less aggressive spray pressure. Avoid any “Pots and Pans” or “Heavy Duty” settings. High heat can warp plastic. High pressure can dislodge internal components or cause stress cracks.
Heat dry settings are also a big no. Always turn off the heated dry option. The high heat from this setting can easily melt or deform plastic. This is the most common way people damage plastic items in a dishwasher. Instead, we will air dry the recorder later. For detergent, use a small amount of mild, non-abrasive dishwasher detergent. Avoid harsh, industrial-strength cleaners. Do not use excessive soap. Too much soap can leave a residue on the inside of the recorder. This affects its sound.
You might even consider skipping detergent entirely for a quick rinse. For a more natural sanitizing boost, you can learn where to put vinegar in your dishwasher to clean. Vinegar helps clean and deodorize. Remember, using the wrong soap, like Dawn dish soap, can cause a huge mess. Knowing what to do if you put Dawn in dishwasher can prevent serious foam issues. Your recorder will be clean and safe after the wash.
Drying Your Recorder After Washing
Drying your recorder properly after washing is just as important as the wash cycle itself. Once the dishwasher cycle finishes, you must immediately remove the recorder parts. Do not let them sit in the warm, moist environment of the dishwasher. This can encourage mold or mildew growth. It can also cause plastic to retain moisture if exposed for too long.
As mentioned, never use your dishwasher’s heated dry cycle. The intense heat from this setting can warp the plastic. This will permanently damage the recorder. Instead, air drying is the best method. Gently shake any excess water from each piece. Use a clean, lint-free cloth to carefully wipe the outer surfaces. Be careful not to force the cloth into the narrow parts. You can use cotton swabs to gently dry inside small holes.
Lay the recorder pieces on a clean, dry towel. Allow them to air dry completely for several hours. Some people even let them dry overnight. Ensure every nook and cranny is dry. Moisture left inside can promote bacterial growth. It can also affect the sound when you play the instrument again. Proper air circulation helps dry the inside. A completely dry recorder prevents future problems.
Post-Cleaning Assembly and Care
After your recorder parts are completely dry, you can reassemble them. Make sure no moisture remains inside. Carefully align the sections and gently twist them back together. They should fit snugly without too much force. If your recorder has cork joints, you might apply a tiny bit of cork grease to help them slide easily. However, many student plastic recorders do not have cork joints that require lubrication.
Once assembled, play a few notes to check the sound. A clean recorder should produce clear, resonant tones. If the sound seems muffled or airy, there might still be moisture or a blockage. Gently check the windway and finger holes again for any residue. Using a small pipe cleaner can help clear any stubborn bits. Do not force anything.
Regular cleaning helps maintain the instrument’s longevity. Store your clean recorder in its case or a designated clean space. This protects it from dust and airborne particles. A well-cared-for recorder performs better and lasts longer. This simple care routine ensures your instrument is always ready to play.
Hand Washing: An Alternative Method
While the dishwasher offers a convenient way to clean recorders (plastic ones, specifically), hand washing remains a reliable alternative. This method is suitable for all types of recorders, including wooden ones. It gives you more control over the cleaning process. Hand washing is often preferred for more delicate instruments.
To hand wash a plastic recorder, disassemble it first. Use lukewarm water and a very mild dish soap. Avoid harsh detergents. You can use a soft bottle brush or a special recorder cleaning rod to clean the inside of the body. For the mouthpiece, use a cotton swab or a small, soft brush to gently clean the windway and labium. Be careful not to scratch the plastic or alter the shape of the windway.
Rinse all parts thoroughly under running lukewarm water. Ensure all soap residue is gone. Soap residue can affect the sound. Shake off excess water. Then, air dry all parts completely on a clean towel for several hours. Just like with dishwasher cleaning, never use heat to dry the recorder. Hand washing ensures a gentle, precise clean.
FAQ Section
Can you put any recorder in the dishwasher?
No, you can only put plastic recorders in the dishwasher. Wooden recorders will absorb water, warp, crack, and become permanently damaged. Always check the material of your instrument before attempting a dishwasher cleaning.
Will the dishwasher damage my plastic recorder?
The dishwasher will not damage a plastic recorder if you follow the correct steps. Use the top rack, a gentle cycle, and turn off the heated dry option. High heat is the main cause of damage.
How often should I clean my recorder?
Clean your recorder based on how often you use it. For frequent use, weekly cleaning is good for hygiene. If used rarely, clean it after every few sessions or when it starts to sound or look dirty.
What soap is safe for cleaning recorders?
Use a small amount of mild dish soap, specifically designed for dishwashers. Avoid harsh chemicals, abrasive cleaners, or too much soap. Too much soap can leave residue or cause excessive suds.
Can I use bleach to sanitize my recorder?
No, do not use bleach or other strong chemical disinfectants on your recorder. Bleach can damage plastic, leave harmful residues, and be dangerous if inhaled. Mild soap and water are sufficient for sanitizing.
How do I know if my recorder is truly clean?
Your recorder is truly clean when it looks clear, smells fresh, and plays without any muffled or airy sounds. Visually inspect the inside of all sections for any lingering residue or particles.
Conclusion
Cleaning your recorder in the dishwasher is a convenient and effective method for plastic instruments. I hope this guide helps you feel confident in keeping your child’s (or your own) recorder hygienic and in good playing condition. Remember, the key steps involve confirming your recorder is plastic, disassembling it properly, placing it securely on the top rack, using a gentle cycle without heat dry, and ensuring thorough air drying.
By following these simple guidelines, you can ensure your plastic recorder remains clean, germ-free, and ready to produce beautiful music. Regular cleaning not only maintains hygiene but also extends the life of your instrument. So, go ahead and give your plastic recorder the deep clean it deserves! Your ears, and your health, will thank you.
- dishwasher cleaning
- recorder care
- musical instrument maintenance
- plastic recorder
- cleaning tips
- instrument hygiene


