· Elira Thomsen · Home Cleaning · 21 min read
How To Clean Mold In Showers
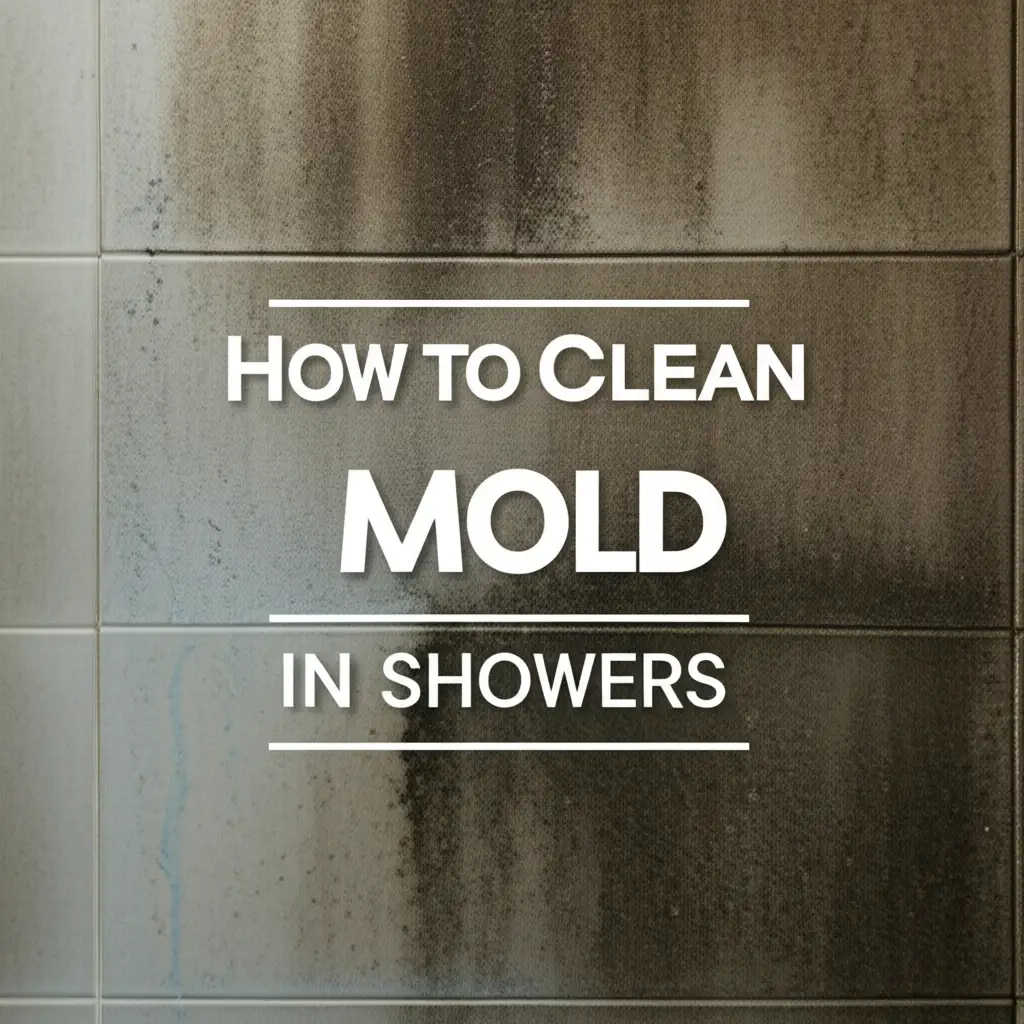
Conquering Shower Mold: How To Clean Mold In Showers Effectively
Nobody likes to see mold growing in their shower. This common bathroom problem can turn a relaxing space into an unsightly mess. Mold thrives in damp, warm environments, making your shower the perfect breeding ground. You might notice dark spots on grout lines, caulk, or even shower walls. Cleaning mold helps your bathroom look better. It also protects your health from potential irritants.
Cleaning mold is a straightforward task with the right approach. This article will show you how to clean mold in showers using safe and effective methods. We will explore natural remedies and commercial products. We will discuss specific cleaning techniques for different shower surfaces. Finally, we will provide crucial tips to prevent mold from coming back. Get ready to transform your shower into a clean, fresh space.
Takeaway:
- Always prioritize safety by wearing protective gear.
- Choose the right cleaning solution for your type of mold and surface.
- Clean mold thoroughly, paying attention to grout and caulk.
- Implement daily habits and long-term strategies to prevent mold regrowth.
Answer to the Main Query:
To effectively clean mold in showers, first ensure proper ventilation and wear protective gear. Apply a chosen cleaning solution—such as white vinegar, baking soda paste, or a bleach solution—to the affected areas. Allow it to sit, then scrub thoroughly with a brush and rinse well. Regular cleaning and moisture control prevent recurrence.
Understanding Shower Mold: Why It Appears
Mold is a type of fungus that grows in damp, warm places. Your shower offers these conditions perfectly. When you take a hot shower, steam fills the air. This steam creates high humidity levels. Water droplets cling to surfaces like tiles, grout, and caulk. Mold spores float in the air everywhere. When these spores land on a wet surface with food sources like soap scum or dead skin cells, they begin to grow.
The most common type of mold in showers is black mold, but you might also see pink, green, or white variations. Pink mold is often a bacteria called Serratia marcescens. It grows in similar moist environments. While not all molds are toxic, some can trigger allergic reactions. They can also cause respiratory problems in sensitive individuals. Understanding why mold grows helps you fight it better. It also helps you keep your shower clean and healthy. We aim to help you understand how to clean mold in showers for lasting results.
Conditions That Promote Mold Growth
Mold needs specific conditions to thrive. Moisture is the most important factor. Showers provide constant moisture from daily use. Lack of proper ventilation traps this moisture. A bathroom without a good exhaust fan or open window stays damp. This allows mold to flourish on surfaces. Warm temperatures also help mold grow faster. Showers offer warm, humid conditions that mold loves.
Poor drainage contributes to the problem. If water pools in certain areas, mold can easily start there. Soap scum and shampoo residue also provide food for mold. These organic materials accumulate on shower walls and floors. They become a nutrient source for mold colonies. Regular cleaning removes these food sources. This makes it harder for mold to establish itself. Knowing these factors helps prevent mold. It also makes cleaning more effective.
Common Types of Shower Mold
You might encounter different types of mold in your shower. Black mold is very common, appearing as dark spots on grout and caulk. It often looks fuzzy or slimy. This type can be persistent and sometimes challenging to remove. Another frequent sight is pink mold. As mentioned, this is often a bacteria. It typically appears as a slimy, reddish-pink film. You find it on shower curtains, drains, or tile corners.
Green and white molds can also appear. Green mold often grows on older, damp surfaces. White mold might look like a powdery substance. It can sometimes be mistaken for mineral deposits. Different mold types respond to similar cleaning methods. The key is consistent effort. Identifying the mold helps you understand the severity. All types of shower mold indicate excess moisture. You must address this moisture issue for long-term control.
Essential Safety Gear for Shower Mold Cleaning
Cleaning mold requires careful attention to safety. Mold spores can become airborne during cleaning. Breathing them in can irritate your respiratory system. It can also trigger allergies or asthma attacks. Protecting yourself is the first step before you learn how to clean mold in showers. Proper safety gear creates a barrier between you and the mold. It also protects you from harsh cleaning chemicals.
Always ensure good ventilation in your bathroom. Open windows and turn on the exhaust fan. If your bathroom lacks ventilation, use a portable fan. Direct it towards an open window. This helps clear the air of spores and fumes. Never mix different cleaning products, especially bleach with ammonia. This creates dangerous toxic fumes. Your safety is paramount throughout the cleaning process.
Protective Equipment You Need
Gather your protective equipment before you start cleaning. A good pair of rubber gloves is essential. They protect your hands from mold and cleaning solutions. Disposable gloves are fine for light cleaning. Reusable heavy-duty gloves offer more protection for tough jobs. Next, protect your eyes. Safety goggles or glasses prevent splashes from reaching your eyes. Mold spores can also irritate your eyes.
A respirator mask is crucial for protecting your lungs. Simple dust masks are not enough for mold spores. Look for an N95 respirator. This type filters out small particles, including mold spores. If you are sensitive to mold or cleaning fumes, consider wearing old clothes that you can wash immediately after cleaning. This prevents spores from spreading to other areas of your home. Your health depends on these precautions.
Preparing the Bathroom for Cleaning
Preparation makes the cleaning process smoother and safer. First, remove all items from the shower. Take out shampoo bottles, soaps, and shower caddies. You want a clear workspace. If you have a shower curtain, remove it and wash it separately. Consider replacing old, moldy curtains entirely. Check if your shower mat needs cleaning or replacing too.
Ensure good lighting in your shower area. You need to clearly see all affected spots. This helps you target mold accurately. If you plan to use strong chemicals, cover nearby surfaces. Protect metal fixtures or painted walls from splashes. Use old towels or plastic sheeting for this. Proper preparation saves time and effort. It also ensures a thorough and safe cleaning job.
Natural Solutions to Clean Mold In Showers
Many people prefer using natural cleaning agents for mold. These options are often safer for your health and the environment. They can be very effective for mild to moderate mold growth. Common household items like white vinegar, baking soda, and borax work wonders. They help you learn how to clean mold in showers without harsh chemicals. These solutions are usually gentle on most shower surfaces.
Always test any new cleaning solution on a small, hidden spot first. This helps ensure it does not damage or discolor your shower materials. Natural cleaners may require a bit more scrubbing than commercial products. However, they provide a chemical-free alternative. They are great for regular maintenance cleaning too. Choose the solution that best suits your needs and the type of mold you face.
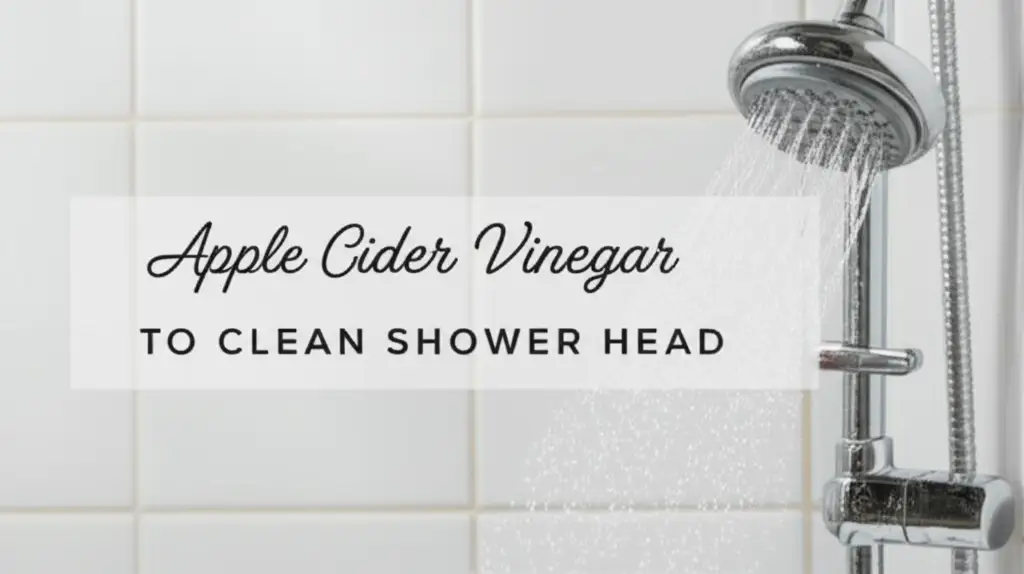
White Vinegar: A Powerful Mildew Fighter
White vinegar is an excellent natural mold killer. It is acidic, which helps break down mold and mildew. You can use it undiluted for best results. First, fill a spray bottle with plain white vinegar. Do not dilute it with water for tough mold. Spray the vinegar directly onto the moldy areas in your shower. Make sure the mold is fully saturated.
Let the vinegar sit for at least an hour. This allows it time to penetrate and kill the mold. After an hour, scrub the area thoroughly with a stiff brush. Pay close attention to grout lines and corners. Rinse the area well with warm water. The vinegar smell will dissipate quickly. For persistent mold, you can repeat the process. White vinegar is safe for most surfaces, but avoid using it on natural stone like marble or granite as its acidity can etch the surface. Vinegar is also a great cleaner for other areas of your home, for instance, you can learn more about where to put vinegar in dishwasher to clean effectively.
Baking Soda and Borax: Gentle Abrasives
Baking soda is a mild abrasive and a natural deodorizer. It can help scrub away mold and absorb odors. Create a paste by mixing baking soda with a small amount of water. Apply this thick paste directly onto the moldy spots. Let it sit for 10-15 minutes. Then, scrub with a brush until the mold lifts. Rinse thoroughly afterwards. This method is safe for all shower surfaces.
Borax is another natural mineral that inhibits mold growth. It is also non-toxic and eco-friendly. Mix one cup of borax with one gallon of hot water. Stir until the borax dissolves. Apply the solution to the moldy areas using a spray bottle or sponge. Scrub with a brush and do not rinse immediately. Let it dry on the surface to prevent future mold growth. Borax acts as a mildew inhibitor. Remember, borax is a natural mineral. It is not something to ingest, so always keep it away from children and pets. General principles of mold removal apply here, similar to how you might clean mold off a dishwasher.
Tea Tree Oil: A Natural Fungicide
Tea tree oil is a potent natural fungicide and antibacterial agent. It is very effective against mold spores. You need only a small amount of this concentrated oil. Mix two teaspoons of tea tree oil with two cups of water in a spray bottle. Shake the bottle well to combine the oil and water.
Spray the solution directly onto the moldy areas. Do not rinse it off. The tea tree oil will continue to work to kill the mold and prevent its return. The scent can be strong at first but will fade. Tea tree oil is generally safe for most surfaces. Always test in an inconspicuous area first. This natural option is excellent for ongoing mold prevention.
Powerful Commercial Cleaners for Stubborn Shower Mold
Sometimes, natural solutions are not enough for tough mold stains. For severe or deeply embedded mold, commercial cleaners might be necessary. These products often contain stronger chemicals designed to kill mold quickly. Bleach-based cleaners are a common choice. Hydrogen peroxide is another effective option. When using these products, always exercise extreme caution.
Commercial cleaners can be very effective at removing visible mold. They also often provide a sanitizing action. Always read the product label carefully before use. Follow all instructions regarding application, contact time, and safety. Ensure good ventilation in your bathroom. Never mix different commercial cleaners. This can create dangerous fumes. Your safety is the top priority when using these powerful agents.
Bleach-Based Cleaners: Fast and Effective
Bleach is a powerful disinfectant that kills mold spores. It effectively removes black mold stains from non-porous surfaces. Mix one part bleach with ten parts water in a spray bottle. For example, one cup of bleach to ten cups of water. Spray the bleach solution directly onto the moldy areas. Let it sit for about 10-15 minutes. Do not let it dry on the surface.
After the contact time, scrub the area with a stiff brush. The mold should lift away easily. Rinse the area thoroughly with plenty of water. Ensure no bleach residue remains. Bleach can damage certain surfaces like colored grout or natural stone. Always test it in an inconspicuous area first. It also produces strong fumes, so proper ventilation is critical. Bleach kills mold on the surface. It may not penetrate porous materials deeply.
Hydrogen Peroxide: A Safer Alternative
Hydrogen peroxide is a powerful oxidizing agent. It is a safer alternative to bleach for mold removal. It effectively kills mold and lightens stains. Use 3% hydrogen peroxide, which is commonly available. Pour undiluted hydrogen peroxide into a spray bottle. Spray it generously onto the moldy surfaces. Ensure the mold is fully saturated.
Let the hydrogen peroxide sit for at least 10-15 minutes. It will bubble as it works. Then, scrub the area with a brush to remove the mold. Rinse the surface well with water. Hydrogen peroxide is safe for most surfaces, including colored grout. It does not produce harsh fumes like bleach. This makes it a good choice for those sensitive to strong chemicals.
When to Use Commercial Cleaners
Use commercial cleaners when natural methods fail to remove stubborn mold. If mold has been present for a long time, it might have deeply stained surfaces. Large areas of mold growth might also warrant stronger solutions. These cleaners are also useful for black mold. Black mold can be more resistant to gentle cleaners.
Consider commercial cleaners if you need quick results. They often work faster than natural options. However, always try the least aggressive method first. Only move to commercial products if necessary. Always prioritize safety. Ensure proper ventilation. Wear all recommended protective gear. Dispose of leftover chemicals responsibly. Knowing when to use commercial cleaners helps you maintain a mold-free shower efficiently.
Targeting Mold in Specific Shower Areas: Grout, Caulk, and Tiles
Mold often targets specific areas in your shower. Grout lines, caulk, and tile surfaces each present unique cleaning challenges. Mold penetrates porous materials like grout more easily. It can hide behind caulk. Understanding the best approach for each area helps you learn how to clean mold in showers comprehensively. Different materials require different levels of care.
A specialized brush can make a big difference. A stiff-bristled brush works well for grout lines. An old toothbrush can reach tight corners. For delicate surfaces, use a softer brush or sponge. Always be gentle, especially with caulk. Aggressive scrubbing can damage these materials. Take your time to treat each area properly for the best results.
Deep Cleaning Grout Lines
Grout lines are very porous. They absorb moisture and mold spores easily. This makes them a common spot for black mold. For deeply stained grout, a paste works best. Mix baking soda with a small amount of hydrogen peroxide. This creates a thick, scrubbing paste. Apply this paste directly onto the grout lines. Let it sit for 10-15 minutes.
Use a stiff grout brush or an old toothbrush to scrub the paste into the grout. Apply firm pressure. The abrasive action of the baking soda combined with the oxidizing power of hydrogen peroxide will lift the mold. Rinse the grout thoroughly with water. For persistent stains, a bleach-based grout cleaner can be used carefully. Regular sealing of grout lines can help prevent future mold growth.
Tackling Moldy Caulk
Caulk seals the gaps between your shower walls and tub or base. It creates a waterproof barrier. Over time, caulk can crack or peel. This allows moisture to get underneath. Mold then grows in these moist, dark spaces. Often, mold on caulk is superficial and can be cleaned. Use a mold cleaner, apply it, and scrub gently with a soft brush or cloth.
However, if mold has penetrated deeply into the caulk, cleaning may not be enough. Mold can grow behind the caulk. In such cases, the best solution is to remove the old, moldy caulk entirely. Clean the surface underneath thoroughly. Then, re-caulk with a mold-resistant silicone caulk. This ensures a clean, mold-free seal. Re-caulking provides a fresh start for your shower.
Cleaning Different Tile Surfaces
Shower tiles are generally less porous than grout. This makes them easier to clean. However, mold can still grow on the surface, especially in corners. The cleaning method depends on the type of tile. Most ceramic and porcelain tiles can handle most cleaning solutions. You can use vinegar, hydrogen peroxide, or bleach solutions. Spray, let sit, then wipe clean.
For natural stone tiles like onyx showers or travertine tile showers, avoid acidic cleaners like vinegar or bleach. These can etch or damage the stone surface. Instead, use a pH-neutral cleaner or a solution of borax and water. Apply with a soft cloth or sponge. Gently wipe down the tiles. Always rinse natural stone thoroughly. Regularly sealing natural stone tiles also helps prevent mold and water penetration. Always check the specific care instructions for your tile type.
Preventing Shower Mold: Long-Term Solutions
Cleaning mold is only half the battle. Preventing its return is crucial for a continuously fresh shower. Mold thrives on moisture and warmth. Reducing these factors in your bathroom significantly lowers the risk of mold regrowth. Implementing simple daily habits and long-term solutions will keep your shower mold-free. This proactive approach saves you time and effort in the long run.
Consistent prevention helps maintain a healthy home environment. Mold can damage building materials over time. It can also impact air quality. By taking steps to prevent mold, you protect your property and your family’s health. Small changes in your routine can make a big difference. Let us explore the best strategies to keep shower mold at bay.
Ensuring Proper Ventilation
Ventilation is the most important factor in preventing shower mold. After every shower, steam fills the bathroom. This creates a humid environment perfect for mold. Always use your bathroom exhaust fan during and after showering. Let it run for at least 15-20 minutes after you finish. This helps remove moist air from the room.
If you do not have an exhaust fan, open a window. Even cracking a window slightly can help air circulate. Leave the bathroom door open after showering. This allows humidity to escape into drier areas of your home. Good airflow prevents moisture from settling on surfaces. It stops mold from ever getting a foothold. Understanding how moisture affects mold growth in areas like vents from carpet cleaning applies here too.
Drying Surfaces After Each Use
Make it a habit to dry your shower surfaces after every use. A simple squeegee can do wonders. Use it on shower walls, doors, and tiles. This removes excess water before mold has a chance to grow. Wipe down the faucet and showerhead too. Use a clean towel to dry any remaining water. This is a quick and effective habit.
Drying surfaces immediately removes the primary nutrient for mold: water. Pay special attention to corners and grout lines. These areas tend to hold water longer. This simple act takes only a minute or two. It saves you from much longer cleaning sessions later. Consistent drying is a powerful mold prevention strategy. This also relates to how moisture influences mold growth on surfaces like carpet edges in closets.
Regular Cleaning and Maintenance
Regular light cleaning prevents mold buildup. Do not wait for mold to become visible. Wipe down your shower surfaces weekly with a mild all-purpose cleaner. You can use a diluted vinegar solution or a commercial bathroom cleaner. Focus on areas prone to mold like grout and caulk. This removes soap scum and moisture before mold can establish itself.
Inspect your shower regularly for any signs of new mold growth. Address small spots immediately. The sooner you clean it, the easier it is to remove. Check for leaky faucets or showerheads. Fix any leaks promptly. Even small drips can provide constant moisture for mold. Consistent maintenance keeps your shower sparkling and mold-free.
Addressing Humidity Levels
Beyond ventilation, consider managing overall bathroom humidity. A dehumidifier can be very effective in consistently humid climates. It pulls moisture from the air. This lowers the ambient humidity, making it harder for mold to grow. Place it in your bathroom and run it as needed.
Ensure your home’s HVAC system is properly maintained. A clean air filter helps. This ensures good airflow throughout the house. Consider using mold-resistant paint in your bathroom. This special paint contains additives that inhibit mold growth. These combined efforts create an environment unfavorable to mold. They help maintain a truly mold-free shower space.
When to Call the Professionals for Shower Mold
Sometimes, mold growth is too extensive or stubborn for DIY cleaning. You might encounter situations where professional help is necessary. Knowing when to call experts can save you time, effort, and potential health risks. Professionals have specialized equipment and knowledge. They can safely and effectively remove mold from your home.
Do not hesitate to seek professional assistance if you face a mold problem beyond your capacity. Ignoring severe mold can lead to greater damage and health issues. Mold remediation companies are equipped to handle large-scale contamination. They also provide solutions for preventing future outbreaks. Recognizing the limits of DIY cleaning is a smart decision.
Extensive Mold Growth
If the mold covers a large area, it is best to call professionals. Generally, if mold covers more than 10 square feet (about 3 feet by 3 feet), it is considered extensive. A large mold problem suggests a deeper issue, like hidden moisture. Trying to clean such a large area yourself can spread spores. It also exposes you to higher concentrations of mold.
Professional mold remediators have the tools to contain the area. They prevent mold from spreading during cleanup. They use industrial-grade equipment for thorough removal. They also identify the source of moisture causing the widespread mold. This ensures the problem is resolved completely. Do not risk your health with a massive mold infestation.
Recurrent Mold Issues
You might clean your shower mold, only to see it return quickly. This recurring problem indicates an underlying issue. Perhaps there is a hidden leak behind the walls. Maybe ventilation is severely inadequate. DIY cleaning cannot fix these structural problems. Persistent mold means the source of moisture is not controlled.
Professionals can perform moisture assessments. They use specialized meters to detect hidden moisture pockets. They can pinpoint leaks in plumbing or behind walls. Addressing the root cause is essential for permanent mold eradication. If your mold keeps coming back, it is time for expert intervention. They help break the cycle of mold growth.
Health Concerns and Allergies
Mold can trigger various health problems. If anyone in your household experiences persistent allergy symptoms, mold might be the culprit. Symptoms include sneezing, coughing, itchy eyes, or skin rashes. People with asthma might experience worsened symptoms. Even if mold seems minor, it can impact sensitive individuals.
If you suspect mold is affecting your health, call a professional. They can test for mold types and concentrations. They ensure safe removal without exposing residents to more spores. Your family’s health is invaluable. Do not put it at risk by trying to clean mold when someone is sensitive or sick. Professionals prioritize occupant safety during the remediation process.
Hidden Mold
Mold is not always visible. It can grow behind shower walls, under flooring, or in ceiling cavities. You might notice a persistent musty odor but no visible mold. This indicates hidden mold growth. Hidden mold often results from water damage or plumbing leaks. It can be more dangerous because it remains undetected.
Professionals have tools like infrared cameras to detect hidden moisture. They can safely open up walls or flooring to access hidden mold. Attempting to find hidden mold yourself can cause more damage. It can also spread mold spores throughout your home. If you smell mold but cannot see it, professional assessment is crucial. They will find it and eliminate it safely.
FAQ Section
Is pink mold dangerous?
Pink mold is usually not a true mold. It is often a bacteria called Serratia marcescens. While it is generally less harmful than black mold, it can cause infections, especially in individuals with weakened immune systems. It is best to clean it promptly to maintain hygiene. It indicates persistent moisture.
How often should I clean my shower to prevent mold?
Clean your shower at least once a week to prevent mold buildup. Focus on scrubbing grout, caulk, and walls. Daily squeegeeing or wiping down surfaces after each use is also highly recommended. This frequent attention removes moisture and soap scum before mold can take hold.
Can I use bleach on all shower surfaces?
No, bleach is not safe for all shower surfaces. Avoid using bleach on natural stone tiles like marble, granite, or travertine, as it can etch and damage them. It can also discolor colored grout. Always test bleach in an inconspicuous area first, and ensure good ventilation when using it.
What is the fastest way to kill mold in a shower?
The fastest way to kill visible mold in a shower is often with a bleach solution (1 part bleach to 10 parts water) or undiluted hydrogen peroxide. Spray the solution on mold, let it sit for 10-15 minutes, scrub, and rinse thoroughly. Always follow safety precautions and ventilation.
Does vinegar really kill mold in showers?
Yes, white vinegar effectively kills many types of mold. Its acetic acid content disrupts mold growth. Use undiluted white vinegar in a spray bottle. Spray it on the mold and let it sit for at least an hour before scrubbing and rinsing. Vinegar is a natural and safe option for most surfaces.
Conclusion
Cleaning mold in your shower does not have to be a daunting task. By understanding why mold grows and following the right steps, you can effectively eliminate it. Remember to always prioritize safety by wearing protective gear and ensuring good ventilation. Whether you choose natural solutions like vinegar and baking soda or opt for powerful commercial cleaners, consistency
- mold removal
- shower cleaning
- bathroom cleaning
- mildew
- home maintenance
- grout cleaning
- caulk cleaning

Elira Thomsen
Home Organization & DIY Living Expert
I'm Elira Thomsen, a lifelong enthusiast of clean, beautiful, and functional homes. With over a decade of hands-on experience in DIY home decor, smart cleaning solutions, and practical organization, I help everyday homeowners turn clutter into calm. Whether it's transforming a neglected nook into a cozy reading spot, mastering budget-friendly storage hacks, or refreshing a space with seasonal décor, I'm here to guide you every step of the way. My mission is simple — make home care easier, more inspiring, and truly rewarding.