· Elira Thomsen · Home Appliance Care · 16 min read
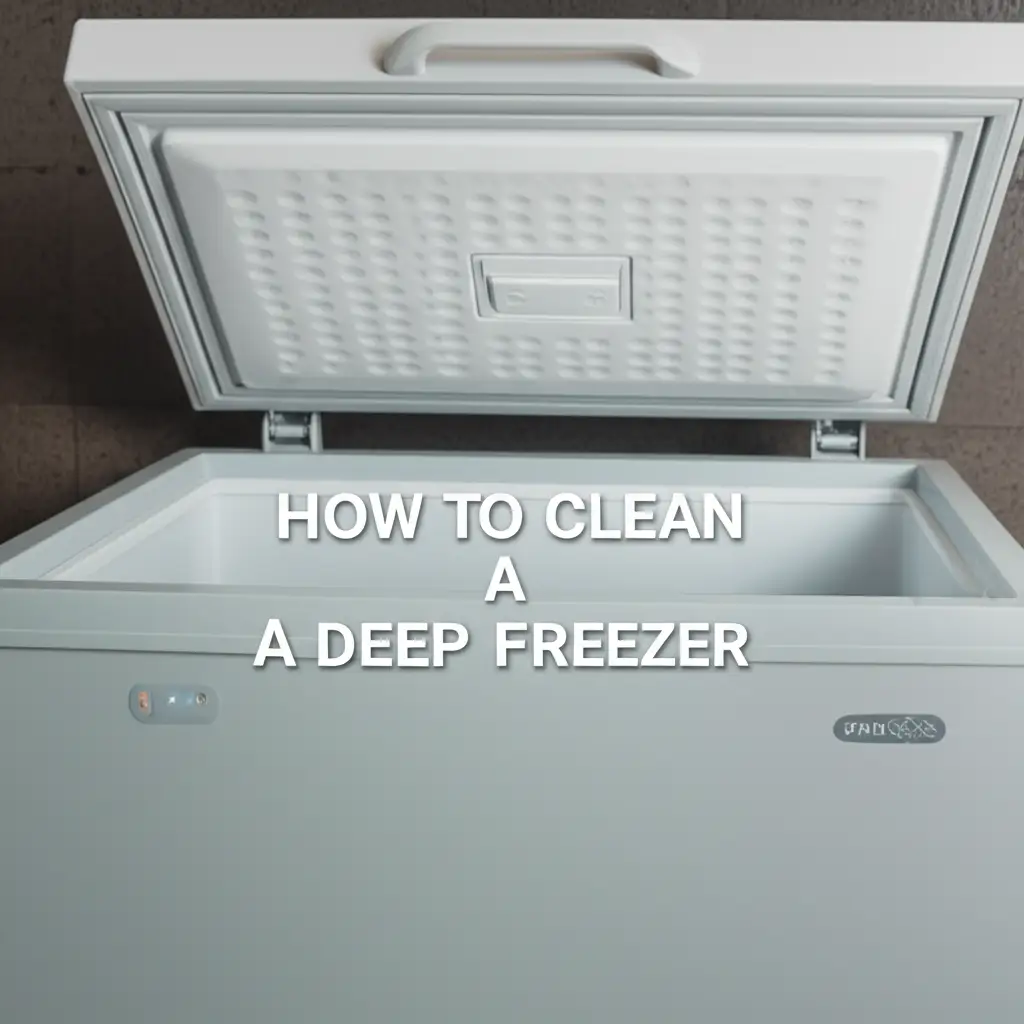
How To Clean A Deep Freezer
Deep Freezer Cleaning: A Comprehensive Guide for a Spotless Home
Cleaning your deep freezer might not be your favorite chore, but it is vital for a healthy kitchen. Imagine opening your freezer door to find a frost-covered landscape where food items are lost. Ice buildup reduces efficiency and makes food harder to find. A clean deep freezer keeps food fresh and ensures your appliance works its best.
I want to share my best methods for deep freezer cleaning. This guide will walk you through each step. You will learn how to prepare your freezer, remove ice, clean it thoroughly, and organize it for long-term freshness. We will cover everything from safety tips to smart storage solutions. Follow these simple steps to make your deep freezer sparkle. This task is simpler than you think when you know the right approach.
Takeaway:
- Defrost Fully: Always unplug and allow the freezer to defrost completely to remove all ice.
- Empty Contents Safely: Transfer all food to coolers with ice packs to prevent spoilage.
- Clean Thoroughly: Use a mild cleaning solution to wipe down all surfaces, including seals.
- Dry Completely: Ensure the interior is bone-dry before plugging it back in and restocking.
- Organize Smartly: Arrange items to maximize space and allow for easy access.
To clean a deep freezer, first unplug it and empty all food into coolers. Allow ice to melt completely or use a towel method to speed it up. Next, wipe down all interior surfaces with a mild solution of warm water and baking soda or vinegar. Rinse the surfaces, dry the freezer thoroughly, and then plug it back in before returning food.
Why a Clean Deep Freezer Matters for Your Home
Keeping your deep freezer clean is more than just about appearances. A clean freezer impacts how well your appliance works and how safe your food remains. Ice buildup inside the freezer is a common problem. This ice takes up valuable space, leaving less room for food. It also forces your freezer to work harder. The motor runs more often, using more electricity. This means higher energy bills for you.
A clean freezer also helps preserve your food better. When ice covers food packages, it can lead to freezer burn. Freezer burn harms food quality, affecting taste and texture. It also causes food to spoil faster. Regular cleaning removes odors that can transfer between foods. Imagine a clean space where every item smells fresh. This improves the overall quality of your stored items.
A well-maintained freezer lasts longer. Dirt, grime, and excessive ice can strain the compressor. They can also damage seals. Seals are important; they keep cold air inside. Damaged seals let cold air out, making the freezer work even harder. This can shorten your appliance’s life. I know you want your appliances to last many years. Regular deep freezer cleaning helps prevent these issues. It keeps your appliance running efficiently for a long time. It also saves you money on repairs and replacement costs.
Gathering Your Cleaning Arsenal: Tools and Supplies
Before you start your deep freezer cleaning project, gather all necessary tools. Having everything ready saves time and makes the process smooth. You do not want to stop midway to search for a rag. I always prepare my supplies first. This ensures I can complete the task without interruption.
You will need a few basic items. First, grab some large towels or old sheets. These are crucial for soaking up melting ice and spills. You will also need a few buckets or large bowls to collect water. A plastic or rubber scraper will help with stubborn ice. Avoid using sharp metal objects. Metal can damage the freezer’s interior. Remember to protect your hands with rubber gloves.
For cleaning solutions, I recommend mild options. A mixture of warm water and a few drops of dish soap works well. You can also use a solution of equal parts warm water and white vinegar. Baking soda dissolved in water is another excellent choice. It cleans and neutralizes odors. Make sure you have sponges or clean cloths for wiping. Lastly, keep a dry towel handy for drying the interior. A cooler with ice packs is essential for temporary food storage. This list of supplies ensures you have everything for a successful deep freezer cleaning session.
- Large towels or old sheets: For absorbing melting ice and spills.
- Buckets or large bowls: To collect water and for cleaning solutions.
- Plastic or rubber scraper: For removing ice without damaging surfaces.
- Rubber gloves: To protect your hands from cold and cleaning solutions.
- Mild dish soap: A few drops mixed with warm water for general cleaning.
- White vinegar: Mixed with water for cleaning and odor removal.
- Baking soda: Dissolved in water for cleaning and neutralizing smells.
- Sponges or clean cloths: For wiping down surfaces.
- Dry towels: For thorough drying after cleaning.
- Cooler with ice packs: For safe temporary food storage.
The Essential First Steps: Emptying and Defrosting Your Freezer
The first and most important part of deep freezer cleaning involves two actions: emptying your freezer and defrosting it. This step takes the most time, but it is necessary. You cannot clean a freezer full of food or covered in ice. Begin by finding a temporary home for your frozen goods. A large cooler packed with ice or ice packs works best. If you have a second refrigerator with a freezer, that is ideal. Place all your food items into the cooler as quickly as possible. This helps maintain food safety.
Next, you must unplug the deep freezer. This is a critical safety step. Never attempt to clean an appliance that is still powered on. Unplugging it also starts the defrosting process. You can open the freezer lid to speed up melting. Place old towels or sheets around the base of the freezer. They will catch the melting ice and water. Some deep freezers have a drain plug at the bottom. If yours has one, place a shallow pan or tray under it to collect water. This prevents water from spreading onto your floor.
Defrosting can take several hours, depending on the amount of ice. Be patient. Do not try to chip away at ice with sharp objects. This can puncture the freezer liner. I have heard stories of people damaging their freezers this way. Allowing the ice to melt naturally is the safest method. You can gently push loosened ice chunks with a plastic scraper. Once all the ice has melted, you will see a clear, empty freezer interior. This prepares your freezer for the deep cleaning process.
Prioritizing Food Safety During Defrosting
When you empty your deep freezer, keeping food safe is a top priority. Frozen food can spoil quickly if it gets too warm. I always make sure my cooler is ready before I even unplug the freezer. You want to move items fast to maintain their frozen state. Use plenty of ice or ice packs in your cooler. The colder you keep them, the safer they will be.
Arrange items in the cooler based on when you plan to return them to the freezer. Place items that thaw fastest on top. These might be smaller packages or pre-cooked meals. Try to avoid opening the cooler often. Every time you open it, warm air enters. This raises the temperature inside. For very large quantities of food, consider asking a neighbor if you can use their freezer for a few hours. This small effort ensures your food remains safe to eat.
Methods to Speed Up Defrosting
Waiting for ice to melt can feel like forever. Luckily, you can use methods to speed up the defrosting process. One simple way is to place bowls of hot water inside the freezer. The steam from the hot water warms the air and melts ice faster. Close the lid or door for a few minutes to trap the steam. Repeat this process as the water cools down. Be careful when handling hot water.
Another option is to use a hairdryer. Direct the warm air stream onto the ice. Keep the hairdryer moving to prevent overheating any one spot. Maintain a safe distance from the freezer’s interior. Do not let the hairdryer touch the plastic. This method can be effective for stubborn patches of ice. Always ensure the hairdryer is not near standing water. Safety is important when combining electricity and water. These methods reduce the time you spend waiting. They let you move on to the actual deep freezer cleaning sooner.
Deep Cleaning Solutions: Washing and Sanitizing Inside Your Freezer
With the freezer empty and defrosted, it is time for the actual deep cleaning. This step removes all the dirt, grime, and any lingering odors. You need a good cleaning solution. I prefer natural options because they are safe for food storage areas. They also do not leave harsh chemical residues or smells. This is especially important for an appliance that holds your food.
Start by wiping down all interior surfaces with your chosen cleaning solution. Pay close attention to corners and crevices. These areas often collect crumbs and spills. Use a sponge or a clean cloth for this. For tough spots, you might need to apply a bit more pressure. Don’t forget the freezer walls, floor, and lid. If your freezer has removable baskets or shelves, take them out. Wash them separately in your sink with the same cleaning solution. This ensures every part gets a thorough cleaning.
After cleaning, it is important to rinse the surfaces. Use a separate clean cloth dampened with plain water. Wipe down every area you cleaned. This removes any cleaning solution residue. You want the interior to be fresh and chemical-free. A clean, residue-free surface helps prevent new odors from forming. It also prepares the freezer for drying. Remember, a clean freezer makes a happy home.
Natural Cleaning Solutions for Your Freezer
Choosing the right cleaning solution is key for deep freezer cleaning. I always lean towards natural options. They are safe for food contact surfaces and very effective. One of my favorite solutions is a mix of warm water and white vinegar. Vinegar is a natural disinfectant and deodorizer. Mix equal parts water and white vinegar in a spray bottle or bucket. Spray or wipe the entire interior. This solution cuts through grime and helps eliminate stubborn smells.
Another excellent natural cleaner is baking soda. Baking soda is known for absorbing odors. It also has mild abrasive qualities that help with scrubbing. Dissolve a few tablespoons of baking soda in warm water. Use this solution to wipe down all surfaces. For tough spots, make a paste of baking soda and a little water. Apply it to the stain, let it sit for a few minutes, then scrub gently. These natural options are powerful. They leave your freezer clean and fresh without harsh chemicals. This ensures a healthy environment for your stored food.
Tackling Stubborn Stains and Spills
Sometimes, deep freezer cleaning reveals stubborn stains or dried spills. These require a bit more effort. Do not despair; they are usually removable. For dried-on food spills, a little patience helps. First, try re-wetting the area with warm water or your cleaning solution. Let it sit for a few minutes to soften the mess. This makes it easier to lift.
For particularly sticky or greasy residues, a baking soda paste works wonders. Mix baking soda with just enough water to create a thick paste. Apply this paste directly onto the stain. Let it sit for 10-15 minutes. The baking soda will help break down the stain. Then, gently scrub the area with a non-abrasive sponge or cloth. The mild abrasive nature of baking soda helps lift the grime without scratching. For persistent odors embedded in the plastic, a final wipe with a pure vinegar solution can help. This targeted approach ensures your freezer’s interior is spotless.
Drying and Restoring Power: Ensuring Your Freezer is Ready
After washing and rinsing, the next critical step in deep freezer cleaning is thorough drying. This might seem like a minor detail, but it is incredibly important. Any moisture left inside the freezer will quickly turn into ice once the unit is plugged back in. This defeats the purpose of your cleaning efforts. It also creates a new layer of frost you will have to deal with later. So, take your time with this part. I always make sure the freezer is bone-dry before moving on.
Use clean, dry towels to wipe down every surface inside the deep freezer. Pay extra attention to corners, creases, and the freezer door or lid seal. Moisture often collects in these areas. You can also leave the freezer door open for an hour or two with a fan blowing into it. This helps air circulation and ensures complete drying. This step prevents immediate ice buildup. It also helps avoid mildew or musty smells later on. A dry environment is a healthy environment for your food.
Once the deep freezer is completely dry, you can plug it back in. Listen for the familiar hum of the compressor starting up. Allow the freezer to cool down for several hours before returning food items. You want the internal temperature to reach its proper freezing point again. Placing food into a warm freezer can cause it to thaw and refreeze, harming food quality. Check the temperature with a freezer thermometer if you have one. Usually, 2-4 hours is enough, but some larger freezers may need more time. This ensures your hard work results in a truly clean and efficient appliance. A well-cleaned freezer runs better.
Organizing for Efficiency: Smart Storage After Cleaning
Deep freezer cleaning is also the perfect time to reorganize your food. A well-organized freezer saves you time and money. It prevents food from getting lost or forgotten at the bottom. This reduces waste and makes meal planning easier. I love opening a freezer where I can find everything I need quickly. An organized freezer helps you see what you have.
Start by sorting your food items. Group similar items together. For example, keep all meats in one section. Store vegetables in another. Use clear storage bins or containers to keep items tidy. These bins help you pull out a whole category of food at once. This prevents items from piling up randomly. Label everything clearly with the date you froze it. This helps you use older items first. The “First-In, First-Out” (FIFO) method is a great practice. It ensures food rotates and stays fresh.
Consider how you use your freezer space. Place frequently used items near the top or front. Less frequently used items can go towards the bottom or back. Stacking items neatly helps maximize space. Avoid overstuffing your freezer. Air needs to circulate around the items. Good airflow helps the freezer run efficiently. It also maintains a consistent temperature. A properly organized freezer is a joy to use. It makes your life easier and your food last longer. You can also apply similar organization principles to your main refrigerator.
Preventing Future Ice Buildup and Odors: Maintenance Tips
After putting in all that effort for deep freezer cleaning, you want to keep your freezer in top condition. Preventing ice buildup and odors saves you from frequent major cleanings. Regular maintenance is the key. It keeps your freezer running efficiently and your food fresh. I have found that small, consistent actions make a big difference. This means less work for me in the long run.
First, check the freezer door or lid seal regularly. The seal is crucial for keeping cold air in and warm, moist air out. If the seal is cracked, torn, or sticky, replace it. You can test the seal by closing the door on a piece of paper. If you can pull the paper out easily, the seal might be weak. A tight seal prevents humidity from entering. Humidity is the main cause of ice buildup. Every time warm, moist air enters, it forms frost.
Proper food storage also prevents ice and odors. Always wrap food tightly in freezer-safe bags or containers. Remove as much air as possible before sealing. Air trapped with food can lead to freezer burn. It also introduces moisture that turns into ice. Avoid putting hot food directly into the freezer. Let it cool down first. Hot food introduces steam, which contributes to ice formation. Lastly, place an open box of baking soda inside the freezer. Baking soda naturally absorbs odors. Replace it every three months. These simple steps significantly reduce ice and odor problems. They keep your deep freezer clean and functional.
FAQ Section
How often should I deep clean my deep freezer?
You should deep clean your deep freezer at least once or twice a year. This helps prevent ice buildup and maintains efficiency. If you notice a lot of ice or persistent odors, clean it more often. Regular light cleaning, like wiping spills, helps too. This schedule ensures your freezer runs well.
What can I do about persistent odors in my deep freezer?
For persistent odors, after cleaning, try placing an open box of baking soda or a bowl of activated charcoal inside. These absorb smells. You can also wipe down the interior with a solution of white vinegar and water. Leave the freezer door open for a few hours with a fan blowing in after cleaning.
Is it safe to use harsh chemicals inside my deep freezer?
No, avoid harsh chemicals like bleach or strong detergents inside your deep freezer. These can leave harmful residues or strong odors that transfer to food. Stick to mild dish soap, baking soda, or white vinegar mixed with water. These are food-safe and effective for deep freezer cleaning.
How long does it take to deep clean a deep freezer?
Deep freezer cleaning typically takes 4-8 hours, depending on its size and the amount of ice. Defrosting is the longest part, often taking 2-6 hours. The actual cleaning and drying take about 1-2 hours. Be prepared for this time commitment. Plan your day around it.
What should I do if my deep freezer smells after cleaning?
If your deep freezer still smells after cleaning, ensure it is completely dry. Moisture can cause mold. Place fresh baking soda or activated charcoal inside. You can also try wiping it down again with pure white vinegar. Leave the door open for several hours to air it out. If the smell persists, check for hidden spills.
Conclusion
You have now learned the best steps for deep freezer cleaning. This guide covers everything from preparing for the task to maintaining your appliance. You know how important it is to defrost your freezer completely. You also understand the value of using safe, natural cleaning solutions. Remember to dry the interior thoroughly before plugging it back in. Proper organization and regular maintenance tips will keep your freezer running efficiently.
A clean deep freezer saves you money on energy bills and food waste. It extends the life of your appliance. Most importantly, it ensures your food stays fresh and safe. This effort keeps your home running smoothly. Take action today. Plan your next deep freezer cleaning session. Your clean, organized freezer will thank you. You will enjoy the benefits of fresh food and an efficient appliance. Regular care makes a big difference.
- deep freezer cleaning
- freezer maintenance
- defrost freezer
- clean freezer
- food storage tips

Elira Thomsen
Home Organization & DIY Living Expert
I'm Elira Thomsen, a lifelong enthusiast of clean, beautiful, and functional homes. With over a decade of hands-on experience in DIY home decor, smart cleaning solutions, and practical organization, I help everyday homeowners turn clutter into calm. Whether it's transforming a neglected nook into a cozy reading spot, mastering budget-friendly storage hacks, or refreshing a space with seasonal décor, I'm here to guide you every step of the way. My mission is simple — make home care easier, more inspiring, and truly rewarding.