· Tessa Winslow · Cooking Tips · 14 min read
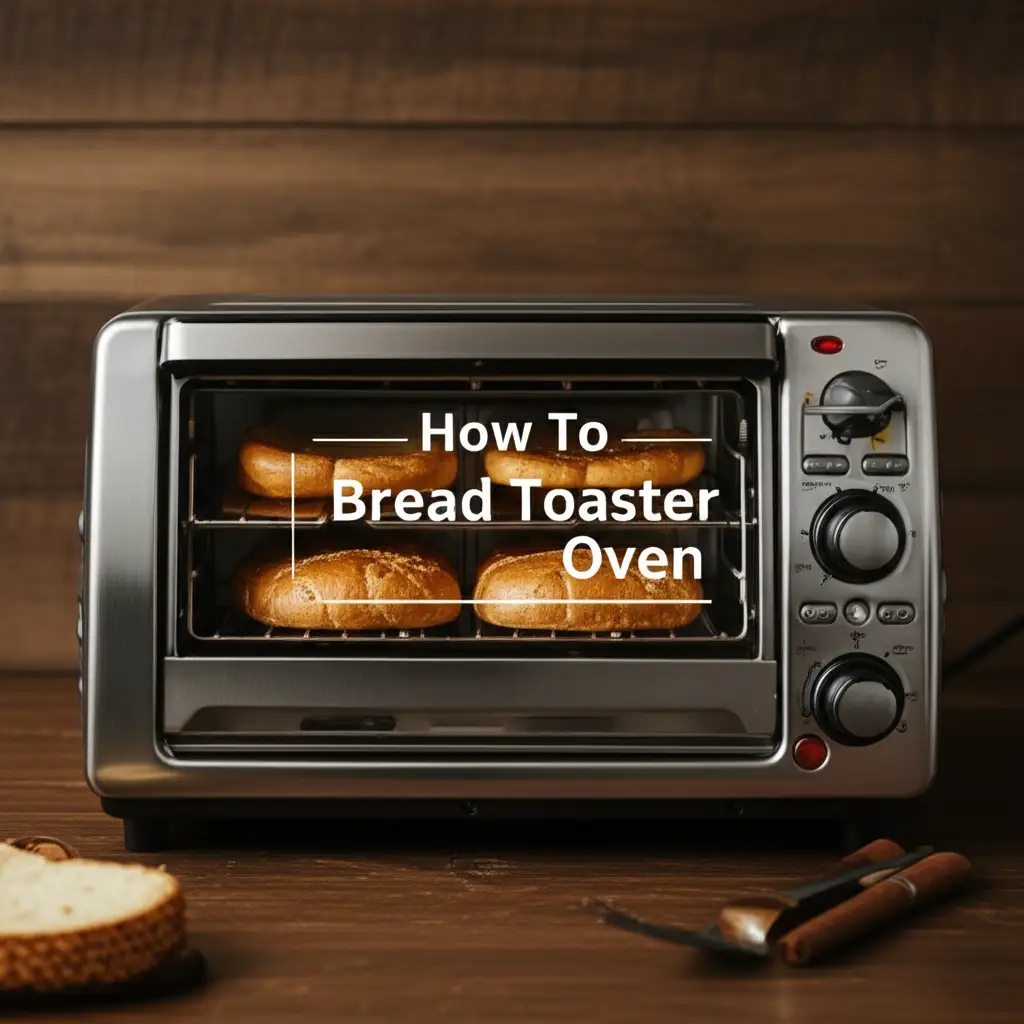
How To Bread Toaster Oven

Baking Bread in Your Toaster Oven: A Complete Guide
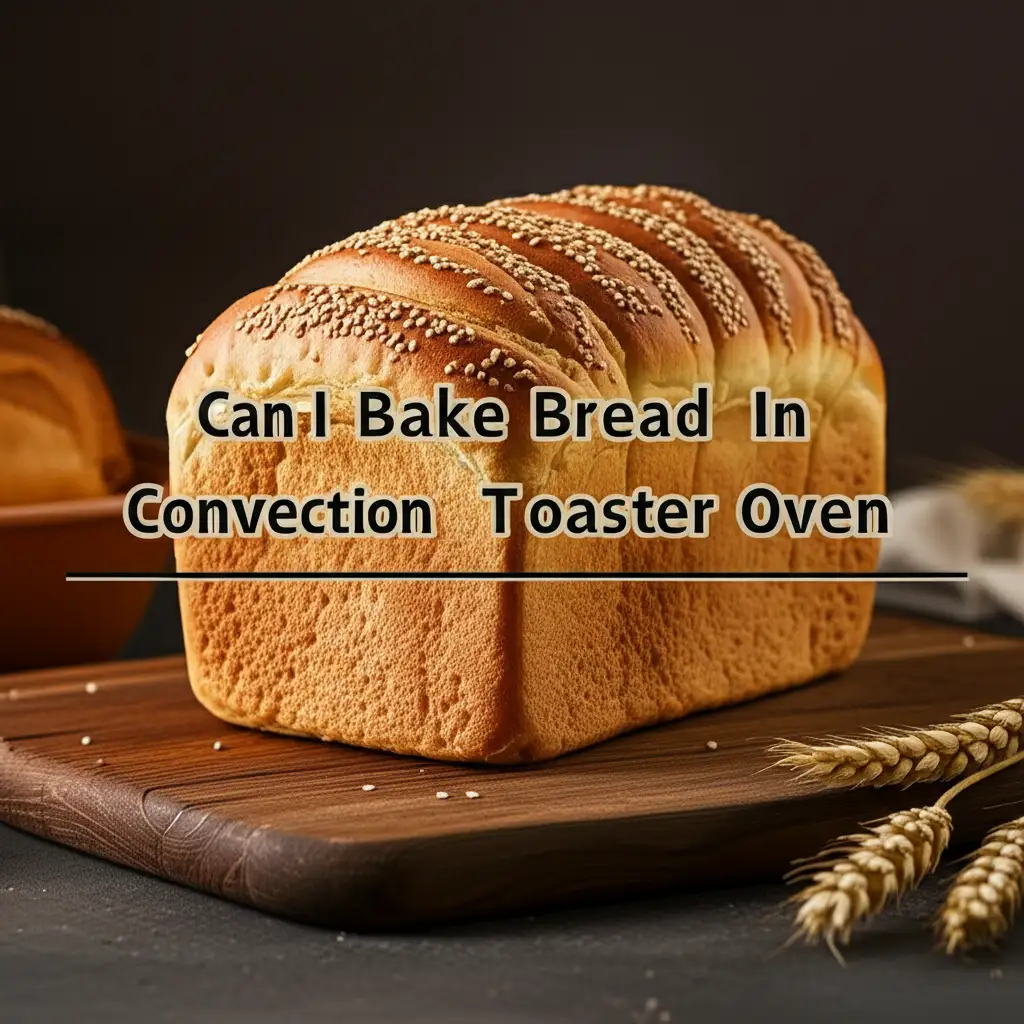
My kitchen is small. Maybe yours is too. A full-sized oven takes up much space. That is why I love my toaster oven. It helps me cook many things. You might wonder, “Can I really bake bread in a toaster oven?” The answer is a resounding yes.
This small appliance is mighty. It can produce delicious, crusty loaves. You just need to know the right steps. This guide shares all my tips. We will cover choosing dough, proofing, baking, and even fixing common issues. Get ready to enjoy fresh, warm bread. You can make it right on your countertop.
Takeaway:
- A toaster oven bakes small loaves of bread well.
- Choose recipes for small batches or adapt larger ones.
- Proof dough correctly for a good rise.
- Preheat your toaster oven fully for best results.
- Monitor baking closely due to smaller size.
Clear, Concise Answer:
To bake bread in a toaster oven, preheat the oven to the recipe’s temperature. Place your small bread dough in a suitable pan. Bake, checking frequently, until the crust is golden and the inside is cooked through. Adjust times for the toaster oven’s smaller size.
Understanding Your Toaster Oven for Bread Making
Your toaster oven is more than just a toast maker. It is a compact baking tool. Different models have different features. Knowing your specific oven helps you bake better bread.
Most toaster ovens offer bake, toast, and broil settings. Some have a convection fan. A convection fan circulates hot air. This can bake bread faster and more evenly. If your toaster oven has this feature, you might need to adjust baking times or temperatures down slightly. I find that a convection setting often gives a crispier crust.
Temperature accuracy is key for bread. Toaster ovens can have temperature swings. A separate oven thermometer helps. Place it inside the toaster oven. This tells you the real temperature. You can then adjust your oven dial if needed. This step ensures your bread bakes correctly.
Essential Accessories for Toaster Oven Baking
You need the right tools for baking bread. Small pans are important. Standard bread pans are too large. Look for mini loaf pans or small round cake pans. They fit well in most toaster ovens. I often use a 5x3 inch mini loaf pan.
Parchment paper is also very useful. It prevents sticking. It also helps with cleanup. A cooling rack is a must-have. Hot bread needs to cool properly. Cooling on a rack prevents the bottom from getting soggy. I also keep oven mitts handy. Toaster ovens are small, so reaching in can be tricky.
Finally, consider a small spray bottle. A quick mist of water inside the oven creates steam. Steam helps bread develop a good crust. It is a simple trick I learned. This makes a big difference in the final texture.
Choosing the Right Bread Dough for Small Batches
Not all bread recipes work well in a toaster oven. Large, traditional loaves are often too big. The toaster oven’s compact size needs smaller dough amounts. Thinking “mini” helps you choose wisely.
I usually look for recipes designed for small batches. This includes mini loaves, dinner rolls, or even individual buns. No-knead doughs are excellent for toaster ovens. They require less handling. Quick breads, like banana bread or zucchini bread, also bake wonderfully. These do not need yeast. They use baking powder or soda for leavening.
Yeast breads work too. Just make sure the recipe yields a small loaf. You might need to divide a standard recipe. For example, if a recipe makes two large loaves, split the dough into four small portions. This fits well in a toaster oven. The dough consistency should be easy to handle. It needs to hold its shape well.
Adapting Recipes for Toaster Ovens
Adapting a recipe involves a few changes. First, reduce the recipe size. Halve or quarter a standard recipe. This makes the dough fit your toaster oven pan. Second, adjust baking temperature slightly. Toaster ovens often run hotter or cooler than their dial suggests. Use your oven thermometer to check.
Third, adjust baking time. Smaller loaves bake faster. A standard loaf might take 30-40 minutes. A mini loaf might only take 15-25 minutes. Always check for doneness. Look for a golden crust. A hollow sound when tapped on the bottom indicates it is done. I always start checking earlier than the recipe suggests.
Remember that a toaster oven has heating elements close to the food. This can brown the top quickly. If the top browns too fast, cover it loosely with foil. This protects the crust while the inside cooks. Baking success comes from these small adjustments. For general baking principles, you can also explore how to bake in a larger Wolf oven. Many of the underlying principles for heat distribution and doneness remain similar, just on a different scale.
Proofing Bread Dough in Your Toaster Oven
Proofing is a critical step in bread making. It allows the yeast to work. The dough rises and develops flavor. A warm, draft-free place is ideal for proofing. Your toaster oven can provide this perfect environment.
Do not turn on the heating elements. Your toaster oven acts as a proofing box. Simply place your dough, covered, inside the unheated oven. The enclosed space keeps out drafts. If your kitchen is cold, you can warm the oven slightly. Turn it on for one minute at its lowest setting. Then turn it off immediately. The residual heat creates a cozy spot for the dough.
I often place a small bowl of hot water inside the oven with the dough. The steam from the water helps keep the environment humid. This prevents the dough surface from drying out. A dry surface can stop the dough from rising fully. Ensure your dough is covered with plastic wrap or a damp towel. This protects it even further.
Avoiding Over-Proofing
Over-proofing is a common mistake. It causes bread to collapse. The dough becomes too airy. It might also have a sour smell. To avoid this, watch your dough, not the clock. Dough usually doubles in size when proofed correctly.
You can do a simple test. Gently poke the dough with a floured finger. If the indentation springs back slowly, it is ready. If it springs back quickly, it needs more time. If it collapses, it is over-proofed. Over-proofed dough can still be baked. It just might not have the best texture. Always check your dough before baking.
Baking Bread in a Toaster Oven: Step-by-Step Guide
Baking bread in a toaster oven is rewarding. The small size makes preheating fast. It also uses less energy than a large oven. Following a good process helps you get a perfect loaf every time.
First, always preheat your toaster oven. This is very important. Bread needs a hot oven from the start. This creates oven spring. Oven spring is the rapid expansion of the dough. It happens when the yeast gets a final burst of activity. Preheating to the correct temperature ensures this. I usually preheat for at least 10-15 minutes. Use your separate oven thermometer to confirm the temperature.
Next, place your dough in its pan. Put it on the middle rack of the preheated oven. Position it so it is not too close to the top or bottom heating elements. This prevents uneven browning. If your toaster oven has a convection setting, you might use it. It often helps with even baking. If you are baking something like sourdough, understanding general bread-making concepts, even those for a Panasonic bread maker, can provide helpful insights into dough consistency and texture.
Baking times will vary. As I mentioned, mini loaves bake faster. Check your bread frequently. Look for a deep golden-brown crust. The internal temperature should be around 200-210°F (93-99°C). A simple way to check is to tap the bottom of the loaf. It should sound hollow. If the top is browning too fast, cover it loosely with aluminum foil.
Achieving a Perfect Crust
A perfect crust makes homemade bread special. Toaster ovens can help achieve this. The close heating elements contribute to good browning. For an extra crispy crust, use a spray bottle. Mist the inside of the toaster oven with water during the first few minutes of baking. Be careful not to spray the heating elements directly. This creates steam. Steam helps gelatinize the starches on the surface. This leads to a crispier, chewier crust.
After baking, let your bread cool completely on a wire rack. This is crucial. Hot bread is still cooking. It also releases steam. Cooling on a rack prevents a soggy bottom. Resist the urge to cut into it right away. Patience results in better texture and flavor. I usually wait at least an hour for smaller loaves.
Troubleshooting Common Toaster Oven Bread Problems
Baking in a toaster oven can present unique challenges. The small size and often less precise temperature control mean you might face issues. Do not get discouraged. Most problems have simple solutions.
One common issue is uneven baking. One side of the bread might be darker. This happens because heating elements are close to the food. To fix this, rotate your bread pan halfway through baking. I usually turn my pan 180 degrees. This helps ensure even browning. If your toaster oven has a convection fan, use it. It helps distribute heat more evenly.
Another problem is a burnt crust with a raw center. This means the outside cooks too fast. The inside does not have enough time. If the top browns too quickly, cover it with aluminum foil. This shields the crust. Lowering the oven temperature slightly can also help. Just increase the baking time. It allows the heat to penetrate the dough more slowly. If your oven is generally running too hot, troubleshooting steps for larger ovens can offer general principles for temperature adjustment.
Sometimes, dough does not rise properly. This can be frustrating. Check your yeast first. Make sure it is active and not expired. The proofing environment is also important. Ensure it is warm enough, but not too hot. If your toaster oven’s preheat function seems off or if your toaster oven is not heating up at all, similar troubleshooting logic to why a Wolf oven might not be heating up applies, such as checking power or internal components.
Temperature Fluctuations and Solutions
Toaster ovens are prone to temperature swings. Their small size makes them react quickly to external temperature changes. Opening the door too often drops the temperature fast. Keep the door closed as much as possible. Check on your bread through the glass.
Using an oven thermometer helps you understand your oven’s true temperature. If it consistently reads lower than the dial, set the dial higher. If it reads higher, set the dial lower. This small adjustment makes a big difference. Some recipes might benefit from starting at a higher temperature. Then lower it after the first 10-15 minutes. This gives a good initial spring. It then allows the inside to cook without burning the crust.
Beyond Baking: Toasting and Reheating Bread in Your Toaster Oven
While baking fresh loaves is exciting, your toaster oven is also perfect for everyday bread tasks. It excels at toasting and reheating. These functions can greatly improve your bread experience.
Toasting bread in a toaster oven gives you more control. Unlike a pop-up toaster, you can watch the browning process. This prevents burnt toast. I often toast thick slices of homemade bread. Simply place your bread on the rack. Set the function to “toast.” Adjust the shade setting if your oven has one. Keep an eye on it. The results are always crisp and evenly browned. It is also great for bagels or English muffins.
Reheating stale bread or leftovers works well too. A few minutes in the toaster oven can revive a day-old baguette. It turns it into a warm, crusty treat. Wrap it in foil first. This keeps the inside soft. Then warm it at a low temperature, around 300°F (150°C), for 5-10 minutes. It makes old bread taste fresh again. This saves food waste.
Crisping Breaded Items
The title “How To Bread Toaster Oven” can also mean “how to make breaded food crispy in a toaster oven.” Many people use a toaster oven to cook frozen breaded items. These include chicken nuggets, fish sticks, or even homemade breaded cutlets.
The toaster oven does an excellent job of crisping. Preheat it to the package directions. Place your breaded item on a small baking sheet. A rack insert helps hot air circulate. This leads to an extra crispy coating. The smaller space gets hot fast. This makes the breading golden brown and crunchy. I find it works better than a microwave for these foods. It avoids sogginess. This technique gives restaurant-quality crispness right at home.
Maintaining Your Toaster Oven for Optimal Bread Results
A clean and well-maintained toaster oven performs better. This helps your bread bake consistently. Regular cleaning also prevents smoke and odors. It extends the life of your appliance.
I clean my toaster oven often. Crumbs accumulate quickly. These can burn and cause smoke. Always unplug the oven first. Remove the crumb tray. Empty it and wipe it clean. Use a damp cloth to wipe down the inside surfaces. For stubborn stains, a mix of baking soda and water works well. Do not use harsh abrasives. These can scratch the finish. Pay attention to the heating elements. Avoid getting them wet.
Check the racks and baking pans regularly. Wash them with warm soapy water. Make sure they are completely dry before putting them back. Clean glass doors with a glass cleaner. This allows you to see your bread as it bakes. A clear view helps you monitor progress.
Regular checks ensure your toaster oven is ready. Look for any loose parts. Check the power cord for damage. A well-cared-for toaster oven bakes delicious bread for years. It is a simple routine that pays off. Just like taking care of your kitchen appliances in general ensures they perform optimally, maintaining your toaster oven ensures great bread every time.
FAQ Section
Can I bake a regular-sized loaf in a toaster oven?
No, most toaster ovens are too small for a standard loaf pan. They work best for mini loaves, dinner rolls, or small-batch recipes. Always check your oven’s internal dimensions before choosing a pan.
How long does it take to bake bread in a toaster oven?
Baking time varies depending on the size of your bread and recipe. Mini loaves usually take 15-25 minutes. Larger rolls might take 10-15 minutes. Always check for a golden crust and a hollow sound when tapped.
Why is my toaster oven bread burnt on top but raw inside?
This often happens due to the top heating element being too close. Cover the top of your bread loosely with aluminum foil about halfway through baking. You can also try lowering the temperature slightly and baking for a longer time.
Do I need to preheat my toaster oven for bread?
Yes, preheating is essential for baking bread. A hot oven creates “oven spring,” which helps the dough rise quickly and achieve a good texture. Preheat for at least 10-15 minutes, using an oven thermometer to verify the temperature.
Can I proof dough in a cold toaster oven?
Yes, an unheated toaster oven makes an excellent proofing box. Its enclosed space keeps drafts away. For extra warmth, turn the oven on for one minute, then off, before placing the covered dough inside.
Conclusion
Baking bread in a toaster oven is a rewarding experience. It lets you enjoy fresh, homemade loaves even in a small kitchen. We have covered choosing the right dough, mastering proofing, and baking it just right. We also explored how to fix common issues. Your toaster oven is a versatile tool. It not only bakes delicious mini loaves but also perfectly toasts and reheats bread.
Embrace your small appliance. Experiment with different recipes and techniques. You will quickly become a pro at producing warm, fragrant bread. It brings a special joy to your home. So go ahead, dust off your toaster oven, and start your bread-making journey today. The smell of fresh bread is waiting for you.


