· Tessa Winslow · Home Improvement · 13 min read
Attach Garden Hose To Shower Head
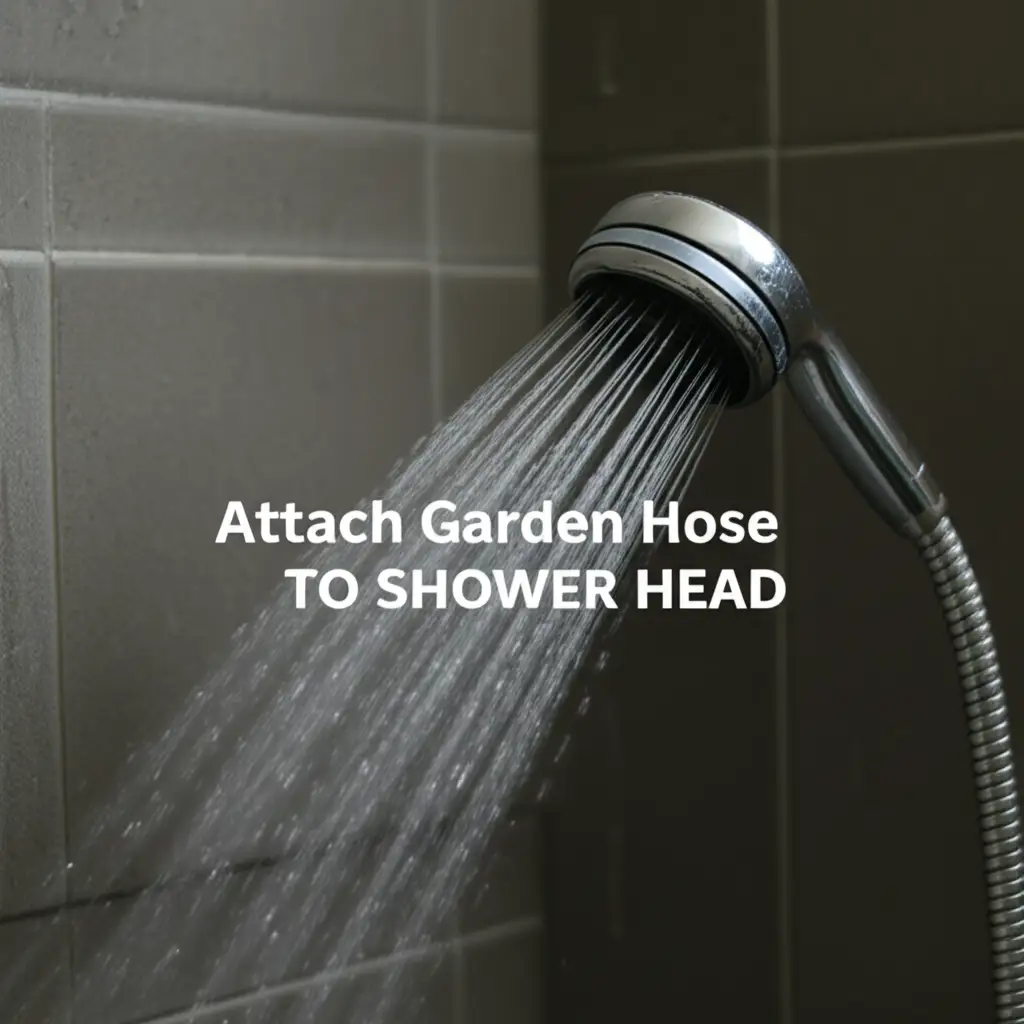
Attach Garden Hose To Shower Head: A Practical Guide
Have you ever needed water outside, but your outdoor spigot was too far? Perhaps you wanted to give your pet a warm bath, or water plants on a balcony. Attaching a garden hose to your shower head can solve these problems. This simple connection offers a convenient water source. I will show you how to safely and effectively attach a garden hose to your shower head. We will cover the tools you need, the steps to follow, and important safety advice.
Takeaway
Connecting a garden hose to a shower head is possible with the right tools and steps.
- Understand threading types to choose the correct adapter.
- Gather tools like an adjustable wrench, plumber’s tape, and the right adapter.
- Follow specific steps to remove the shower head and install the adapter.
- Prioritize safety by using correct water temperature and preventing backflow.
Clear, Concise Answer to the Main Query
You can attach a garden hose to a shower head. This requires a specific adapter that converts the shower arm’s pipe thread (NPT) to garden hose thread (GHT). The process involves removing your existing shower head, wrapping threads with plumber’s tape, and securely screwing on the adapter, then the garden hose.
Why Connect a Garden Hose to Your Shower Head?
It might seem like an unusual idea, but connecting a garden hose to a shower head serves many practical needs. Think about moments when you need a flexible water source. This setup provides warm water, which is a major benefit over a cold outdoor spigot. Many people use this method for pet washing. Giving your dog or cat a warm bath without a specialized pet washing station becomes easy.
Another common use is watering indoor plants or balcony gardens. Carrying heavy watering cans can be a hassle. A connected hose brings water directly to your plants. This is especially helpful for large plant collections. I have seen friends use this for temporary outdoor showers during renovations. This method can also help in cleaning certain items that require warm water and an easy flow, like muddy sports equipment. The possibilities often surprise people. It is a smart, temporary solution for various household and outdoor tasks.
Understanding Shower Head and Garden Hose Threading
Before you attach a garden hose to a shower head, you must understand thread types. Shower heads use a specific type of threading. This is called National Pipe Taper (NPT) or sometimes Iron Pipe Size (IPS). Most shower arms in the United States use 1/2-inch NPT male threads. This is a standard size in plumbing. When you buy a new shower head, it fits directly onto this male thread.
Garden hoses, on the other hand, use a different standard. This is called Garden Hose Thread (GHT). Garden hoses and outdoor spigots typically have 3/4-inch GHT. This is important to remember. The male threads on a garden hose are different from the male threads on a shower arm. You cannot directly screw a garden hose onto a shower arm. You need a special adapter. Knowing these thread types ensures you buy the correct part. Without the right adapter, your connection will leak or not fit at all. Understanding these basic plumbing concepts saves time and frustration. If you are curious about how various shower heads might fit, you can learn about Are Delta Shower Heads Interchangeable.
Essential Tools and Adapters for Connection
To connect your garden hose to a shower head, you need a few key items. First, you need the right adapter. This is the most important part. You will look for an adapter that has 1/2-inch NPT female threads on one end. This end screws onto your shower arm. The other end of the adapter needs 3/4-inch GHT male threads. This is where your garden hose attaches. You can find these adapters at hardware stores or online. Make sure the adapter is made of durable material, like brass or chrome.
Next, gather a few basic tools. An adjustable wrench is crucial. It helps you remove your current shower head. It also helps you tighten the new adapter securely. You will also need plumber’s tape, also known as PTFE tape or Teflon tape. This tape creates a watertight seal. It prevents leaks around the threaded connections. A small rag or towel can also be helpful. It protects your shower arm’s finish. It also catches any drips during the process. Having all these items ready before you start makes the job much smoother.
- Adapter: 1/2-inch NPT female to 3/4-inch GHT male.
- Adjustable Wrench: For tightening and loosening connections.
- Plumber’s Tape (PTFE tape): For sealing threads and preventing leaks.
- Rag or Towel: For protection and cleanup.
Step-by-Step Guide: Attaching Your Garden Hose
Attaching a garden hose to your shower head is a straightforward process. I will guide you through each step. Follow these instructions carefully for a secure and leak-free connection.
Step 1: Prepare Your Shower Area
First, turn off the water supply to your shower. You usually do this by turning the main shut-off valve for your bathroom. If you cannot find a separate shut-off, turn off the main water supply to your house. This prevents water from spraying when you remove the shower head. Lay down a towel in the tub or shower basin. This protects the surface. It also catches any drips or small parts.
Step 2: Remove the Existing Shower Head
Carefully unscrew your current shower head from the shower arm. Most shower heads twist off counter-clockwise. You might need an adjustable wrench if it is too tight. Place a rag around the shower arm if you use a wrench. This protects the finish from scratches. Once loose, remove the shower head completely. Set it aside in a safe place.
Step 3: Clean and Prepare the Threads
Look at the threads on the shower arm. They should be clean and free of old plumber’s tape or debris. If there is old tape, peel it off gently. Now, get your new plumber’s tape. Wrap it around the male threads of the shower arm. Wrap in the direction the adapter will screw on. This is usually clockwise. Apply 3-4 layers of tape. This creates a good seal and prevents leaks.
Step 4: Install the Adapter
Take your adapter (1/2-inch NPT female to 3/4-inch GHT male). Screw the female end onto the shower arm threads. Turn it clockwise until it is finger-tight. Then, use your adjustable wrench. Give it about a quarter to half a turn more. Do not overtighten it. Overtightening can damage the threads or the adapter. A snug fit is sufficient for a good seal.
Step 5: Attach the Garden Hose
Now, take your garden hose. Screw the female end of the garden hose onto the male GHT threads of the adapter. Turn it clockwise until it is tight. Most garden hoses have a rubber washer inside the coupling. This washer helps create a seal. Ensure it is in place before you tighten the hose. Hand-tighten the hose first. Then, use the wrench to give it a little extra snugness.
Step 6: Test for Leaks
Slowly turn the water supply back on. Watch for any leaks around the connections. Check both where the adapter meets the shower arm and where the hose meets the adapter. If you see small drips, turn off the water. Then, tighten the connection a little more. If the leak persists, you might need to add more plumber’s tape. Once you confirm there are no leaks, your setup is ready. You can now use your garden hose from the shower. Remember, you can always clean your shower head after this temporary setup. Find out how to Apple Cider Vinegar to Clean Shower Head for regular maintenance.
Safety Precautions and Considerations
When you attach a garden hose to a shower head, safety is very important. I want to highlight crucial points to protect you and your plumbing. First, consider water temperature. Shower water can be very hot. Be careful when you use it for pets or plants. Hot water can burn skin or damage sensitive plants. Always test the water temperature before use. Adjust it to a safe, warm level.
Second, be aware of backflow prevention. This is a critical plumbing safety issue. Backflow means dirty water from the hose could flow back into your home’s clean water supply. This happens if water pressure drops in your house. Garden hoses and their attachments can carry contaminants like dirt or chemicals. Most modern shower valves have some backflow prevention. However, a simple hose connection might not offer full protection. For prolonged use, consider adding a backflow prevention device. You can buy these at hardware stores. They screw directly onto the shower arm or the adapter. This extra step protects your family’s health.
Also, do not leave the hose connected for extended periods. This is a temporary setup. Constant pressure on the connections can lead to leaks over time. It can also strain your shower arm. After you finish your task, disconnect the hose and re-install your shower head. This prevents accidental water damage. Also, ensure the water pressure from your shower is suitable for your task. Very high pressure might damage delicate plants or cause discomfort to pets. Always proceed with caution.
Troubleshooting Common Connection Issues
Even with careful steps, you might face issues when you attach a garden hose to a shower head. Here are common problems and how to fix them. I have seen these problems before, and they are usually easy to solve.
Leaks at the Connection Points
The most common problem is a leak. Water might drip from where the adapter meets the shower arm or where the hose meets the adapter.
- Solution: Turn off the water. Unscrew the leaky connection. Re-wrap the threads with fresh plumber’s tape. Apply at least 3-4 layers. Make sure you wrap in the correct direction (clockwise for most threads). Then, re-tighten the connection. Use an adjustable wrench for a snug fit. Do not overtighten, as this can strip threads. If the garden hose leaks, check its internal rubber washer. Replace it if it is cracked or missing.
Incompatible Threading
Sometimes, the adapter just does not fit. This means you have the wrong thread size.
- Solution: Double-check your shower arm’s thread size. It is usually 1/2-inch NPT. Ensure your adapter has 1/2-inch NPT female threads for the shower arm side and 3/4-inch GHT male threads for the garden hose side. Take a photo of your shower arm or even the old shower head to the hardware store. An expert can help you find the correct adapter.
Low Water Pressure
You might find the water flow from the hose is weaker than expected.
- Solution: Check for kinks in the garden hose. Make sure the main water supply valve is fully open. Sometimes, low pressure comes from the house’s water system. You might also check if your existing shower head or shower arm has any flow restrictors. The adapter itself should not significantly reduce pressure.
Adapter Material Concerns
Some adapters may not hold up to regular use. Plastic adapters can crack under pressure or degrade over time.
- Solution: Invest in a quality brass or chrome adapter. These materials are more durable and resistant to corrosion. They last longer and provide a more reliable connection. Choosing the right material ensures the connection remains stable.
By addressing these common issues, you can ensure a smooth and reliable setup.
Alternatives and Permanent Solutions
Connecting a garden hose to a shower head works well for temporary needs. However, sometimes you might want a more permanent solution. There are several alternatives if you need consistent outdoor water access or a dedicated pet washing station. I will explore some of these options.
For a permanent outdoor water source, consider installing an outdoor spigot. A plumber can extend your home’s water lines to a convenient outdoor location. This gives you a dedicated garden hose connection. It is ideal for continuous garden watering, car washing, or filling pools. This option avoids using your bathroom for outdoor tasks entirely.
If you frequently wash pets, a dedicated utility sink in your laundry room or garage is a great option. Many utility sinks are deep and come with a sprayer. This makes pet bathing much easier. You can also install a hand-held shower sprayer in your existing bathtub or shower. Many people find these useful for rinsing children or pets without a full shower. This is an easier setup than adding a whole second shower head. You can also explore options like how to Add a Second Shower Head for a more robust multi-purpose bathing setup in your bathroom.
For specific areas like a balcony garden, a diverter valve on an indoor faucet might be an option. You could install a small adapter on your kitchen sink faucet. This allows you to attach a garden hose directly there. This avoids the shower entirely. It is less visible than a permanent shower hose connection. These alternatives offer different levels of convenience and cost. Choose the one that best fits your long-term needs.
Frequently Asked Questions
Can I use any garden hose with a shower head adapter?
Yes, most standard garden hoses use 3/4-inch GHT (Garden Hose Thread) fittings. These will fit the common adapters designed to connect to a shower arm. Ensure your adapter has the correct 3/4-inch GHT male thread to match your hose.
Is it safe to drink water from a garden hose connected to a shower head?
No, I do not recommend drinking water from a garden hose. Garden hoses are not typically made with potable water-safe materials. They can leach chemicals into the water. Also, a hose left in the sun can grow bacteria. Always use the water for non-drinking purposes only.
What type of adapter do I need for this connection?
You need an adapter with 1/2-inch NPT (National Pipe Taper) female threads on one end. This screws onto your shower arm. The other end needs 3/4-inch GHT (Garden Hose Thread) male threads. This is where your garden hose attaches. Look for brass or chrome options for durability.
Will connecting a garden hose damage my shower head or plumbing?
If done correctly, a temporary connection should not damage your shower head or plumbing. Do not overtighten connections. Use plumber’s tape to prevent leaks. Disconnect the hose when not in use. Prolonged use might stress the connections or lead to wear over time.
How can I prevent leaks when attaching the hose?
To prevent leaks, use plumber’s tape (PTFE tape) on all threaded connections. Wrap 3-4 layers of tape clockwise around the male threads. Hand-tighten connections, then use a wrench for a final quarter to half turn. Ensure your garden hose has a good rubber washer inside its coupling.
How long can I leave the garden hose attached to the shower head?
It is best to leave the garden hose attached only for the duration of your task. This is a temporary setup. Leaving it attached for long periods can strain plumbing connections. It also creates a potential leak risk. Disconnect it and reinstall your regular shower head after you finish.
Conclusion
Connecting a garden hose to your shower head offers a versatile solution for many water needs. We have explored why you might need this, from pet washing to balcony gardening. I have walked you through the specific threading types and essential tools. The step-by-step guide helps you install the adapter and hose securely. Remember to prioritize safety by managing water temperature and considering backflow prevention. Always test for leaks.
While a temporary garden hose connection can be very useful, think about your long-term needs. Permanent outdoor spigots or utility sinks offer more robust solutions for frequent use. This guide gives you the knowledge to confidently attach a garden hose to your shower head when needed. It is a practical skill for any homeowner. Now, you can easily bring warm water where you need it most.
- garden hose adapter
- shower head connection
- temporary water supply
- outdoor pet wash
- DIY plumbing

Tessa Winslow
Cleaning Expert
With years of hands-on experience in home care and a love for transforming everyday spaces, I specialize in making cleaning feel approachable and even enjoyable. I share smart, sustainable solutions that blend cleaning, organization, and decor—so your home not only looks good, but feels good too. Whether you're tackling weekend chores or taking on a full DIY refresh, I’m here to help you create a cleaner, cozier space you’ll love coming home to.